For the past few months, I’ve been working on a behind-the-scenes project to update the PlanetJune online store to improve your experience and to streamline future updates. This was a massive project: I first built the shop in 2009, and the software and plugins I use have been upgraded multiple times since then, leaving me with thousands of messy files of patched and re-patched code.
I decided that the only way to clean things up was to start again from scratch, so I’ve rebuilt the entire shop using the latest codebase, and incorporated all the hundreds of customizations I’ve coded and built in over the years, from pay-what-you-want donationware to the complete list of all the patterns you’ve ever purchased (so you never accidentally buy anything twice or have to hunt through old orders to find a particular pattern).
Most of the changes are technical so you won’t see any differences, but I’ve made a few upgrades that you’ll be able to appreciate:
Product Photos
This is the big change! Some of my pattern photos are older than some of my customers, and both my equipment and my photography and image-editing skills have improved in the past 18 years! Here’s a summary of the improvements you’ll see:
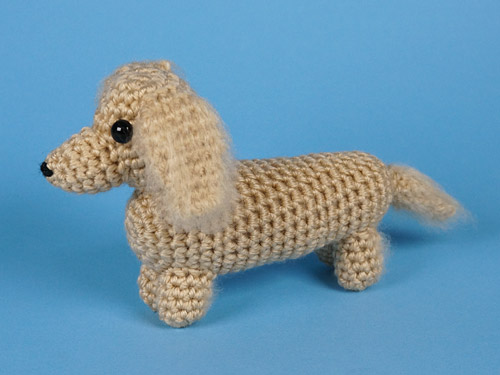
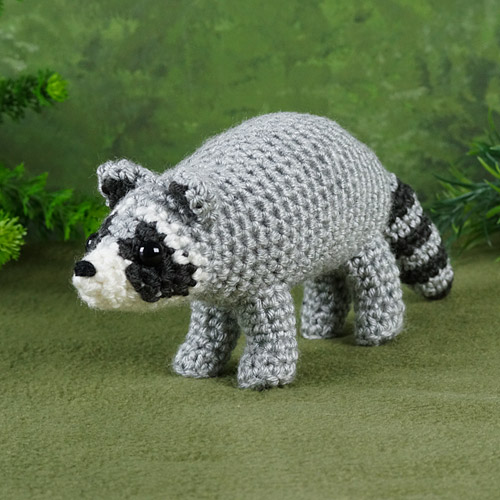
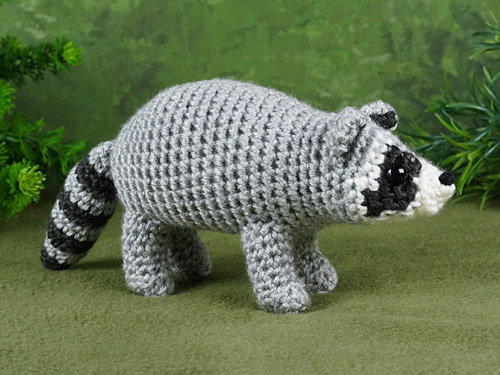
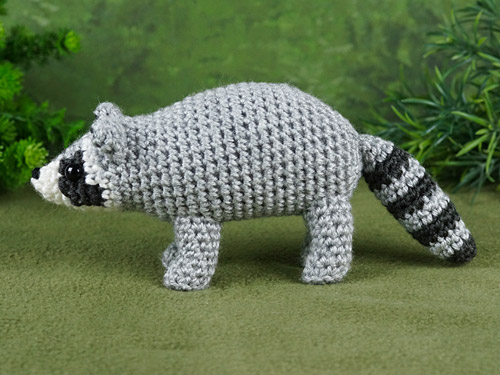
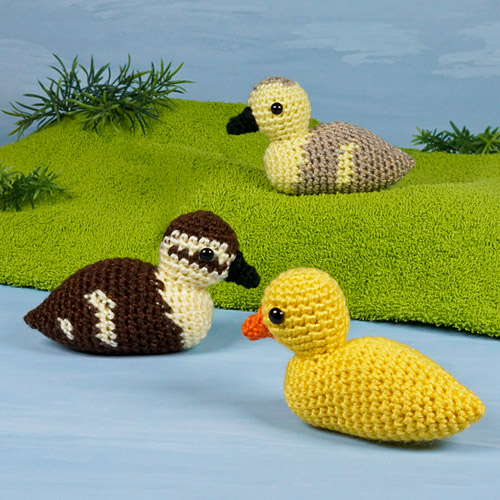
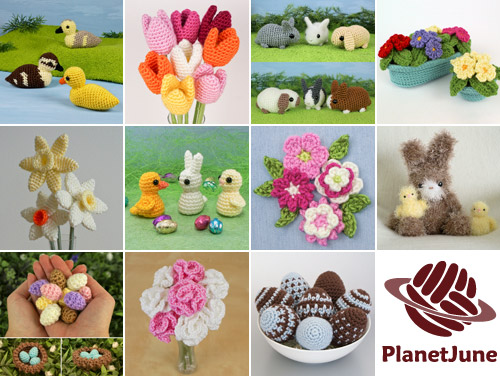
RE-EDITED PHOTOS: I’ve reprocessed my older photos to be brighter, clearer and better colour balanced.
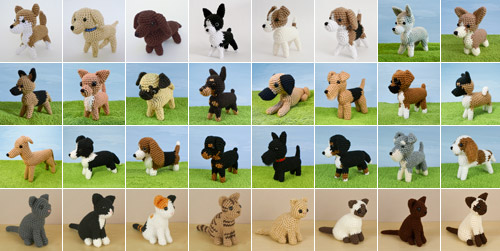
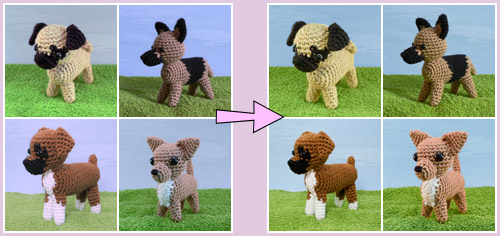 The AmiDogs were the worst offenders – with my old monitor I couldn’t tell that the sky sometimes looked purple or grey! Now they all match 🙂
CLEARER CATEGORIES: All the categories on the main page are larger and clearer and now look like ‘cards’ with rounded borders.
 Pick a card, any card…
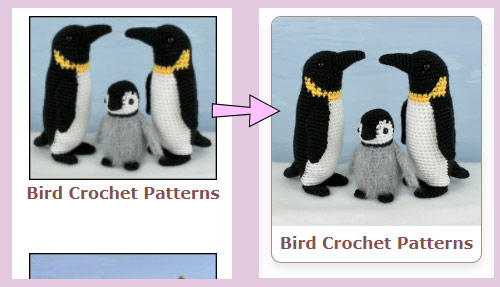
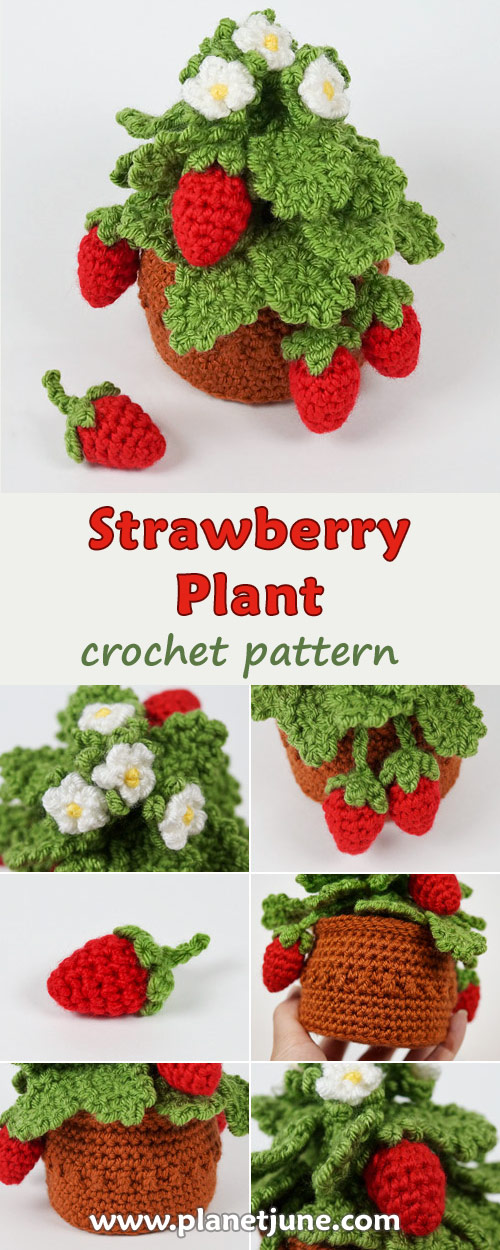
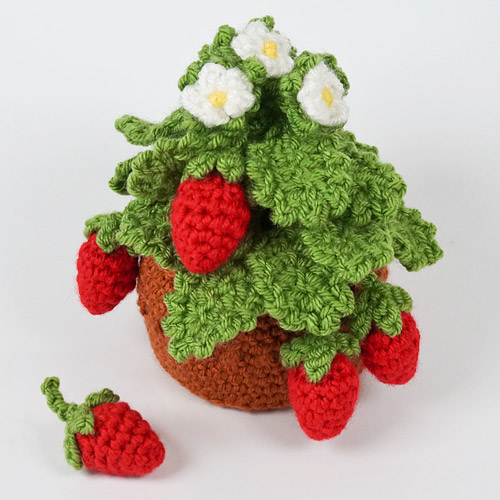
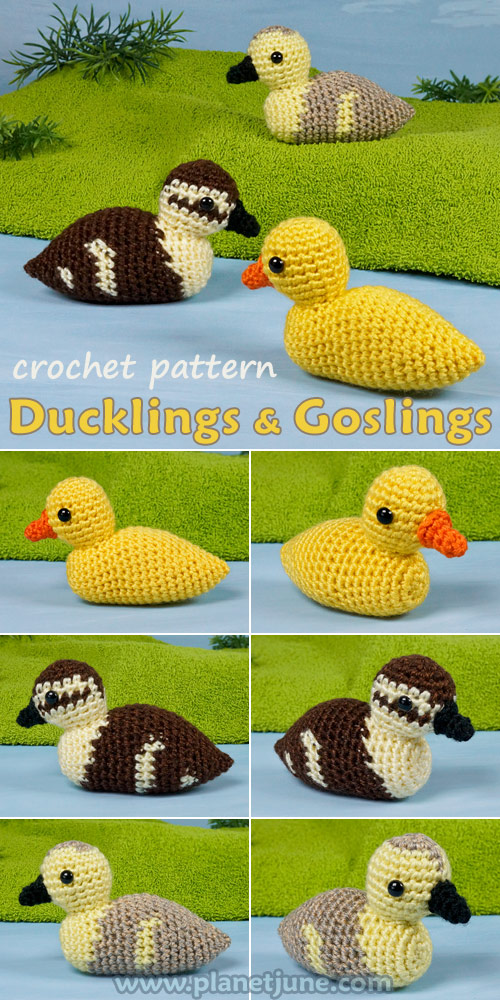
SQUARE LISTINGS: All the main product photos are larger and now have matching square dimensions, so they’re easier to view and browse through.
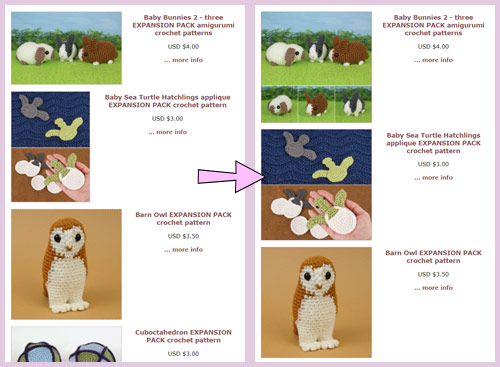 Some images were wide and short, some were tall and narrow – it’s so much cleaner now they’re all squares!
For the full effect, click through to the All Products page – keep scrolling, and scrolling, and scrolling…
Clearer Links
I’ve added friendly URLs so you know what you’re looking at, for example:
OLD: /index.php?main_page=product_info&cPath=19&products_id=403
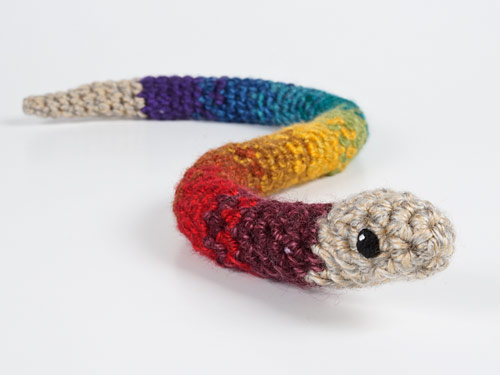
NEW: /temperature-snake-amigurumi-crochet-pattern-and-workbook-p-403.html
Having the pattern name in the link is much more helpful than the previous words-and-numbers soup. (And the old links all still work too, if you have any of them saved.)
Custom Gift Certificates
I’ve added a custom value PlanetJune gift certificate, so now you can send a gift certificate for any dollar (and cent!) amount you want.
This is an easier way to gift specific patterns to someone – you can just send them a custom gift certificate for the exact amount, with a note telling them what you’d like them to spend it on! (See the Gift Certificate FAQ for instructions.)
A Fresh Start
The internet is always changing, and it takes work to keep up with the latest coding standards and security updates. I’ve been patching and updating my old shop code since 2009, and starting from scratch for this update was the best way to make sure I didn’t carry any problems forward. This was a huge undertaking (with literally thousands of files of code to comb through) but it’s very satisfying to know that this project is complete. Now that my shop has been refreshed inside and out, it looks much cleaner, and it’ll be much easier to keep it maintained and to make more improvements in future.
And, you know what, seeing all my patterns displayed nicely together on the All Products page lets me see what I’ve accomplished in a way I haven’t really been able to before. I’ve designed hundreds of patterns over the past 18 years, and I’m happy to stand behind all of them – that’s quite an accomplishment, isn’t it? Seeing them all together gives me fresh inspiration to keep adding to the PlanetJune pattern collection.
Please take a look around the new and improved PlanetJune shop – I hope you’ll find more treasures to enjoy now they’re easier to see and appreciate! And I’d love to hear your thoughts on the updates and what else you’d like to see in future improvements, so feel free to leave a comment or send me a message.


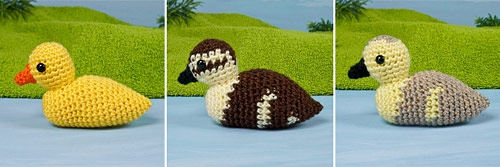
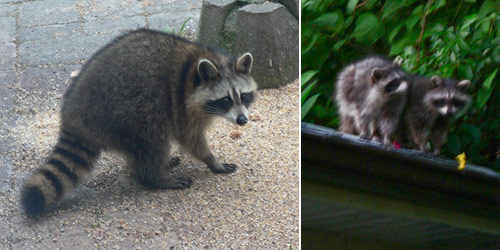 My very old photos, from 2006-7 (sorry about the quality – this was before the days of cellphone cameras with low-light modes!)
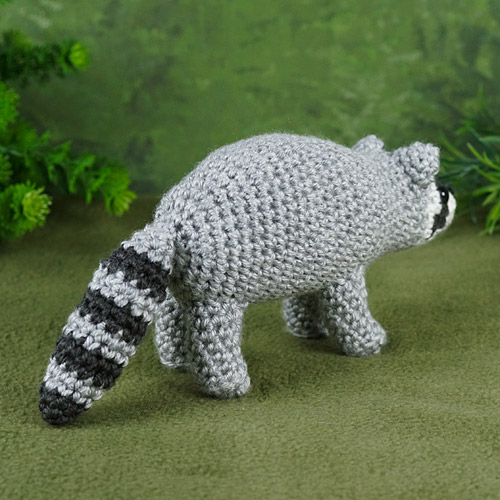


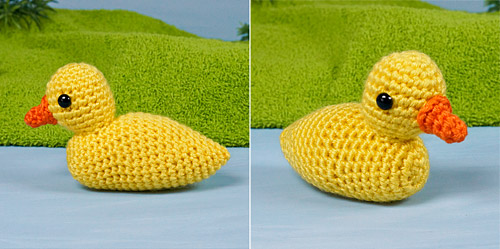
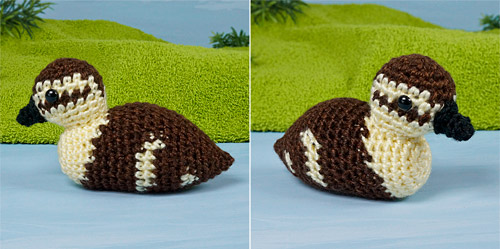


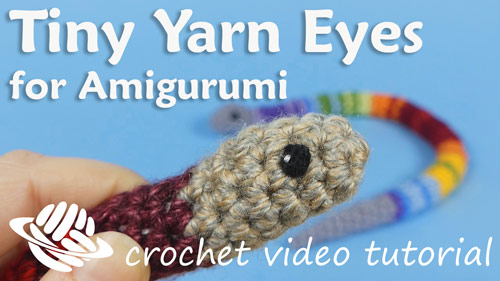
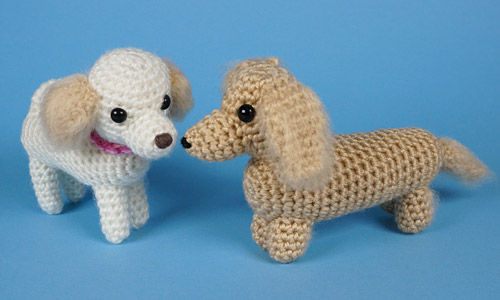
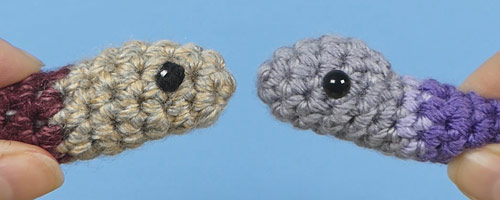 L: tiny yarn eyes, R: plastic eyes