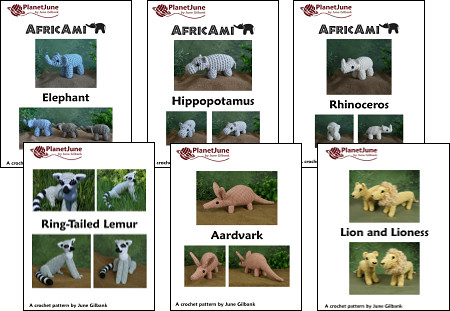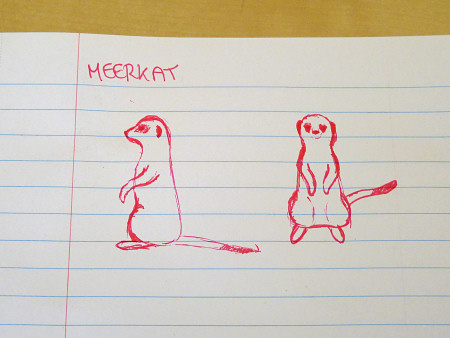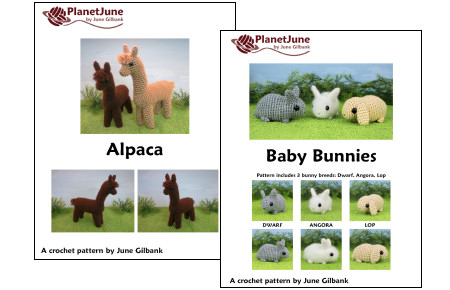
I’ll be sharing my process as I design my amigurumi Meerkat crochet pattern – hope you find this behind-the-scenes journey through what goes into a PlanetJune design interesting! To catch up, see: – Part 1: Research, Shape, Colour and Sketch – Part 2: Construction Decisions Last time, I’d decided how to approach my design, and […]