It’s been a year since my pup Maggie recovered from her surgery to remove a tumour from her shoulder. It was such an exhausting and traumatic time, but she made a full recovery and so far there’s no sign of reoccurrence, and she’s a very happy, healthy and energetic almost-12 year old!
Now that things are better, I want to document my solution for keeping her wound protected from licking and covered to prevent infection without using a plastic cone or bandages. I hope someone will find this post in the future if they need tips for protecting their dog or cat’s shoulder wound after surgery.
Avoiding the ‘Cone of Shame’
When Maggie came home from her surgery, I wasn’t expecting her tiny half-inch lump to have needed such extensive surgery. The biopsy later revealed they only just got it all, with less than a mm of clearance(!), so the surgeon did exactly the right thing.
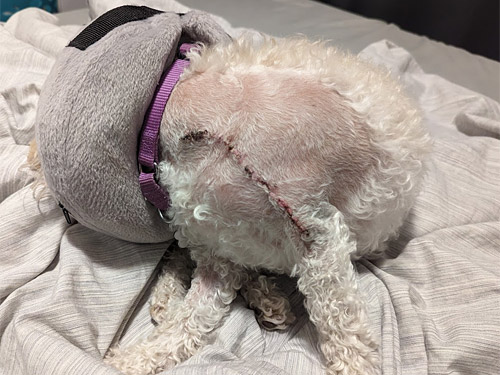
Her incision was massive, running from her neck all the way down to her elbow. She clearly felt terrible, and she was in so much pain. She was supposed to wear a hard plastic cone around her neck for two whole weeks, but she looked utterly miserable in it and I couldn’t make her do that.
(Trigger warning: Don’t click the following link if the sight of fresh stitches will upset you! Here’s a pic of her when she first came home with her cone.)
Luckily, the inflatable collar I’d bought for my much-missed cat Maui fit her perfectly. These are so much more comfortable for a dog or cat than a hard plastic cone – it’s more like a travel neck pillow than a medical device! The neck size is adjustable, you can customize the amount of inflation for comfort, and the soft cover is removable so you can wash it.
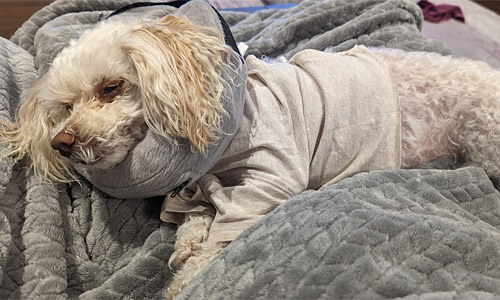
It’s easy to remove so your pet can eat comfortably, and then refasten it around their neck with the velcro strip. I think this is a much more comfortable option for pets, and it provides a built-in comfy pillow for nap time!
Note: An inflatable collar isn’t a perfect replacement for a cone in all cases – as you can see from the above photo, Maggie could still reach her paws and tail while wearing the inflatable collar. If she needed to be stopped from licking those areas, I would have tried a soft cone collar instead.
Custom T-shirt (a dog Hospital Gown!)
Wounds apparently heal better with airflow vs tight bandages, so I was instructed to protect the incision site from infection by putting a t-shirt or something on her. That was a challenge, as she couldn’t move or bend her leg without pulling on her stitches, so I realised I needed a shirt that tied or zipped up the back, so it would be easier to put on.
I’ve made t-shirts for Maggie before, by cutting down my old t-shirts to fit her. (Having a small white dog who loves to walk in all weather means she doesn’t stay white for very long at certain times of year! The t-shirts don’t only look cute: they work really well to protect her forelegs and tummy from getting filthy during mud season.)
 Maggie in her anti-mud shirt
So I jumped into gear while my sweet girl was sleeping off her sedatives, and got to work on a new shirt – luckily I knew her measurements from the notes I kept from her old shirts. If you need a similar solution you could save yourself some time by buying a dog t-shirt – or using an old one you already have – as your starting point. I needed to keep myself busy until Maggie woke up, so I made a new shirt from scratch.
To make the shirt easy to remove, I cut it all the way down the middle of the back, and planned to stabilize each side of the cut edge with cotton twill tape. While knit jersey fabric doesn’t fray, a cut edge will curl up, and the non-stretchy twill tape prevents that. I also thought that attaching the ribbons to a strong non-stretchy base would spread the load of the attachment points – I didn’t want the ribbons to rip out of the t-shirt fabric as Maggie got more active.
I measured and cut two pieces of twill tape to match the length of the shirt, and then securely stitched one end of four lengths of ribbon at right angles to each tape, to form the ties. (If your shirt is large enough to overlap at the back once you’ve cut it, you could use snaps or velcro instead, but I like that the ribbons make the shirt a bit more customizable; you can make a looser fit by leaving a gap between the two sides of the shirt when you tie the pairs of ribbons together.)
The final step was to attach one tape-with-ribbons to each cut side of the shirt back. This was a bit tricky, as jersey t-shirt fabric is so stretchy! I arranged the tape so the cut ends of the ribbons were sandwiched between the t-shirt and the tape, and I used lots of pins to hold the layers together so the jersey couldn’t stretch too much while I sewed each side of the twill tape down along the length of the shirt.
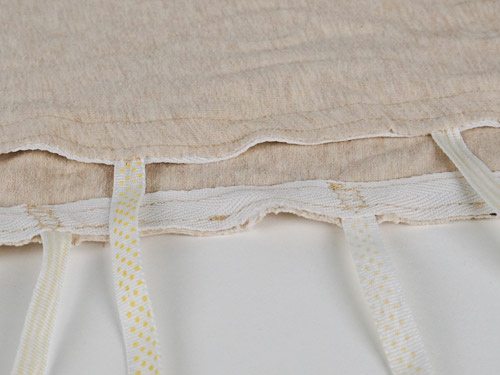 Right side (top): t-shirt fabric with two lines of stitching
Wrong side (bottom): twill tape with ribbons stitches to it at intervals
Although the stitching to attach the ribbons to the tape was a bit messy and my stitching lines are a bit wonky, the overall effect from the right side isn’t too bad, as you only see the two lines of stitching from where I attached the tape to the shirt. And I was going for function over form – I don’t think a recovery shirt needs to be beautifully finished! The important thing is that the ties hold securely and the shirt stays in place, and it did just that:
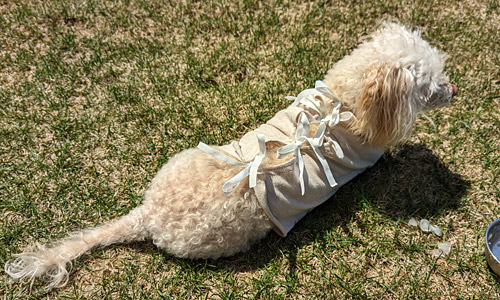
I could slip Maggie’s paws into the sleeves, then lift the sides of the shirt and tie the ribbons together down her back to secure it together, just like a hospital gown! (If it works for people, why not for a dog?!)
It worked really well – I could put the shirt on without causing any pain, and untie the top ribbons to check on the wound without needing to remove the whole thing.
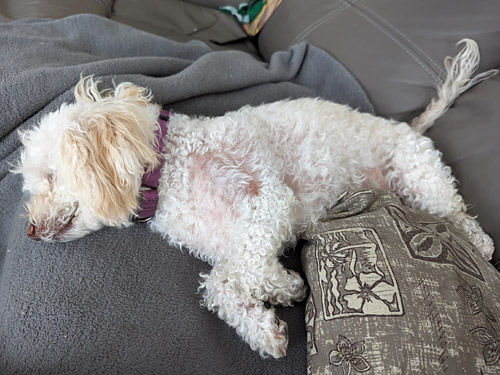
My solution let Maggie relax as she recovered, with a comfortable loose covering protecting her wound. I kept the inflatable collar on her too, but I took it off when I could monitor her closely to make sure she wasn’t trying to lick the wound.
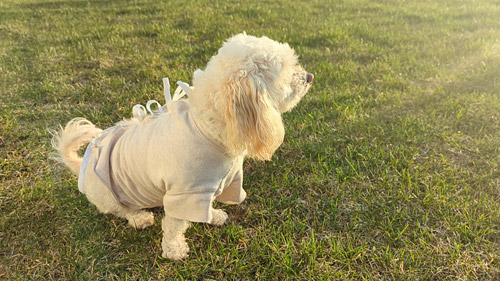
Maggie enjoyed convalescing in the sunshine in her ‘hospital gown’, and snoozing the rest of the day away with her inflatable pillow. When she was allowed to take some gentle walks again, I also made her a little crop top to keep the wound covered while it continued to heal without overheating her with the full t-shirt.
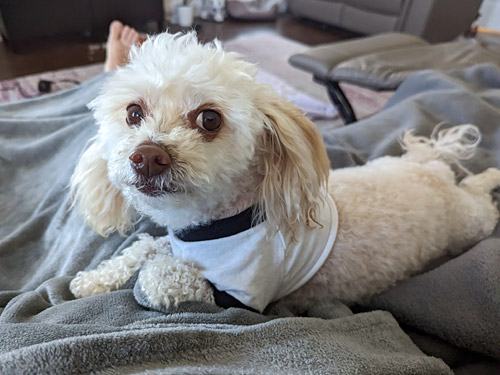 Sassy girl rocking her crop top!
The hardest part of Maggie’s recovery was supervising her full time to make sure she didn’t rip her stitches by running or jumping about too soon! How do you tell a dog they’re not allowed to move for weeks?!
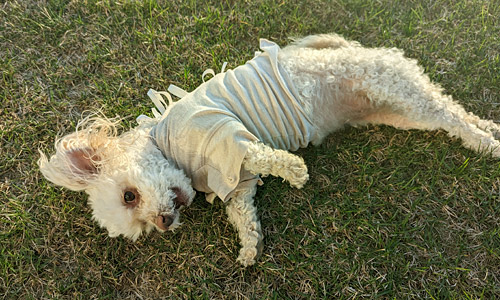
I’m sure the fresh air helped her feel better – as you can see, she was very happy to be outside enjoying the sunshine with me while she recuperated! And I was happy to see that her wound stayed fully covered, no matter how much she rolled around on the grass.
Verdict
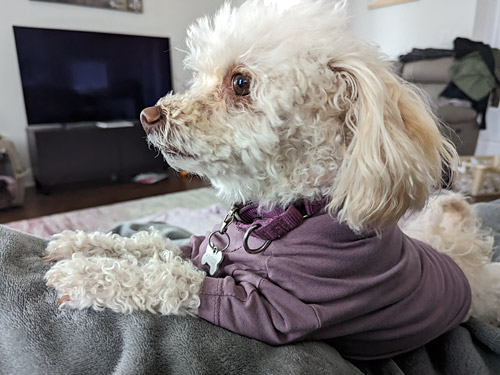
Despite the vet tech telling me Maggie would be left with a ‘gnarly scar’, she healed up incredibly well. She has a tiny scar remaining at the top of her leg (you can just see it as a redder spot in the photo below, before her fur fully grew back). She did sometimes get to lick that area by pushing up the t-shirt sleeves when she wasn’t wearing the inflatable collar, and that’s probably my fault for not always supervising her closely enough.
But the most important thing is that her wound healed cleanly, with no infections and no tumour remaining, and we don’t mind a small battle scar to remind us of what a survivor she is! Now she’s as happy and healthy as ever, and enjoying her garden again this summer without any silly clothes to slow her down 😉
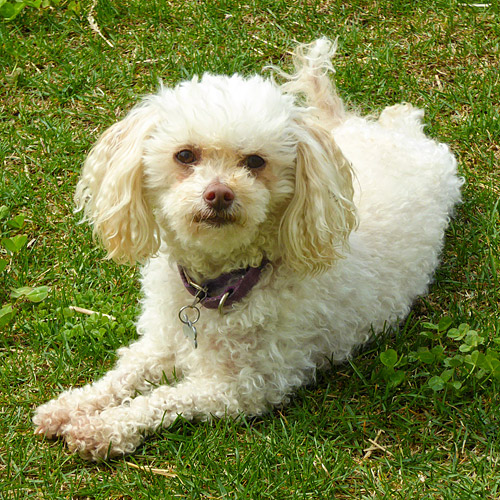 Isn’t she a sweetie?
I hope you’ll never need the info from this post, but if your furbaby ever needs to recover from injury or surgery, I hope you’ll find something useful in Maggie’s recovery story.


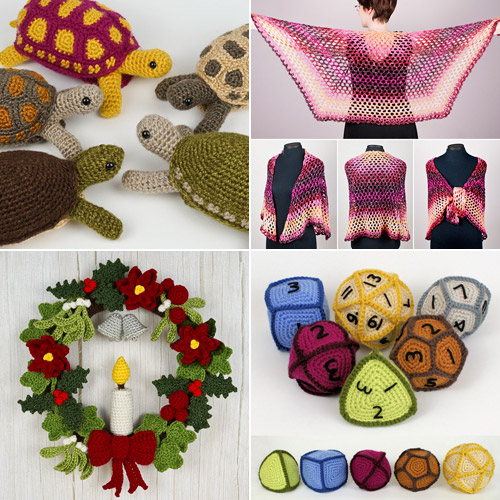 Realistic animals, elegant accessories, unique toys, seasonal decor – there’s something for everyone…

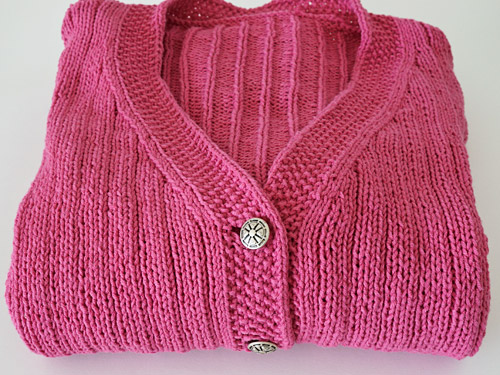
 Hello! Look what I knitted!
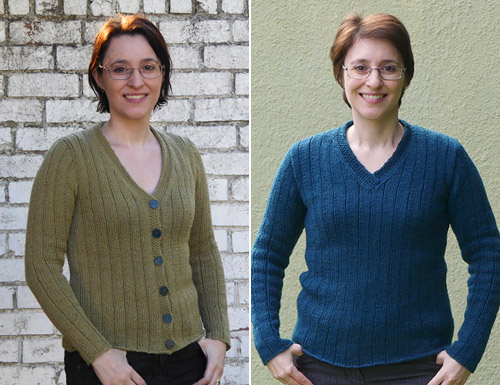
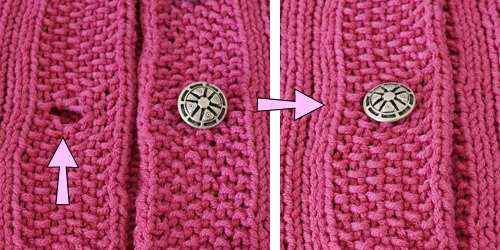 L: The buttonholes are offset to the left side of the buttonband
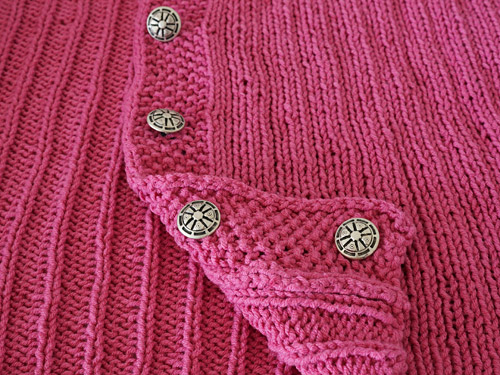


 A selection of the cherry tomatoes I grew in 2024
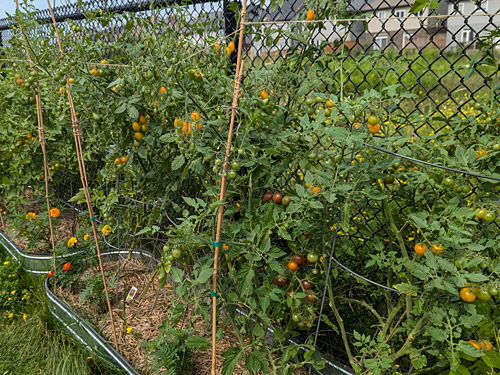 And here’s a small part of my tomato jungle!
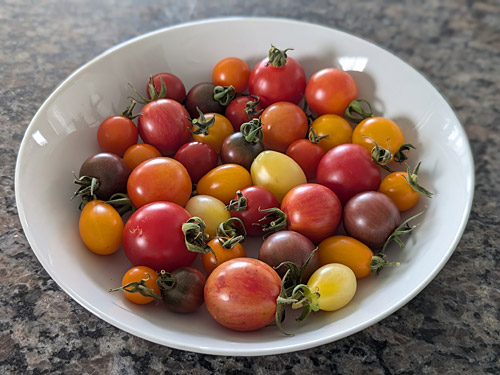
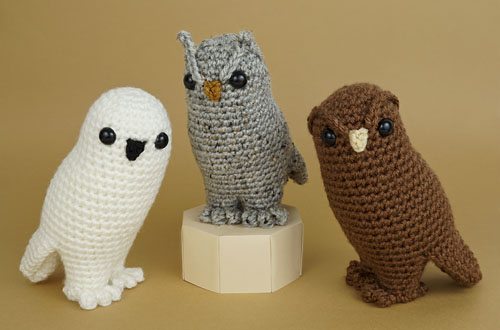
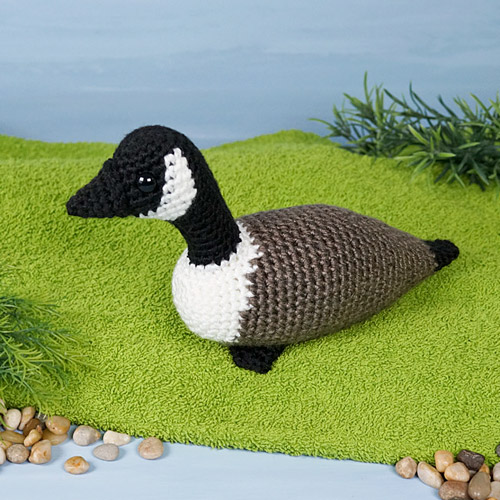
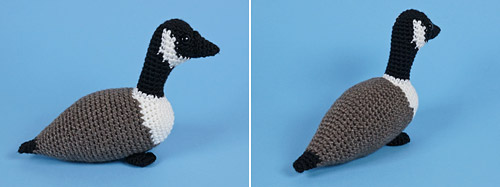
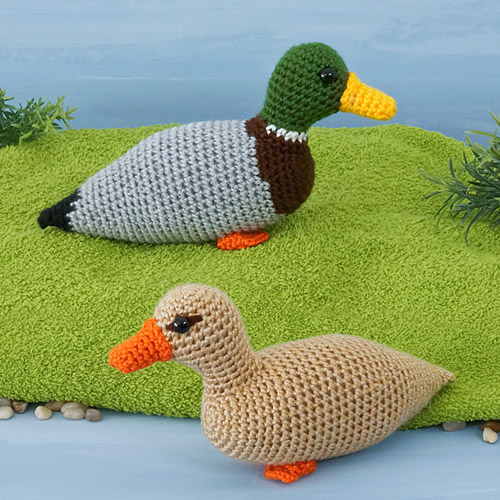
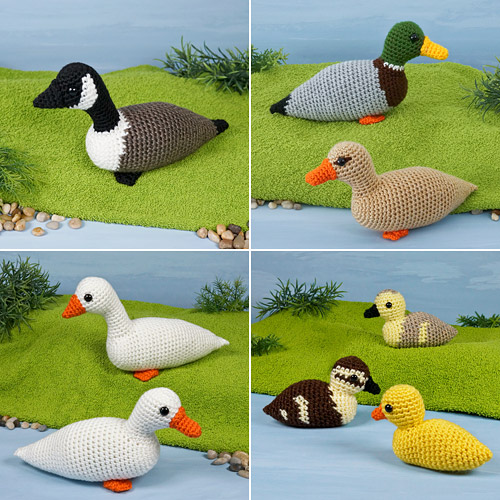
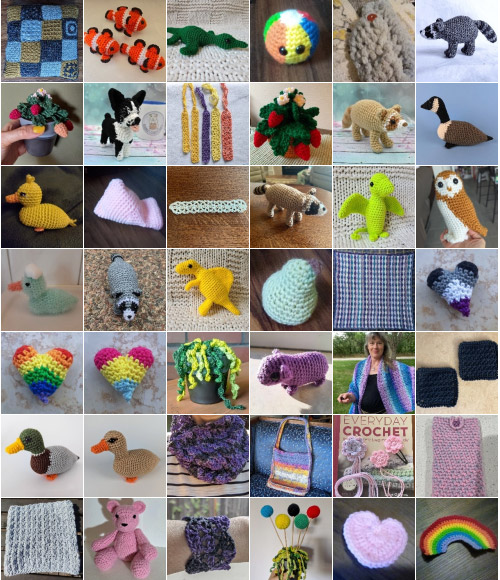 42 projects completed by Team PlanetJune in just over 2 weeks, and don’t they all look wonderful?
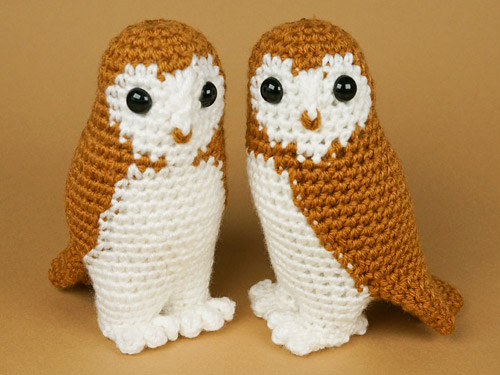
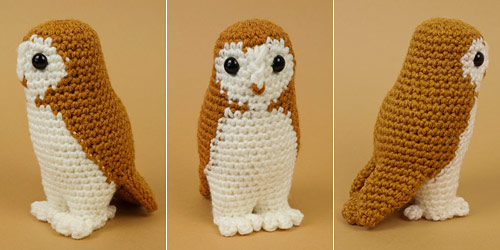
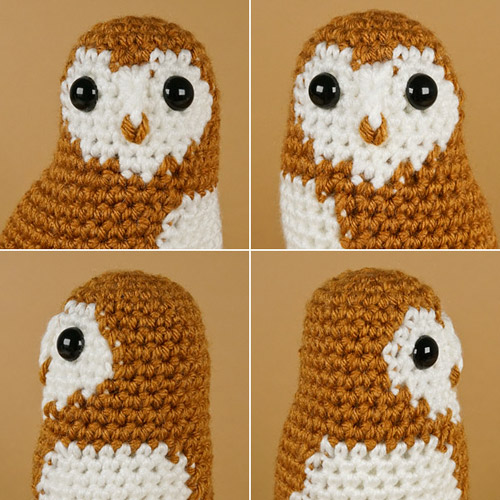
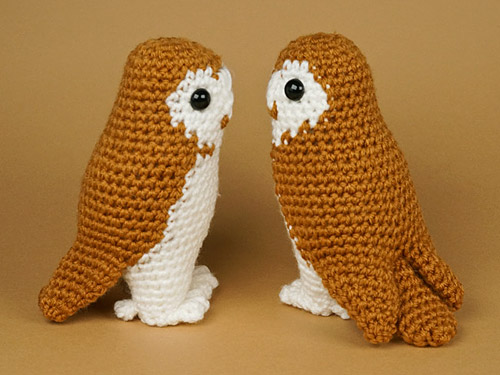
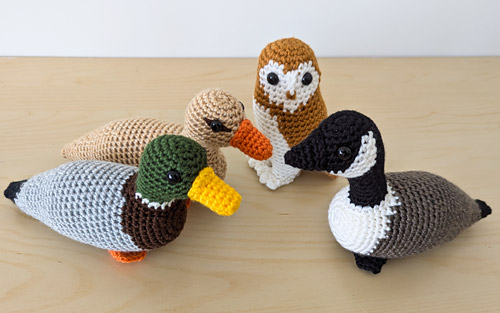 L-R: Mallard Drake, Mallard Duck, Barn Owl, Canada Goose


