Paper Chains & Garlands is here!
Okay, you know you’re too busy when you forget that your first book was released 2 days ago and miss doing a post on the release date…
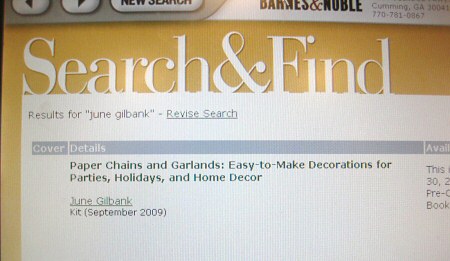
My papercraft book and kit, Paper Chains & Garlands, is now here! It’s available to purchase exclusively through Barnes and Noble.
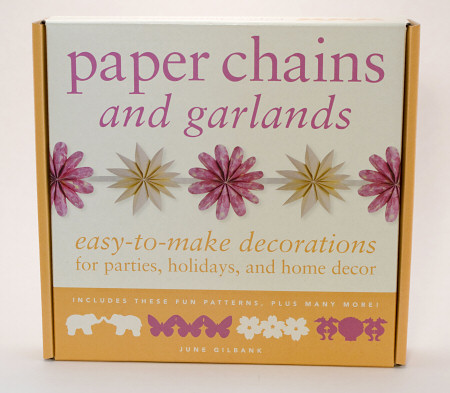
Front of box
I was hoping that I’d be able to sell signed copies through my site, but it turns out that the shipping costs for me to receive author copies from the US make that an impossible dream. So, instead, if you’d like to buy my book, I’d be very grateful if you’d click through from the links on my site, so I can make a tiny commission from your purchase!

Back of box with pictures of all the projects down the left hand side
For those of you without a magnifying glass, the back of the box reads:
Paper chains and garlands make everything more festive! Turn your next celebration into a creatively crafted occation to remember. Create delightful decorations on themes that range from the seasonal (snowflakes, autumn leaves, cherry blossoms) to the decorative (pleated flowers, pinwheels, elephants). The illustrated instruction book by expert crafter June Gilbank shows you how to fold, cut, unfurl, and string chains and garlands like a pro. With tips on how to cut simple paper dolls as well as elegant Chinese lanterns, Paper Chains and Garlands is the perfect craft kit for expert crafters as well as beginners.
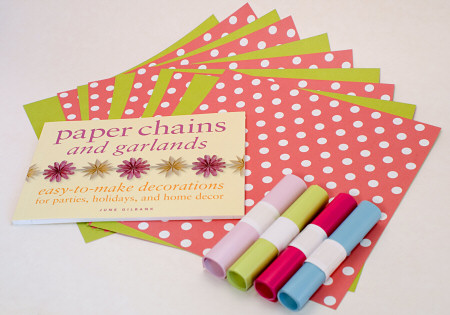
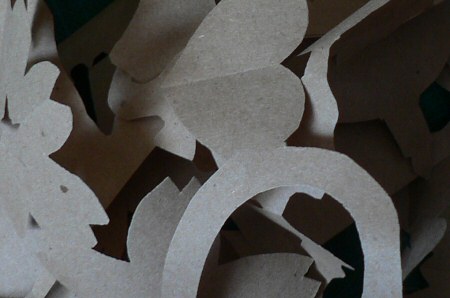
Inside the box: the book, 4 rolls of paper chain paper and 10 sheets of double-sided garland paper
The book has full illustrated instructions for all 14 projects and includes full-size templates.
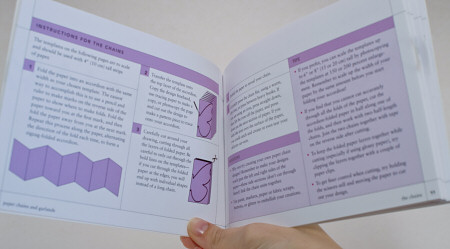
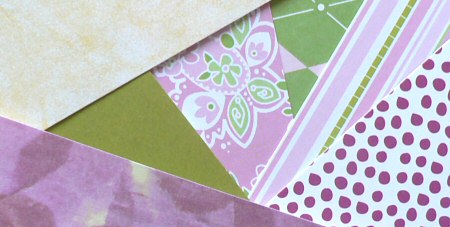
Inside the book: pretty colours, and full instructions & illustrations by me!
I hope you’ll enjoy Paper Chains & Garlands. It’s a sweet little book and kit, and would make a perfect Christmas gift, if you’re thinking that far ahead!
If you’d like to buy it, please click through to Barnes & Noble now. It’s a total bargain at only $9.95, so don’t miss out! Thank you for your support 🙂


 And one more thing: If you sell your crafts and you’re still undecided about signing up for an ArtFire membership, I strongly suggest you give it some more thought. Since I wrote my


