Loon crochet pattern
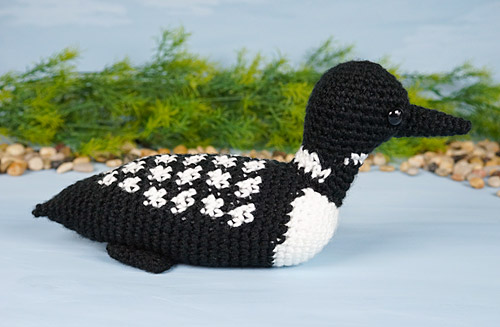
My new pattern is an unmistakable bird for Canadians (ETA: and Minnesotans!) – with a long, elegant silhouette and striking black-and-white markings, it could only be a Common Loon!
Loon Fun Facts
- The Common Loon, also known as the Great Northern Diver, is mostly found on freshwater lakes in North America.
- Loons are completely adapted for swimming and diving. Their feet are placed far back on their streamlined bodies which makes it difficult for them to walk on land, and they only come ashore to breed.
- Loon parents carry their newly-hatched chicks on their backs to keep them safe from predators.
- You might recognise the loon’s haunting call – it’s often (inappropriately!) used by filmmakers to convey an eerie or desolate atmosphere.
- Here in Canada, our one-dollar coin is called a loonie because it features a common loon on the back!
About the Design
With this design, my goal was to capture the smooth lines of the loon and the iconic colour patterns that make the Common Loon so instantly recognisable, without making the pattern too complex.
Their breeding plumage is very distinctive: a white breast, white spots on the back, a white ‘necklace’ around the lower neck, and a narrower white ‘chinstrap’ at the top of the neck. Although I obviously simplified the markings for the pattern, I’ve included all the key features that you’d expect in a realistic loon pattern.
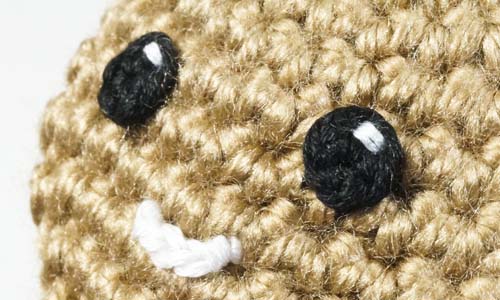
Note: Real loons have red eyes – that doesn’t fit my design aesthetic, but feel free to use red eyes for even more realism, if that appeals to you!

This design presented a few challenges:
- The head and neck shape are more complex than they look – I had to come up with a new technique to keep my trademark smooth amigurumi appearance in a one-piece head and neck.
- It took some careful planning and design to stop the spots from drifting to one side as the body progresses, without adding any colour jogs.
- And I had a balance challenge to overcome too, as loon feet sit so far back on the body! But I got there: this loon can sit straight without tipping forwards or sideways 🙂

About the Pattern
Don’t be intimidated by all the colour changes! I’ve included lots of tips to help you manage the yarns as you crochet the neck, chest, and body spots, so you can get a beautiful result without cutting the yarn unnecessarily.
I’ve also included a complete step-by-step walkthrough for the special neck technique in separate appendices for right- and left-handers at the end of the pattern, so you’ll always know exactly what to do.
And, best of all, there are only 5 parts to this pattern, so once you’ve finished crocheting, you can stitch the parts together very quickly and your loon will be ready to display!

Ready to Crochet?
You can pick up the Loon pattern from my shop right now and start making your own black-and-white beauty!
Or, if you’re not ready to buy just yet, please add my Loon design to your queue or favourites on Ravelry, so you don’t forget about it:

I’m so pleased with how this unique bird design turned out, and I hope you’ll enjoy making it too 🙂

 A double-sized octopus (left) has twice the size and twice the snuggliness of a standard-sized octopus (right)!


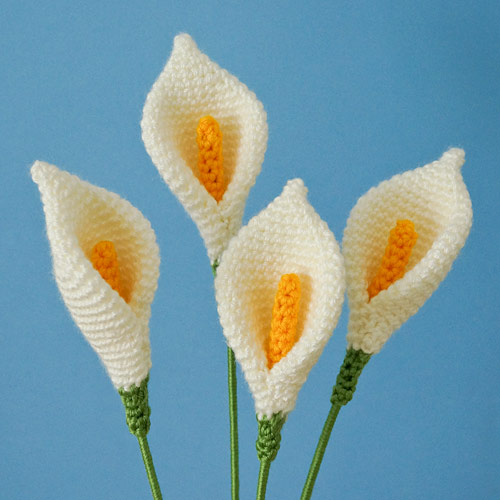

 Here are all my other stemmed flowers:


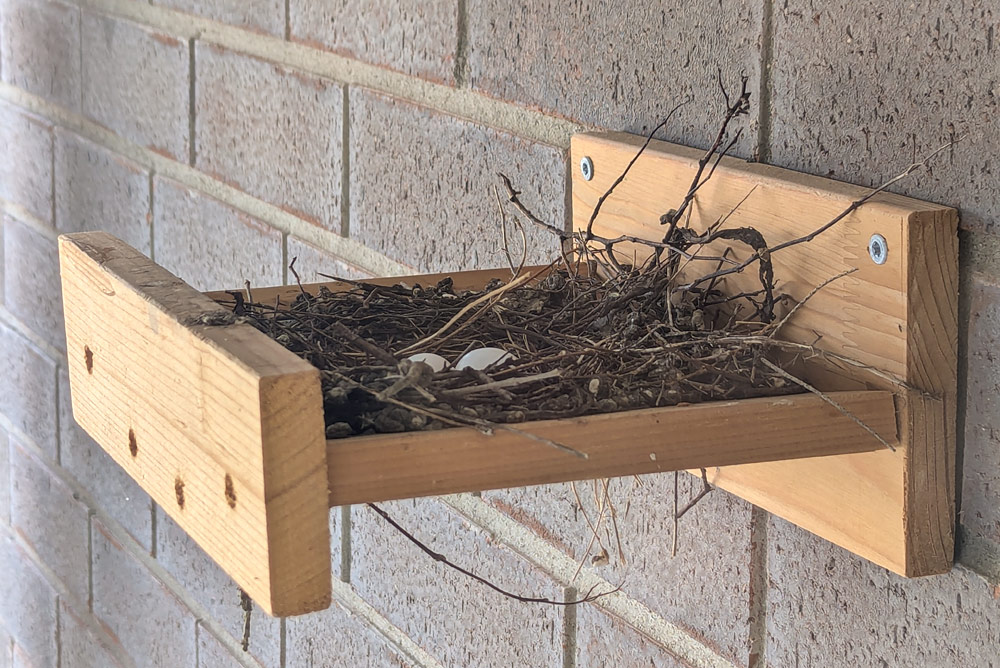
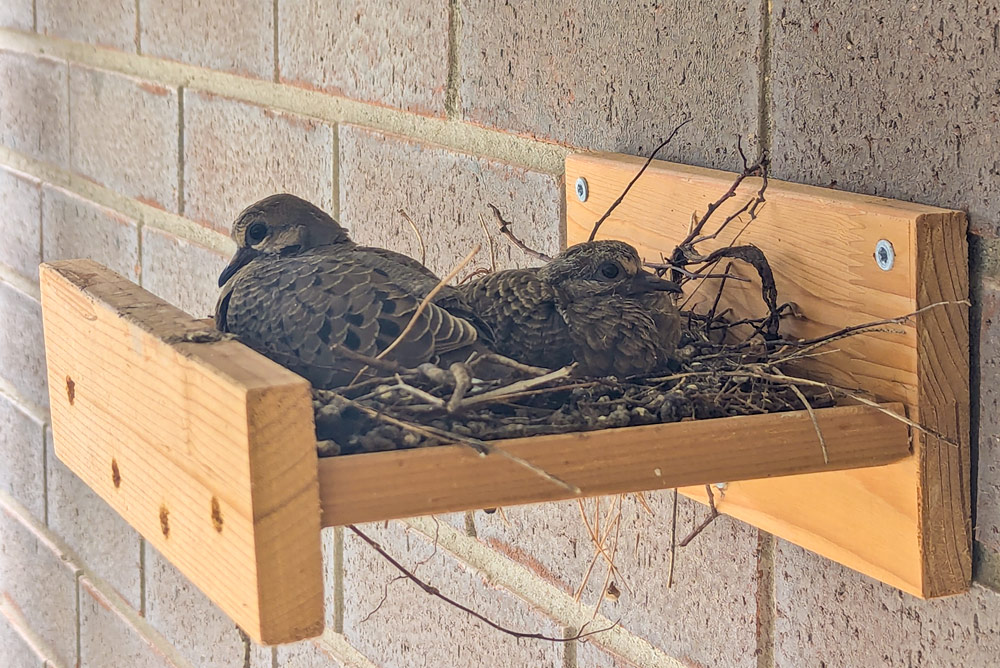
 1st egg laid… 2nd egg laid…
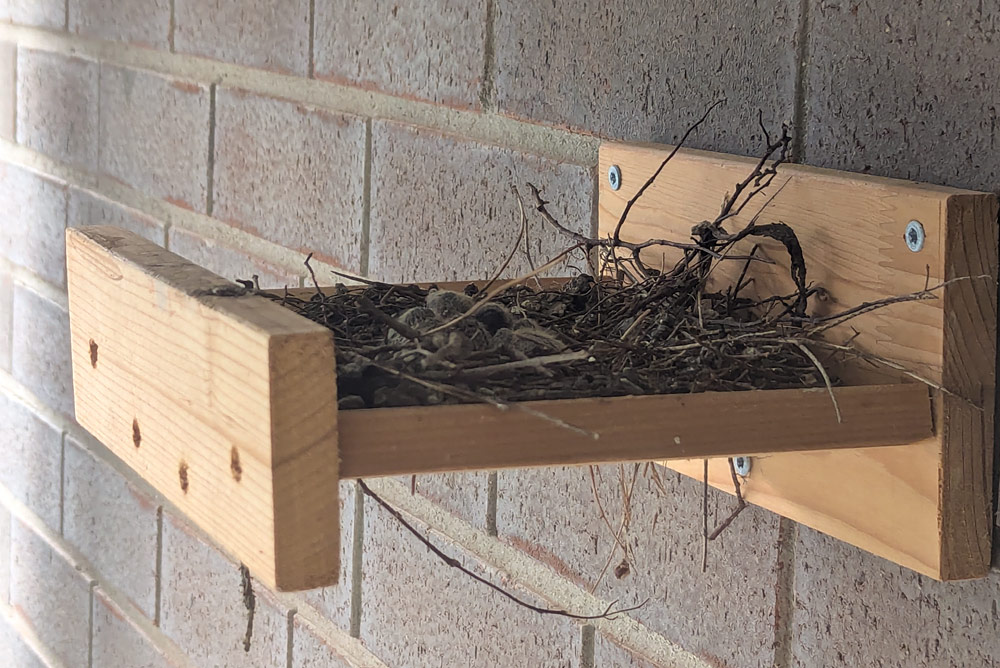
 As soon as a chick hatched, the parents removed the shells to a safe distance (so they wouldn’t alert predators to the nest location)
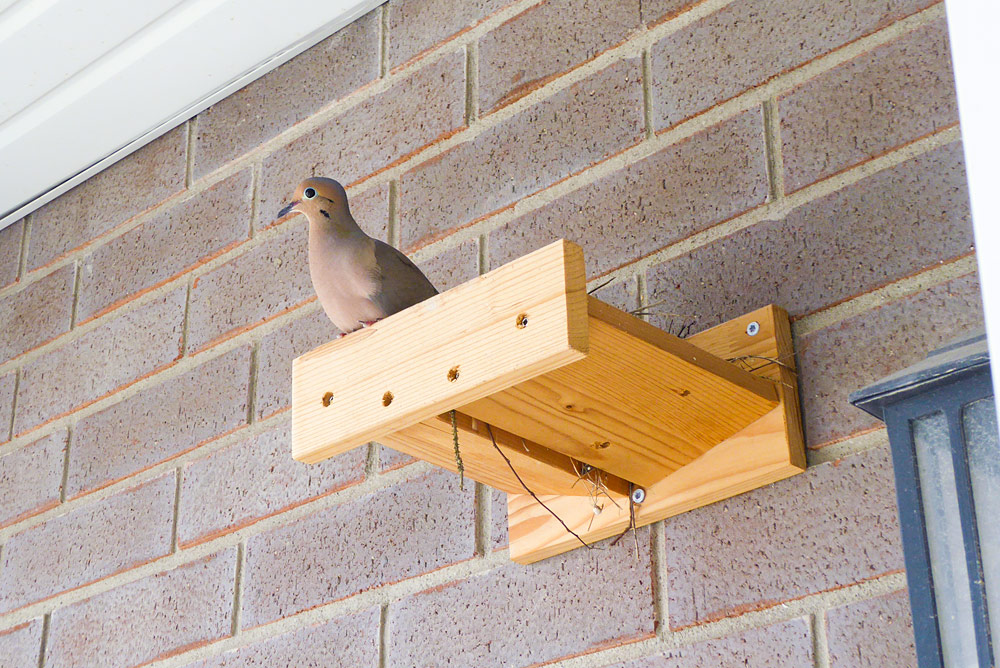

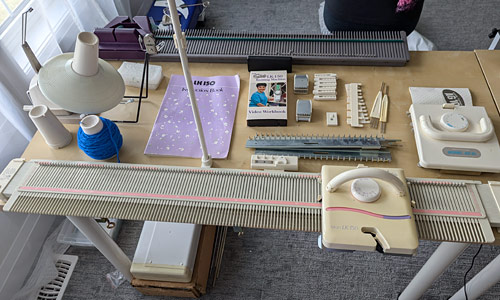 My ‘new’ (to me) LK150 knitting machine

 Maggie loves her winter walks!
 On top: DK-weight sleeve; below: worsted weight sweater body
 A centred double decrease makes a straight line emerging from the tip of the V
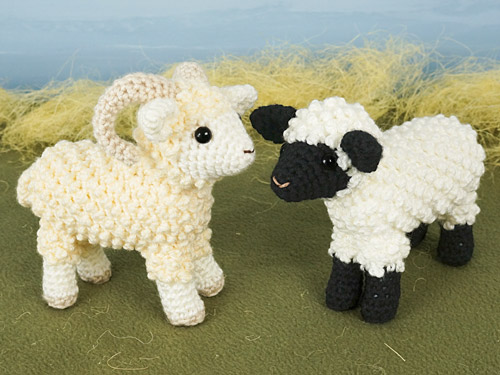


 My
My 

 Giant
Giant