clean silver with foil
I saved a tweet from @craft_tips:
Warm water, baking soda, aluminum foil. Insert tarnished silver, remove after 10 minutes. Clean!
The idea of a quick and easy method to clean it without any effort was too good to pass up – I have a lot of silver jewellery (because I only wear silver or white gold jewellery) and some is horribly tarnished. I googled to try to find more details and the consensus seems to be that foil, baking soda, a little salt, and boiling water are the magic formula.
Let’s see it in action!

Before (I chose the blackest, most tarnished pieces for this photo. Note also the green tarnish on the two earrings next to the horseshoe charm – I’ll refer to this later!)
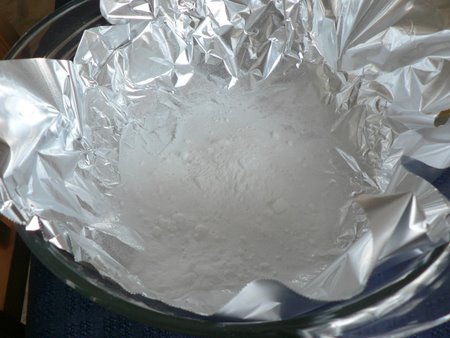
Aluminium foil in the bottom of a glass bowl, with baking soda and a little salt
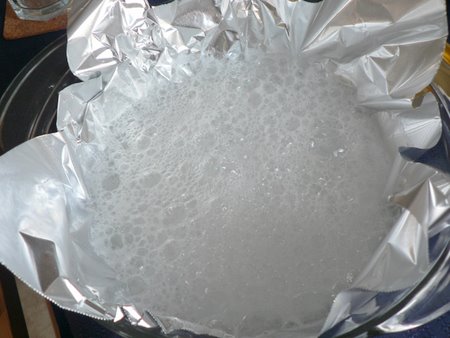
Boiling water added – bubbles!
I added the jewellery – the trick is to make sure that each piece is in direct contact with the foil. Here comes the science part (I probably haven’t mentioned this before, but I used to be a Materials Scientist in a past life): the black tarnish on your silver is silver sulphide. An electrochemical reaction causes the sulphur to transfer from the silver to the aluminium foil, and the tarnish disappears! You can tell it’s working when you smell the sulphur (bad eggs)…
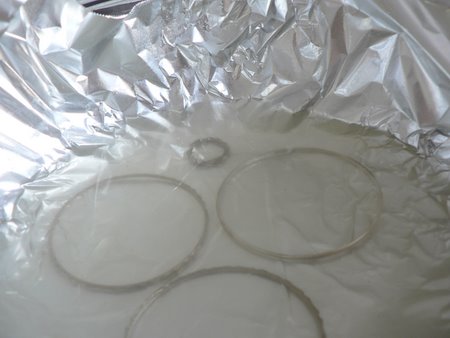
Look how dirty the water becomes (I’d taken out most of the jewellery by this point)
Most of my jewellery came out clean and shiny. Some had a whitish powdery residue (probably from the salt etc) but after rinsing them in clean water, they were fine. Some still looked black, but the black came off easily when I dried it on some paper towel:
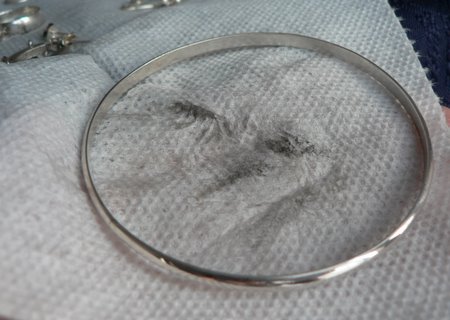
The remaining black tarnish rubbed off easily on a paper towel
Now here’s something interesting: the silver that started with green tarnish to begin with didn’t get clean – it turned orangey/black. This makes sense – pure silver is very soft, so the standard 925 silver (sterling silver) is made from 92.5% silver, and the remaining 7.5% is often copper. It would have been the copper content in the silver that produced the green tarnish in the first place.
Look at the result of the ‘cleaning’ of the green-tarnished pieces:

Yuck – discolouration from the copper content in the silver
The good news – this isn’t permanent. I used silver polish on these pieces and they turned back to shiny silver (phew!). But I recommend that if you have any silver with green tarnish, don’t use the baking soda method – it won’t help!
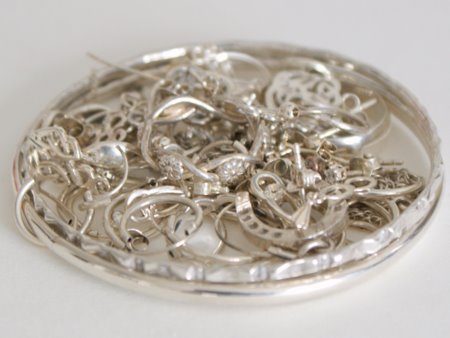
After rinsing (and polishing the copper from the surface of the above earrings), here’s all my jewellery:
And here’s the final proof that it does (mostly) work – remember my blackened flower ring from the first picture? Look at it now!
Clean and shiny!
Yay! I can wear it again! And I didn’t have to polish into all those little crevices by hand 🙂
If you’d like to try this technique yourself, you just need aluminium (that’s aluminum to the Americans) foil, baking soda, salt, and boiling water to make most of your silver look like new again with zero effort! Just don’t forget to rinse the pieces after cleaning (if you leave the salt residue, it’ll corrode the silver).
I hope you found my review interesting – just tell me if I get too science-geeky and I’ll scale it back in future 🙂
Edited to add:
Several people have asked about silver jewellery that includes gems or other stones. I’ve mentioned a few important tips about those in the comments, so I thought I should add them here too:
- Pearls are NOT stones and must be treated very carefully with only a damp cloth or a very mild soap solution. NEVER put pearls into a baking soda solution!
- The finish of some gems may be damaged by hot water or salt, so do Google for cleaning instructions for your particular gemstone to make sure it’s safe before you try this or any other cleaning method.
- If your stones are glued in place, there’s also a chance that the glue will react with the solution, or even melt in the boiling water.
So, if in doubt, save this technique for your silver jewellery that’s all. silver and doesn’t have any gems, stones, crystals etc.