Peanut Butter Dog Cookies
Last week was a double celebration: my beautiful pup Maggie’s 8th birthday, and 8 months since we adopted her! She’s completely changed my life for the better this year – she’s a perfect emotional support dog and companion, I get daily fresh air and exercise on our walks, and together we’ve made lots of friends in our neighbourhood.
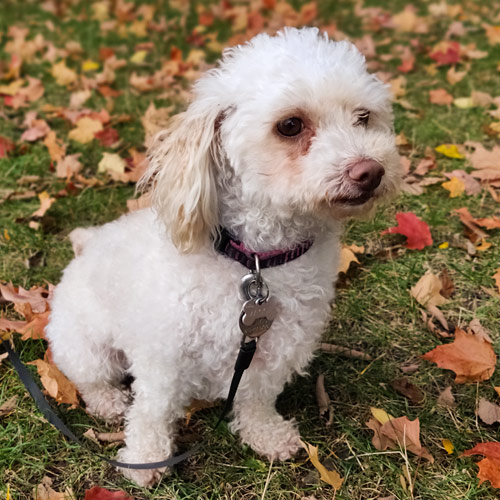
Our first fall colours with our pup – and my first success at getting her to pose for me!
We recently discovered that Maggie loves peanut butter, so, to celebrate those 8s, I decided to try making some peanut butter cookies for her. I compared several recipes and then came up with my own, and it was a huge success!
With only 3 healthy ingredients and no additives or preservatives, I think I may have stumbled on the perfect recipe, so I’ll share it with you below so you can make some for your own canine companions.
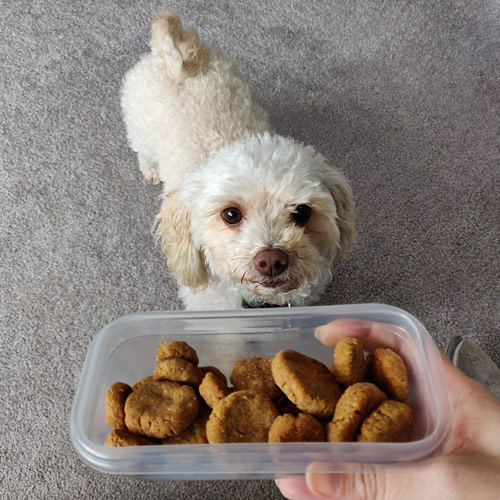
Is it cookie time?
Peanut Butter Dog Cookies
Makes about 50 tiny cookies or 25 small cookies (or you can halve the recipe for a smaller batch).
Ingredients
- 1/2 cup (55g) whole wheat flour
- 1/4 cup (75g) natural peanut butter
- 2 tbsp unsweetened apple sauce*
- 2 tbsp water
*Tip: If you can’t find a jar of apple sauce, 100% apple baby food is exactly the same
Method
- Preheat oven to 350°F (180°C).
- Mix all ingredients in a bowl to form a thick dough.
- Pull off small pieces, roll each into a ball and flatten to 1/4″ inch (6mm) thick.
- Place on ungreased baking sheet and bake for 18 minutes or until golden brown. Allow to cool completely before serving/storing.
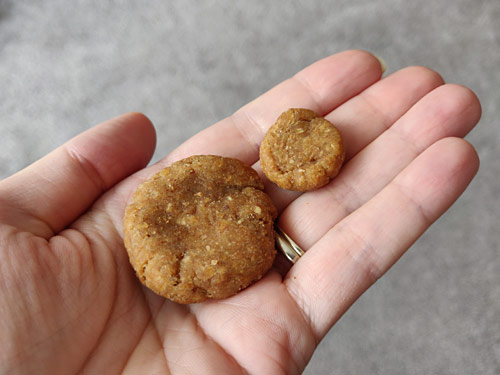
These are the 2 sizes I made – I got bored making the tiny bite-sized ones and made half my batch double-sized. They were both equally enjoyed.
These cookies don’t spread at all in the oven, so, if you wanted to be fancy and make beautiful giftworthy cookies, you could roll out the dough and use a mini bone-shaped cookie cutter, but Maggie and her neighbourhood friends confirm that my rustic round cookies are just as tasty!
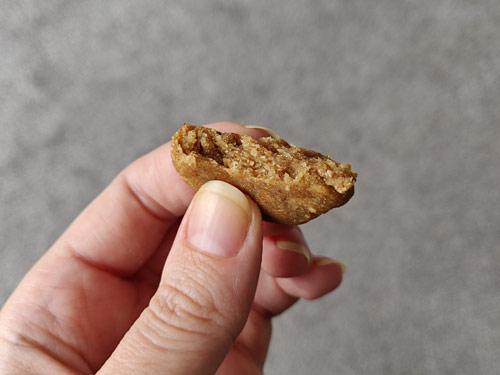
They are easy to break apart, but not crumbly.
My batch lasted for about a week and the last few were noticeable drier to me but still equally enjoyed by Maggie, so I think they should keep for at least a week in an airtight container.
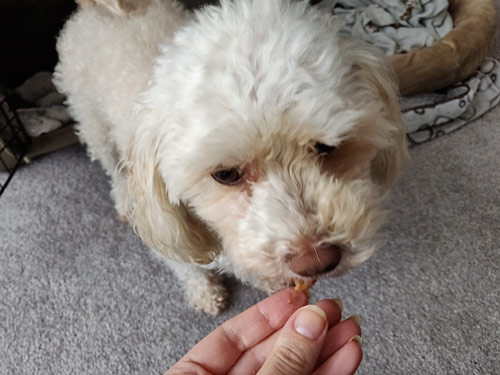
My name is Maggie, and I approved these cookies
Maggie’s main present – a sweater I’m knitting for her on my knitting machine – isn’t quite finished yet, but it’s not quite dog sweater weather yet, so that’s okay! I’ll share pics once it’s finished. 🙂