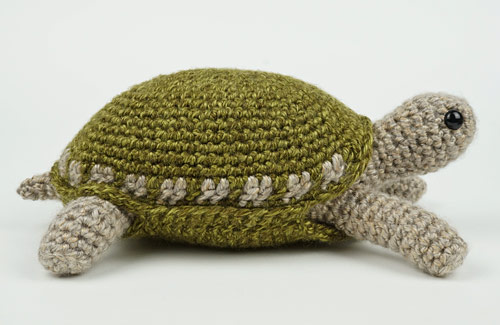
I’m so happy with the reception my Tortoise patterns have had already! Thank you so much to everyone who’s already bought them or shared them on social – I’m so glad you love them too!
It’s been a very long journey to get to this point, so I thought I’d put together a visual diary of creating my most complex, detailed and challenging pattern to date.
For anyone who looks at the pictures of my finished tortoises and thinks that doesn’t look so hard to design, this post should be an eye-opener! Although my style is to create designs that look smooth and simple, the process is anything but.
So here goes: a decade to get properly started, and then 10 months to get finished!
2011: Conception
I came up with the idea to make a tortoise along the same lines as my AquaAmi Sea Turtle, with a segmented shell and amigurumi-style head and limbs.
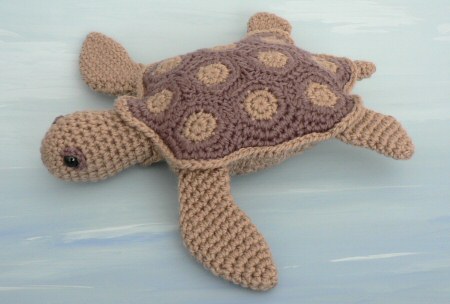
There were a couple of other cute tortoise patterns out there, but they all had circular shells and that’s just not right: tortoises have very oval-shaped shells. I sketched out a design for the shell segments that would make an oval shell using simple geometric shapes, and started crocheting.
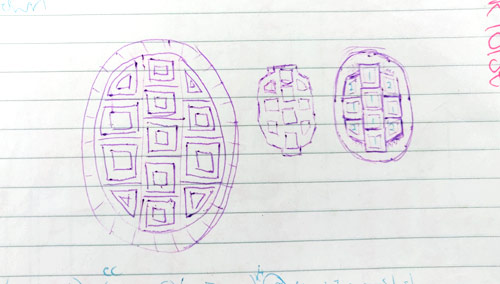
The initial concept for the shell
Once I started to assemble my pieces, I quickly realised the problem with my design: it was going to produce a flattish shell top. That’s fine for a sea turtle, with its streamlined shape for swimming, but completely wrong for a land tortoise with its domed shell.
I was a fairly new designer back then, with only a few years of experience, and the challenge of creating a very specific asymmetrical 3D shape from simple geometric segments was beyond me – I just didn’t know where to go from there – so I set it aside, and the notes and prototypes were filed for later…
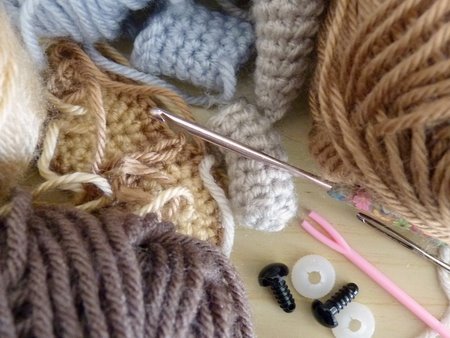
You can see a couple of the original shell segments (with some dinosaur parts!) in this work-in-progress photo from 2011 – before I realised my idea wasn’t going to work…
2012-2017: Research
Moving from Canada to South Africa in 2011 brought an unexpected benefit. Although I knew that tortoises must live wild somewhere in the world, I only specifically knew about giant Galapagos tortoises, until I made the delightful discovery that ‘normal’ tortoises are pretty common in conservation areas and empty wild spaces in the Cape!
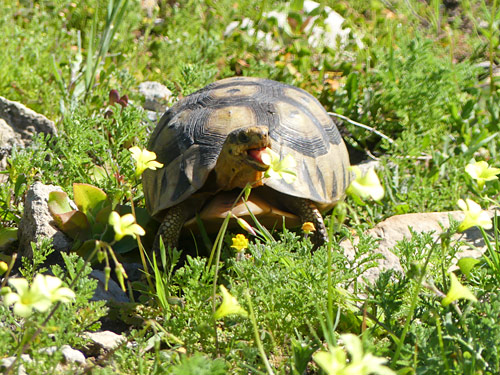
Throughout my years in Africa, I had endless opportunities to meet and study tortoises, from spotting wild tortoises while I was out in nature…
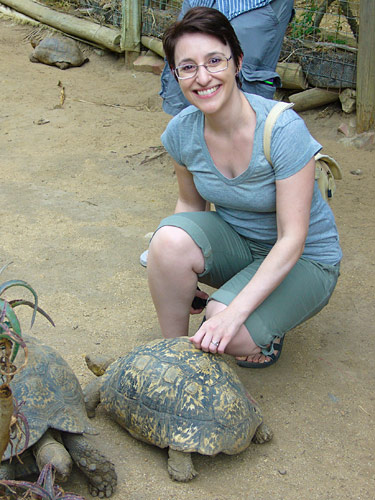
… to hanging out with rescued tortoises at my local wildlife sanctuary, World of Birds (tortoises live for a very long time, and keep growing throughout their lives, so ‘cute’ pet tortoises are often abandoned when they get too large)…
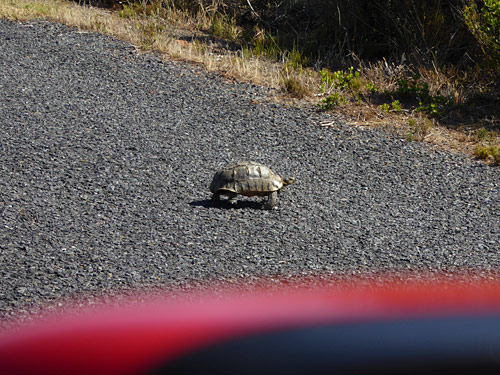
… to braking for wild tortoises crossing the road in undeveloped areas (and ‘awwww’ing whenever I spotted an adorable baby tort!)…
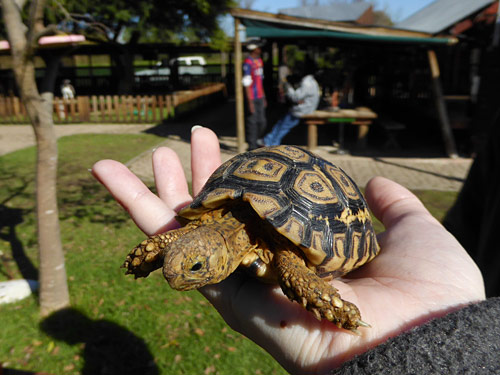
… to getting to hold those baby torts and learn more about them at an education and conservation centre…
In all that time, I learnt to appreciate these fascinating reptiles more than ever, and study their shells and markings up close.
2020: Realization
January
After my Christmas break, I was ready to jump into new designs for 2020! With an extra decade of design experience under my belt, I had a new idea for how to tackle that tortoise shell shape.
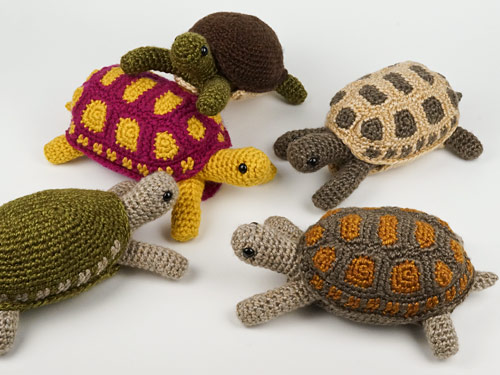
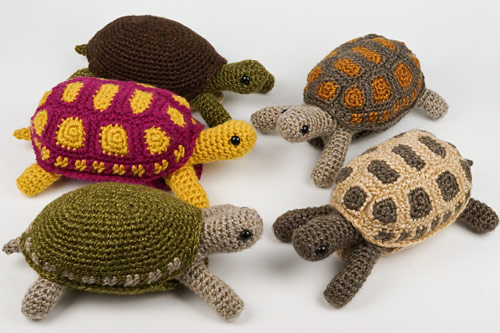
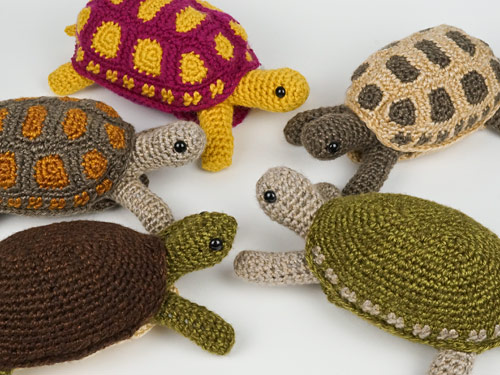
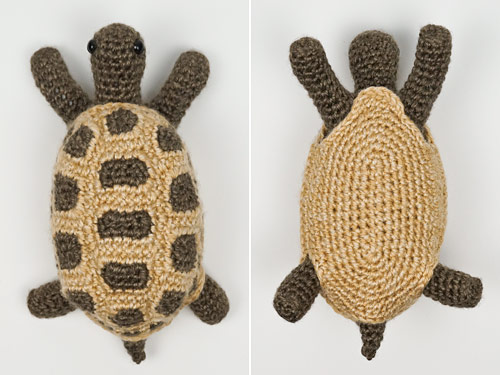
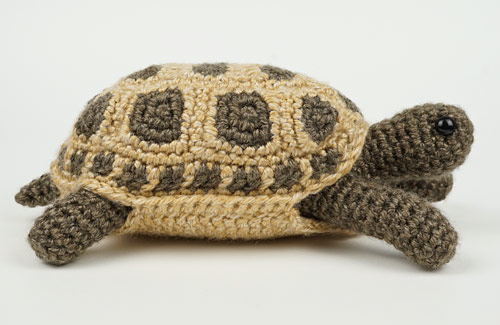
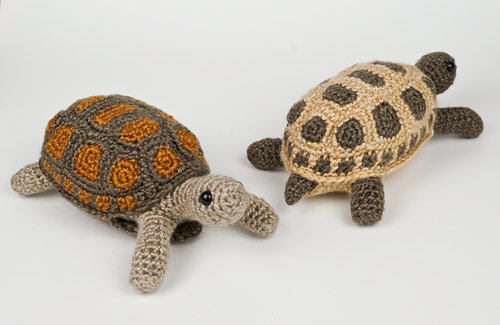
After all my research time, I knew exactly what I was aiming to create: a life-sized realistically-shaped tortoise with correct (if simplified) shell structure:
- The carapace (upper shell) has 13 main scutes (segments) with 5 vertebral scutes down the middle, 4 costal scutes around each side, plus a rim of marginal scutes.
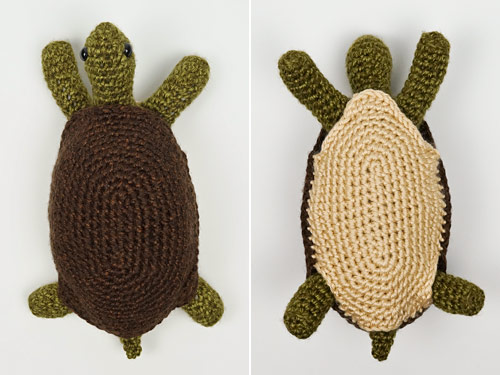
- The plastron (lower shell) is shaped to give the legs room to emerge, and has a gular (throat) scute at the front.
You don’t need to know all those details, but when you look at the tortoise, it should just look right to you, from all angles.
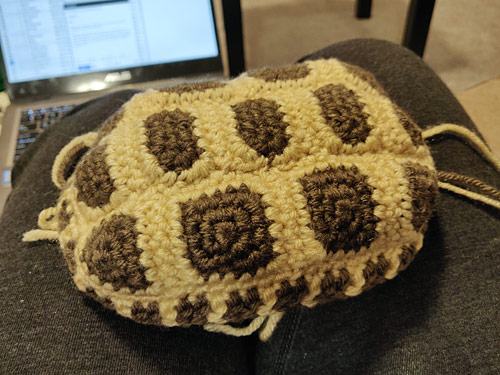
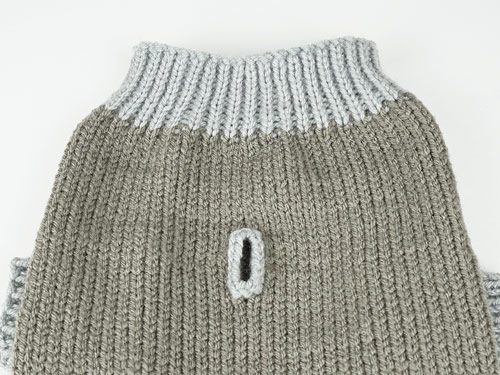
An early prototype: the general idea is good, but it’s too boxy and the scute shapes are all just a bit wrong
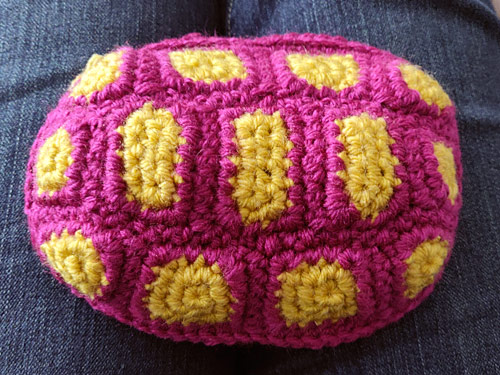
Completely reworked in shape and size, this is almost the final shell design, minus the edging
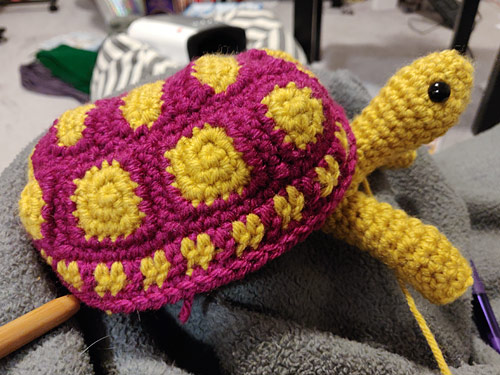
It’s beginning to look like a tortoise!
February
The basic design was finished – and check, check, check, I’d included all the features I wanted in the shell, the shape was lifelike, the size was great, and the shell fit around the body beautifully.
You probably think great, I was 90% done and it’d all be smooth sailing from there? If only that were true – the fun designing part was now basically finished, but a lot of hard work was still to come…
March
To take my mind off the lockdown etc, I decided to test my prototype instructions by making a giant tortoise (using the techniques from my Complete Guide to Giant Amigurumi)…
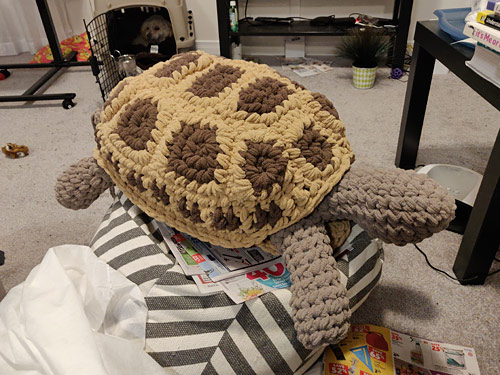
My biggest (and certainly heaviest) giant amigurumi to date!
It was so much fun to make, but it highlighted a lot of things I’d need to explain in the pattern, and that I’d need to refine the design to simplify the assembly process. It turns out that coming up with the design, although it was a long time in the making, was just a small step in the process of producing this pattern – being able to clearly explain something that’s so unique was a whole new challenge.
May
I started prototyping expansion pack ideas while trying to figure out how on earth to make a useable and enjoyable pattern from my well over 150 step-by-step photos and 16 pages of handwritten notes…
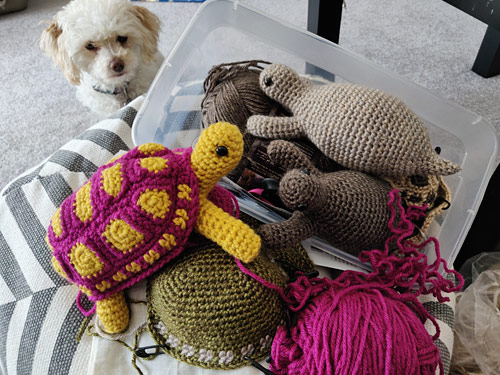
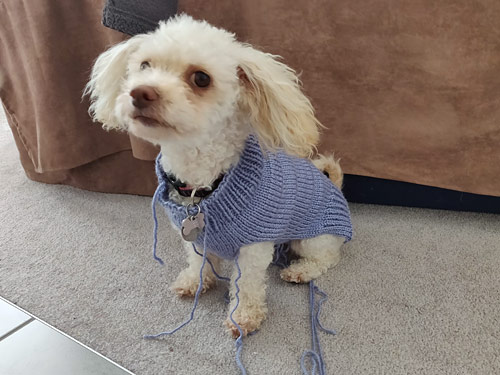
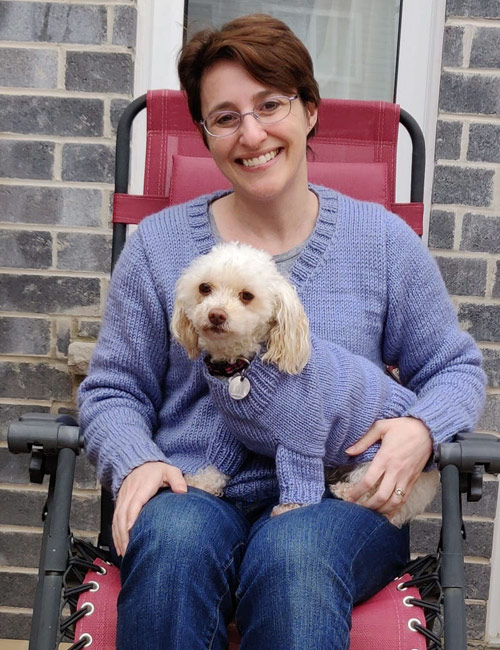
Maggie looks a little perturbed by the shell-less tortoises!
July
I felt like the pattern was starting to get into shape, but I still had parts I hadn’t figured out how to explain clearly when I had my accident and temporarily broke my brain. Concussion meant no chance of making progress on such a high-level task – I couldn’t concentrate on anything, let alone something so demanding.
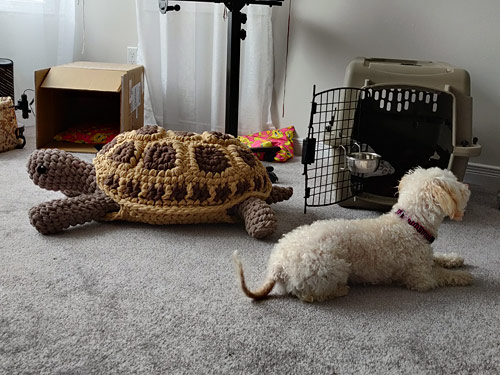
My giant tortoise was now part of the family and a fixture in my living room, but I wasn’t sure if he’d ever be able to have any crocheted relatives around the world…

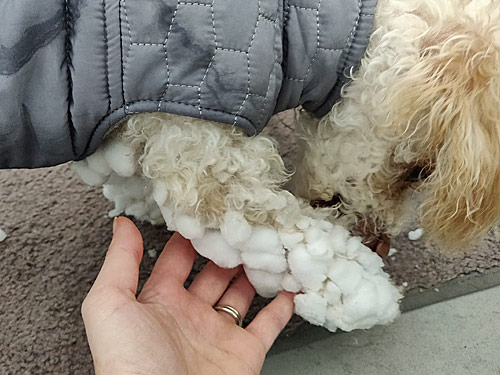
Yes, my giant tortoise is bulkier than Maui and Maggie combined!
September
With the post-concussion symptoms finally fading, I could get back to whipping this pattern into shape. But – disaster – I couldn’t remember anything I’d been planning to include, or where I’d left off! I had to make another complete tortoise from my notes so I could re-learn the design well enough to explain it clearly.
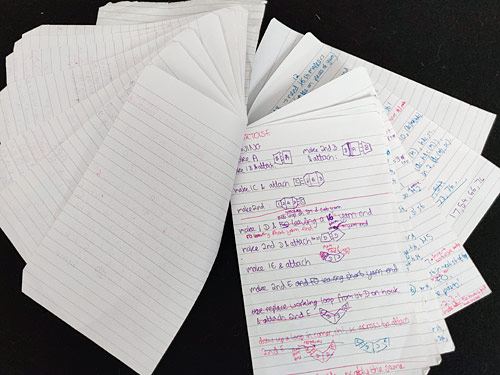
My 16 pages of handwritten notes – there’s a pattern hidden in there somewhere…
I started to regret thinking this could even be possible – the shell was so complicated, and there were no precedents to consult for any of the techniques I’d come up with to make this design work with 18 pieces and no sewing at all (except the back legs).
I threw out pages and pages of explanation I’d put into the pattern that were either too technical or relied on too much expertise – I didn’t want to drown you in irrelevant info, or for this to be a pattern that only a few advanced amigurumists would be able to tackle!
I kept tweaking the techniques and the instructions to make things clearer and cleaner and easier to follow, but it felt like I’d never reach the end of this marathon.
October
Success! With 18 pages, over step-by-step 70 photos with lots of annotations to make things even clearer, and separate right- and left-handed versions, I finally had a pattern that I could be proud of. I’d tried to include solutions to everything that could possibly trip you up, so your questions are answered before you even think to ask them.
This pattern is unlike anything you’ve seen before. If you follow it carefully and add stitch markers at all the specified places to make sure everything will line up, it’ll guide you step-by-step through the whole process to make a fantastic tortoise!
It’s very fitting that this design is a tortoise: it took a lot of small slow steps to go from a vague concept to a great idea to a satisfying design to a solid finished pattern, but, as in the Tortoise and the Hare fable, slow and steady wins the race.
I always try to give every design the time it needs to become the best pattern it can be. (But I do hope that my ideas won’t all take 10 years to come to fruition from now on!)
I hope you’ve enjoyed this insight into my design and patterning process. And if you’d like to enjoy the results of all that work, you can pick up my Tortoise crochet patterns from my shop!