It’s hard to believe that 2009 has ended and I’ve been self-employed for a whole year already! My resolution from last year was “to give myself the chance to succeed, but to not beat myself up about it if things don’t go as well as I hope”, and I think that was a good resolution to have. Taking the leap into self-employment was not an easy decision, and this year has definitely been an eye-opener for me. My original plan was to spend my extra time designing more crochet patterns, and see if I could build my business that way, but, in the end, that wasn’t what happened at all…
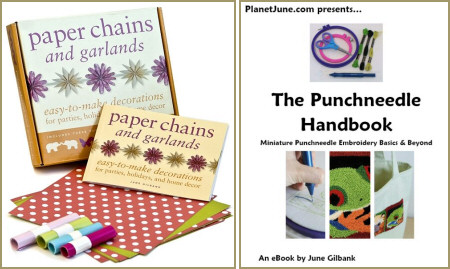
The very next day after I made the decision to quit my job, I was approached to write a papercraft book (as a result of my work on Folding Trees). As it was my first book, I was totally unprepared for the amount of hard work this would entail – designing projects, shopping for materials, making project samples, giving myself a crash course in Adobe Illustrator so I could create quality illustrations for the book… oh yeah, and actually writing the book! But it all came together in the end, after 3 months of very hard work, and the end result, Paper Chains and Garlands, is out now to buy from Barnes & Noble stores and online.
After that, I came up with the bright idea of self-publishing a punchneedle embroidery eBook, so I spent a couple of months writing and photographing that, and designing patterns to go along with it. The result was The Punchneedle Handbook and a range of (currently) nine patterns.
Two books in one year!
I also had two sewing patterns published in the book One Yard Wonders. I taught three crochet classes at two Creativ Festivals, plus gave an online class at Crochetville. I gave a talk on designing amigurumi animals, and I was interviewed for two podcasts: Getting Loopy (about my crochet designs) and CraftyPod (about my experiences with print and eBook publishing). I finally finished my crocheted baby orang utan and was interviewed about it for an online art magazine. I did some web design contract work. And, for the past few months, I’ve also been working on 2 secret projects which I can’t reveal quite yet.
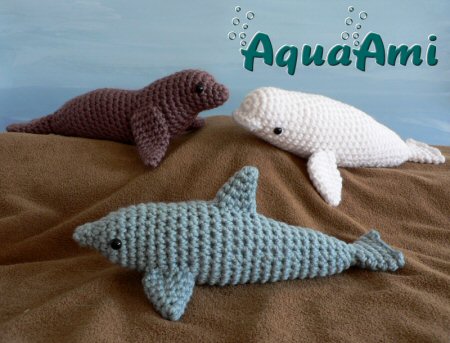
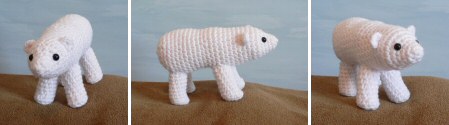
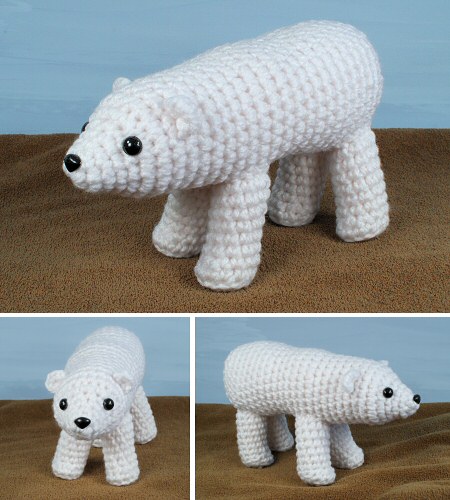
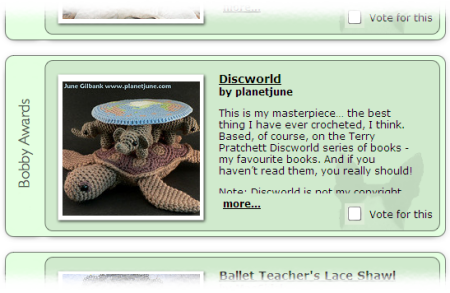
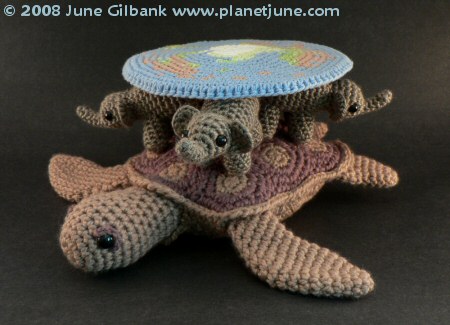
So really, it’s a wonder I had time to crochet at all, let alone follow my original plan of increasing my rate of producing new patterns! But I did manage to publish 16 new crochet patterns in 2009, some of which (African Violets, Alpaca, Dinosaurs, Christmas Trees) are now among my bestsellers, and I bought a special notebook that’s now filled with ideas that I haven’t had a chance to make yet, so I’m in good shape to start 2010.
Here’s a visual roundup of most of what I’ve made this year:

All in all, I will count 2009 as a very successful first self-employed year. There are a lot of things I was hoping to accomplish that I just haven’t had a chance to do yet, but I’ve worked very hard all year and I think I have a lot to show for it. Having said that, my resolution for the coming year is to learn to say “no” to some things – there are only so many hours in the day, and it’s not healthy to work all the time! Setting priorities is key, and this is why Eve and I made the difficult decision to close Folding Trees last week – we both have too many other things to juggle and something had to give so that we could save our sanity and spend some time with our families once in a while…
As for 2010: bring it on! I already have enough ideas to fill the entire year, but I’m not going to write a list of plans and goals here: I’ve learned to expect the unexpected and be flexible with my plans so I can seize new opportunities when they arise. I’m looking forward to continuing my journey, wherever it leads me.
On a personal level, 2009 has been a difficult year for many of us, myself included, so let’s cast all that off and move forward into a new decade and a new adventure! Don’t be afraid to try new things: shrug off the things that don’t work out and be encouraged by your successes. I wish you all a very Happy New Year, my friends!