Let’s get this out of the way first: I was given a copy of this book to review. But I’m not being compensated for this review in any other way, and the following is based on my honest opinions!
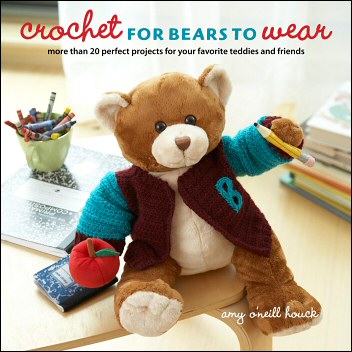
Crochet for Bears to Wear: More Than 20 Perfect Projects for Your Favorite Teddies and Friends is the new book by Amy O’Neill Houck. A totally original concept, this is a book of crochet clothing patterns in teddy bear sizes. Amy has previously written the companion book Knits for Bears to Wear, so it was about time we saw a crochet version!
In this review, I’ll cover an overview of the book, my experience in making one of the garments for my Fuzzy Bear, and keep reading to the end, because I’ll be giving away a copy to one of my readers!
Overview
Coincidentally, the first crocheted garment I ever attempted was one of Amy’s designs! (I still wear my Sweet Sweater around the house during the winter, although I added a few extra rounds to the bottom and sleeves since taking that photo, to make it extra snuggly.) I was impressed that the pattern was written so that, using a swatch, your own measurements, and some basic calculations, you can easily tailor the pattern to fit you perfectly. Although the patterns in this book are designed for standard 18″ tall bears and dolls, Amy uses the same approach here so that you can customize the garments to fit any favourite teddy, or even a small child.
What I like most about this book is that it uses the same crochet techniques and garment constructions that are used for real clothing, so it’s a great way to learn the basics without making the commitment of a full-sized sweater. If the thought of crocheting clothing intimidates you, seeing how a small, quick bear outfit comes together will hopefully give you the confidence to try crocheting something similar in a larger size for yourself!
It’s hard to be very critical of this book! My one comment would be that I had assumed that the ‘more than 20’ projects would mean there are over 20 outfits included. In fact, each item counts as a project, so, for example, the baseball jersey, cap, mitt and ball count as 4 projects. There are actually 13 individual outfits in the book, although contributions from guest designers Robin Chachula and Drew Emborsky and a real variety of styles and techniques ensure that there’s very little repetition, and every outfit your teddy bear could possibly need is represented.
Making a Garment: My Experience
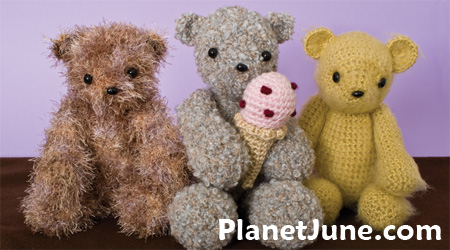
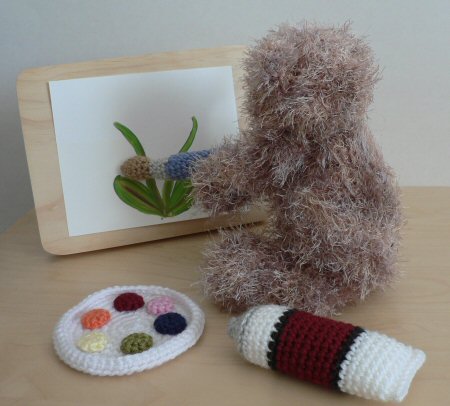
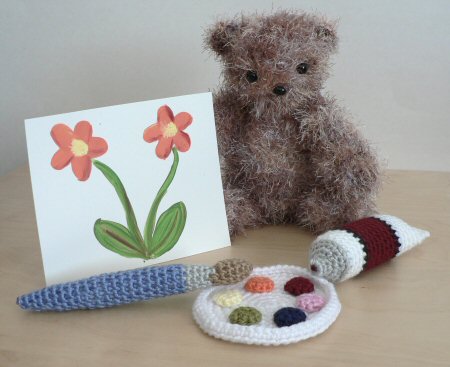
Although it’s assumed that you’ll be making garments for purchased teddy bears and dolls, crocheting clothing for your own crocheted toys makes it extra special. My Fuzzy Bear, at only 11″ tall (standing), is far smaller than a standard 18″ teddy bear, so I thought that making a garment for him would really put the custom-sizing instructions in the book to the test! I chose the Gone Fishing Vest, although I used a silky acrylic yarn in a rich colour to give it a different look – Fuzzy Bear isn’t really the outdoorsy type 😉
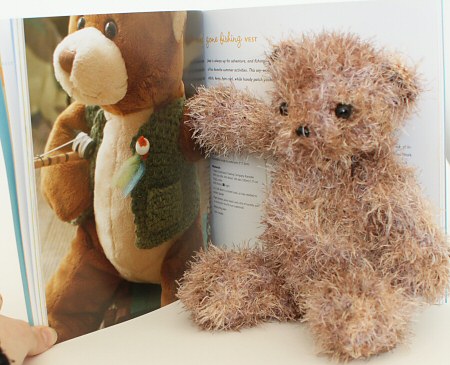
Fuzzy Bear says “This one please, but in plum!”
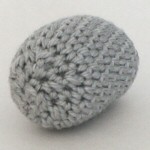
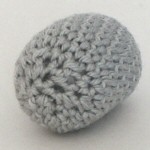
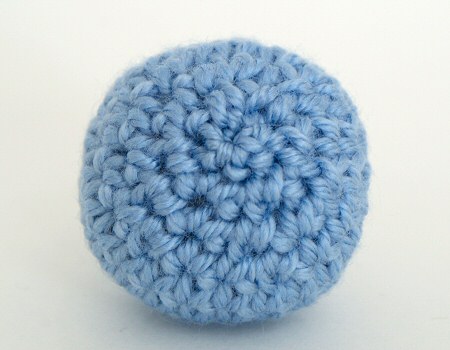
As the book explains, before starting to crochet a garment, you always need to make a gauge swatch using your yarn and the recommended hook size. Everybody crochets differently, and if you don’t check that your measurements match the gauge in the book, you could end up with a piece that’s far too large or small. My first gauge swatch, using the recommended ‘light’ weight yarn (Bernat Satin Sport, in my case) and the recommended G hook, was far too small. I actually made 3 swatches (with G, H, I hooks) before I met the required gauge, so it’s a good job I checked!
Next, to take Fuzzy Bear’s measurements using the handy panel in the book, so I could calculate my starting chain length. Here I hit my first little problem: in the front of the book, it explains all the measurements you may need for all the patterns, including the Chest Circumference and Chest Width. But the sidebar for my pattern just told me to “Measure your bear’s chest at the widest point” – hmm, is that the circumference or width? At first I assumed width. The pattern doesn’t explicitly mention that you start crocheting from the bottom and work up, which would have made it easier for me to figure out that it actually means the chest circumference (as the vest is worked in one piece, and the starting chain runs all around the bottom). Note: most of the other pattern customization boxes don’t have this ambiguity, saying e.g. “Measure the circumference of your toy’s chest” instead.
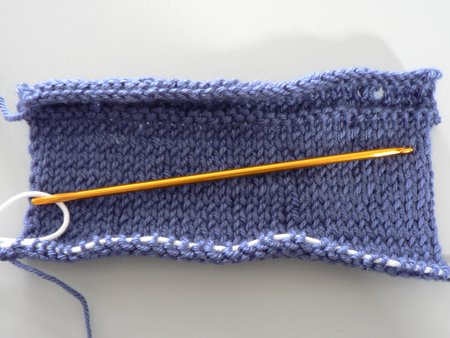
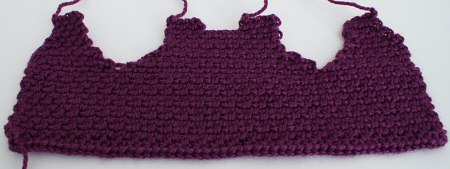
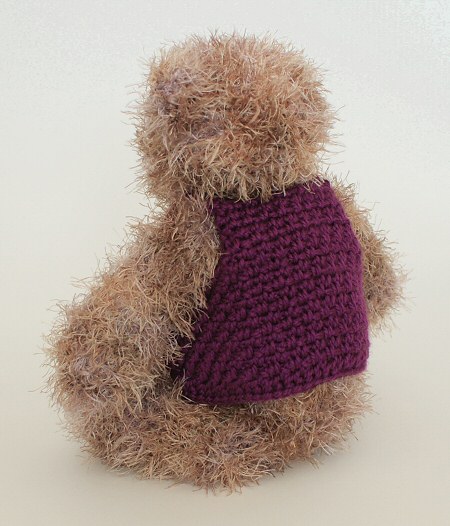
Calculations complete, I started crocheting. I loved the granite stitch used in this pattern – it really adds visual interest while still giving a non-lacy fabric and being easy to crochet. I made the back and then started on the decreases for the first armhole and neck. Here I hit my second problem: as Fuzzy Bear is so much smaller than standard, I had far fewer stitches than the standard pattern. By the time I’d decreased for the armhole AND neck, I had no stitches left to make the top of the shoulder, even after I tried to tweak the pattern!
That shoulder (top left) looks horrible – time to frog this attempt
Now, here’s where the customization panel gets even more useful. It takes different gauges into account: I could have stuck with my first swatch instead of trying to meet the gauge, and then used the customization panel to give me the size I wanted! This is a really useful feature if you want to make one of the patterns using a different thickness of yarn – even if your bear is exactly 18″ tall you can still customize the pattern to fit your yarn!
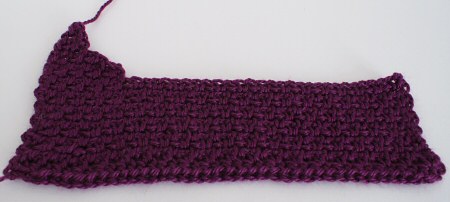
So I returned to my initial G hook (which, as an added bonus, actually gave me a far more even, less floppy fabric) and started over, using my own gauge and Fuzzy Bear’s measurements. I had no problem this time – the numbers all worked out perfectly and the piece came together easily. The instructions were all clear and easy to follow, and the main part of the vest worked up in no time!
A diagram showing that this is the shape you should end up with would have been nice
From there it was just a simple matter of sewing up the seams, and crocheting the patch pockets. The customization panel didn’t mention that I’d have to resize the pockets too, to match the scale of the vest (although that should have been obvious – silly me!) so I made one supersized pocket before I realised my mistake 🙂
I’m really impressed with the result. Considering that Fuzzy Bear is less than 2/3 of the size of bear the pattern was intended for, you can see that the customization panel really does work! And doesn’t he look adorable in his new vest?
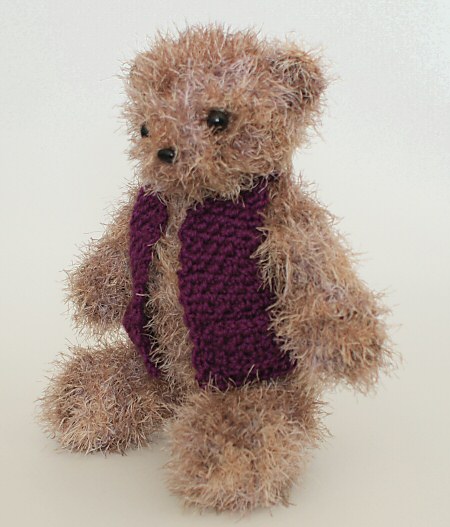
A perfect fit!
I love this stitch pattern
Win a Copy!
Now for the fun part! I have a bonus copy of Crochet for Bears to Wear to give away to one of you! To be entered, simply leave a comment on this post before 6am 12 noon EST on Monday April 26, 2010. Make sure you give your real email address in the ’email’ box (only I will be able to see it) so that I can contact you if you win! The contest is open worldwide. Good luck!