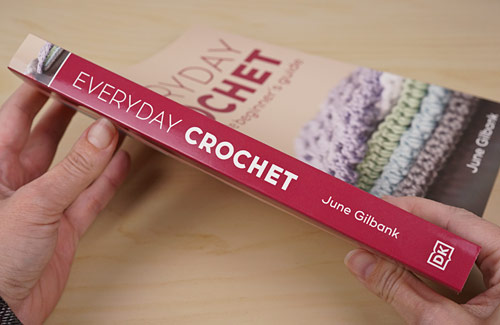
Everyday Crochet
What an amazing birthday present – look what just arrived!
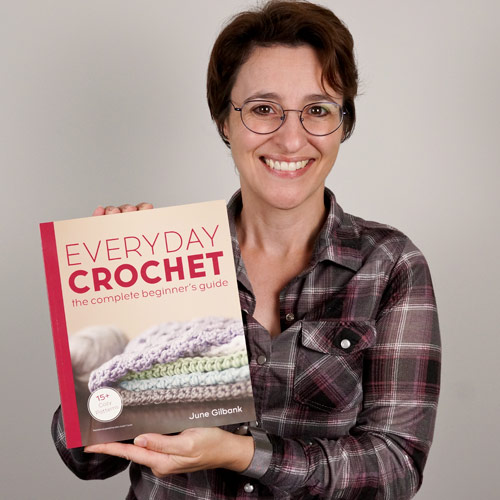
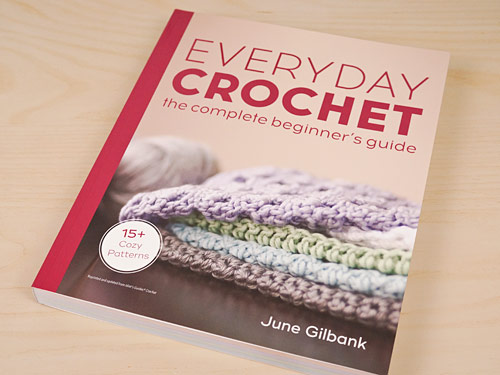
I’m delighted to announce that my new crochet book, Everyday Crochet, will be published on November 1st 2022 and is now available to preorder from Amazon and all good bookshops.
Preorders make a world of difference to how well a book does long-term, as the preorder numbers send a signal to booksellers, libraries and reviewers that the book is valuable and worth stocking, so if you’re thinking about buying Everyday Crochet, please place your pre-order right now (that’s an amazon link, but you should be able to preorder from your local bookstores too), before the November 1 publication date! Thank you so much ?
The Path to ‘Everyday Crochet’
When I wrote my 2015 book Idiot’s Guides: Crochet, I didn’t set out to write an ‘Idiot’s Guide’ – I wanted to write the definitive crochet reference book that I wished I’d had when I was learning to crochet, with projects to practice what you’ve learnt along the way, simple instructions with clear close-up photos for every technique, beautiful photographs, and a wide variety of patterns, stitch patterns, and motifs.
I’m happy to say that my publisher, DK, agreed with my assessment that the book I wrote for them transcended the unfortunately-named Idiot’s Guides brand, and now that IG: Crochet has sold out, we’re republishing it as a revised version with a new idiot-free name. (Thank goodness!)
Introducing: Everyday Crochet!
Fully Updated and Revised
I completely revised the old book to create Everyday Crochet, and we’ve given it a new clean easy-to-read format. I’ve combed through it page by page and added lots of little touches, such as:
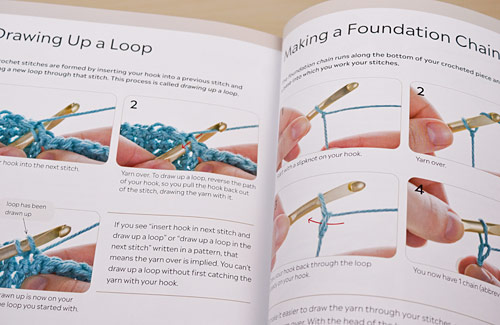
Page references for all the new techniques you’ll need for each practice project:

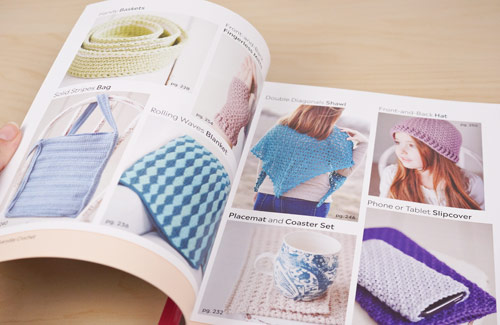
A gorgeous visual table of contents so you can see the projects you can make as soon as you open the book:
A left-handed reference section at the end of the book that shows you all the basics. Lefties now get step-by-step left-handed photos for every step from learning how to hold a hook and yarn through to completing their first project.
I’m most excited about this last point – I campaigned hard for this, and I think it may be a first for a craft book! (I had to fight to even get one page for left-handers in IG: Crochet, and I know that wasn’t enough.) As a lefty myself, I understand the struggle of trying to learn everything from a right-hander’s perspective, so it was important for me to have this available for others like me – we lefties make up 10% of the population, but are rarely catered for.
With my 16-page left-handed reference section, you, a fellow left-hander, can go from picking up a hook for the first time to completing your first crochet project (a single crocheted dishcloth) without ever having to consult a right-handed photo and trying to mirror it so you can figure out what you need to do. Once you’ve got those basic crochet skills down, adding on new stitches and techniques will be much easier, even in this world of right-handed instruction. (And you can always come back to PlanetJune too, where I always provide additional instruction to lefties where it’s needed!)
What’s New (and What’s Not)
I should make it clear: although it has a new name and has been fully revised, Everyday Crochet is not a substantively different book from IG: Crochet – all the patterns, projects and tutorials are the same. If you’ve bought IG: Crochet, you already know that it’s a high-quality book packed full of useful tips, beautiful photos and my original patterns, and nothing has changed there.
There were only a few tiny errata in IG: Crochet that have now been corrected. Other than that, and a couple of errant arrows that had previously turned up in the wrong place, the changes are in clarity and clarification only.
But wow, it is so much clearer now!
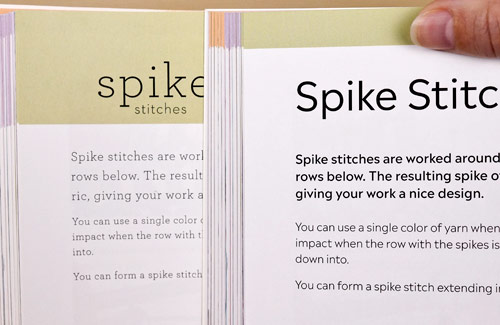 Old (left) vs new (right) – see how much clearer it is to read now?
Design: You may have noticed that the old font was very thin and pale and not the easiest thing to read. The new text design is modern, clean and super-clear – it’s so much easier on the eyes! And I’ve replaced all the arrows that point to specific stitches in the tutorial photos to make them clearer – the old coloured arrows were pretty, but clean black arrows are much easier to see.
Content: I’ve made little tweaks and improvements throughout the entire book that make it a better experience to use. I’ve fully edited the content, breaking up long paragraphs into lists, highlighting keywords, and clarifying anything that wasn’t phrased exactly how I wanted it to be in the previous book.
Do I Need This Book? (Yes!)
I had three goals for (both versions of) this book, because I wanted to make an ambitious 3 books in 1 volume:
- The complete beginner’s guide: To create the clearest, most comprehensive learn-to-crochet tutorials, with ultra close-up photos of every single step, so people really can learn to crochet from my book.
- The crochet tips guide: To distill all the knowledge and tips I’ve picked up over my crocheting life into clear, easy to follow instructions.
- The beautiful pattern book: To create a collection of stylish original accessories and home decor patterns that would make perfect gifts, so you’ll want to make everything in the book! The patterns need to be simple to work (but not boring for experienced crocheters) and show some of the variety possible in crochet, so you’ll learn more as you make each pattern.
And that’s what you’ll get in Everyday Crochet! This book is different from every other crochet book on the market and excellent value for money, whatever your crochet skill, as it’s perfect for both beginners and more experienced crocheters. I hope you’ll find it a valuable resource, whether your goal is to learn to crochet, to improve your crochet skills and knowledge, to find a selection of clean, timeless designs to crochet, or all of the above.
(Want to know more about the content? The patterns, tutorials etc are all the same as in the previous version of the book (IG: Crochet), and you can read my posts about the old version where I talk about everything that’s in the book!)
- If you never got around to buying IG: Crochet or were put off by the name, this is the perfect time to pick up my refreshed and revised book, Everyday Crochet!
- While you don’t need to buy Everyday Crochet if you already have IG: Crochet, it’s a lovely update if you’d like to treat yourself (or put it on your Christmas list).
- And I hope that, even if you don’t buy it for yourself, you’ll buy a copy of Everyday Crochet as a gift for every beginner or intermediate crocheter you know!
I’m so proud of this book. Everyday Crochet truly is the crochet reference book I always wished existed, and I hope it’ll earn a permanent place on your bookshelf.
Everyday Crochet will be published on November 1st 2022 and is now available to preorder from Amazon and all good bookshops.

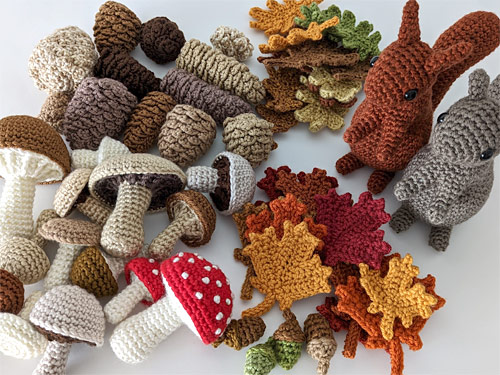

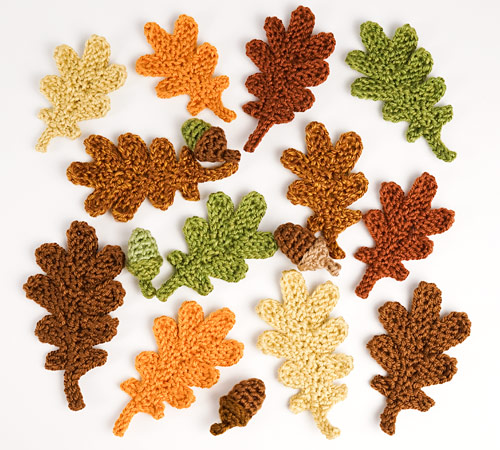
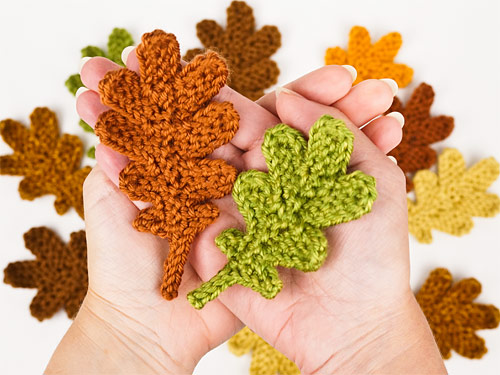
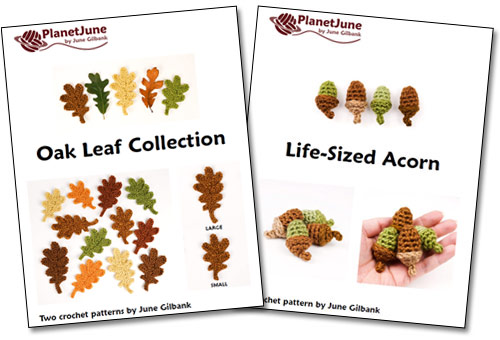
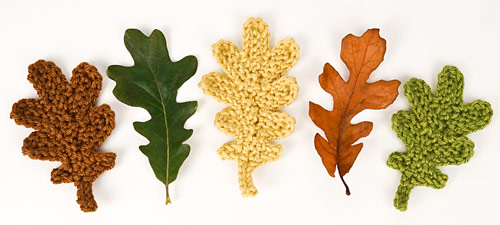 Spot the difference! Real and crocheted oak leaves
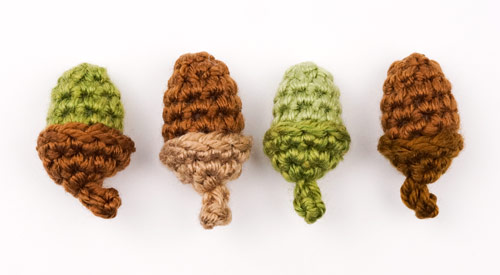

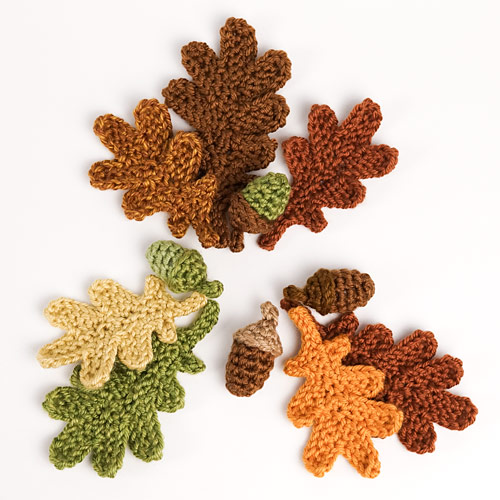
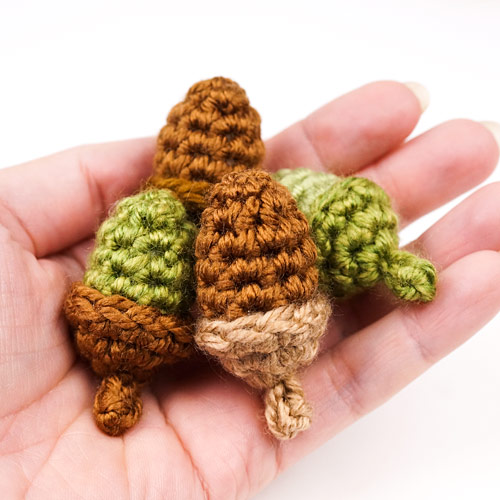
 Isn’t it a lovely effect?
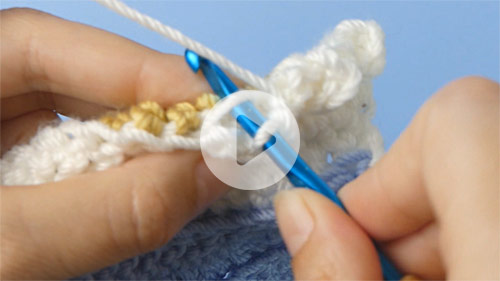
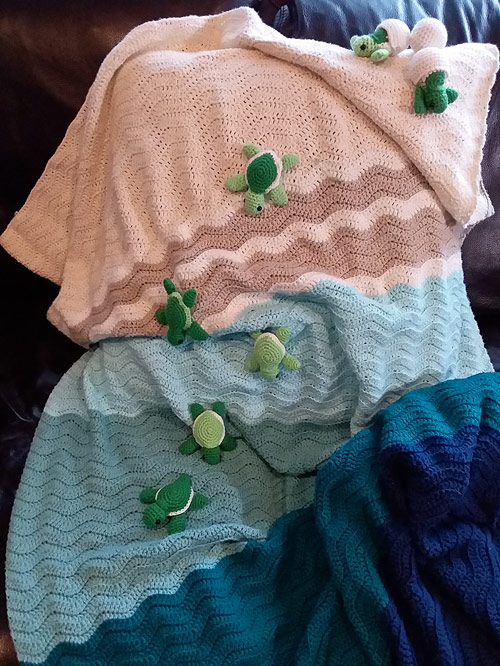
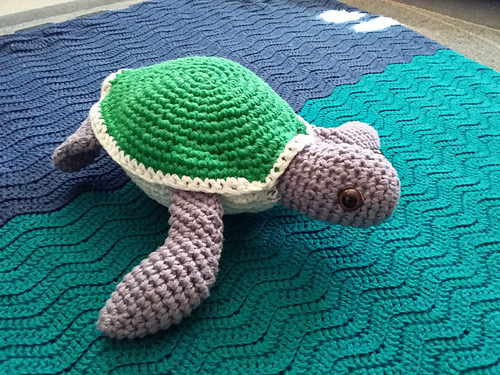
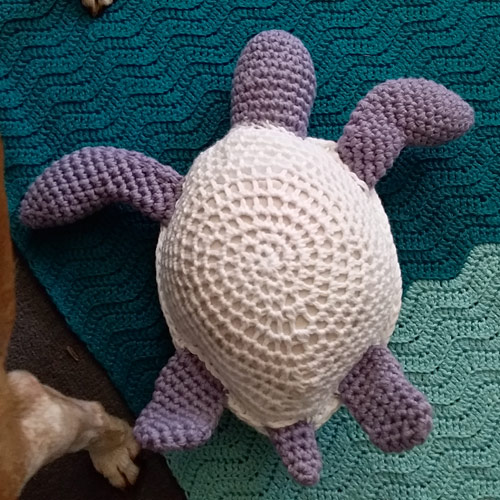
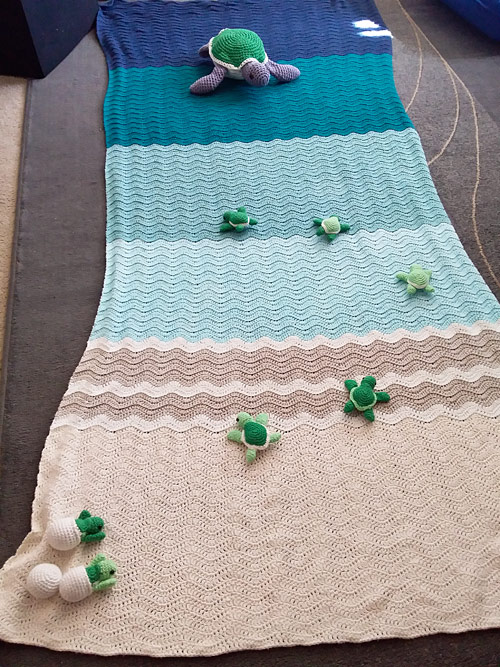
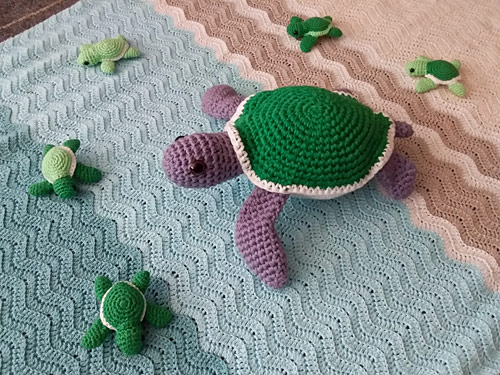
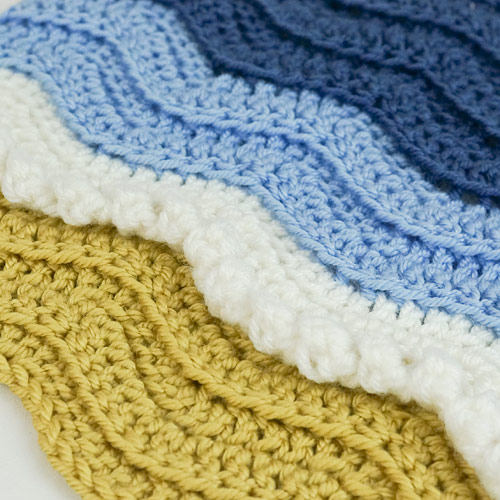
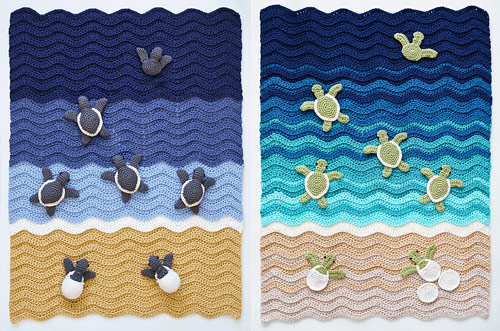 Left: Classic Blue blanket; stuffed 3D turtles
 3D seafoam, squared-off edging
 Crossing a pair of stitches
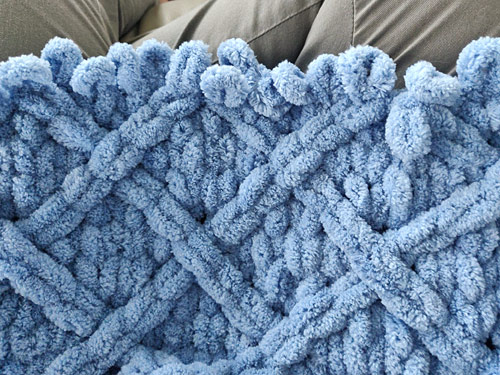
 Noooo!
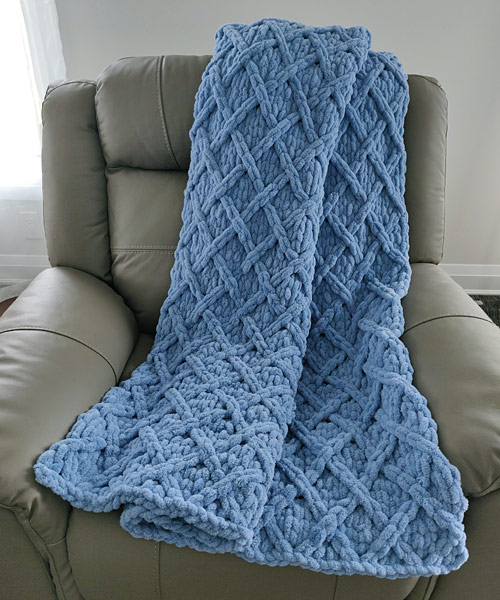 Isn’t it pretty?
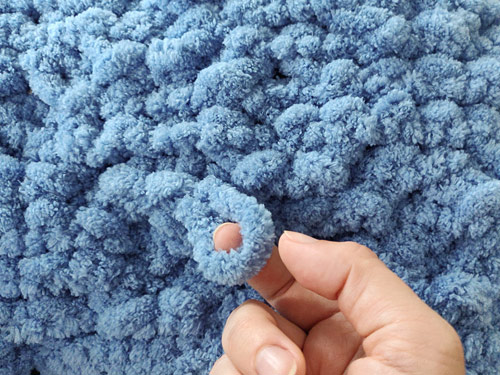
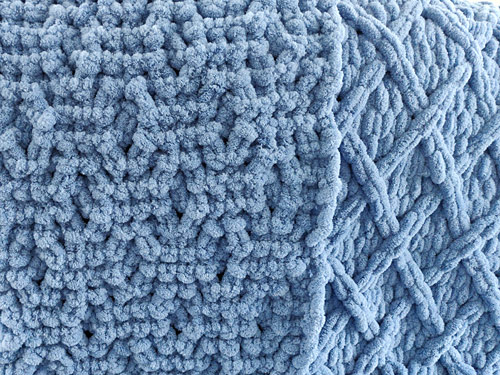 Here’s the texture of the back of the blanket.
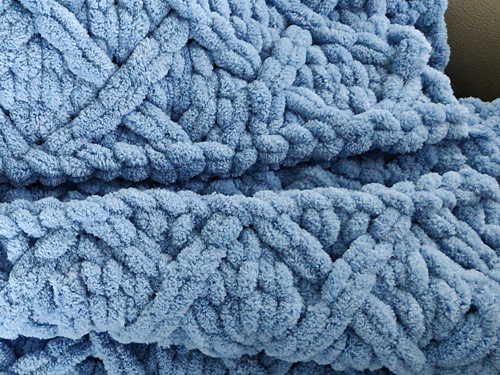 And here are the top and bottom edges – they did end up matching nicely.
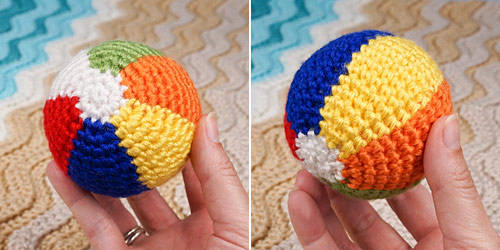
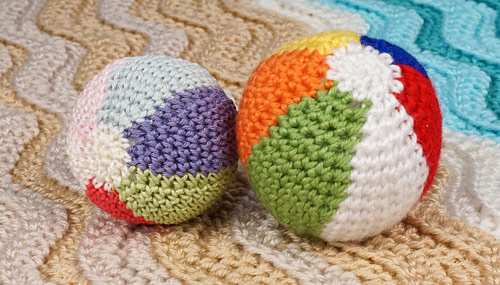 Yep, these are the bottoms of the balls! They look good from all sides 🙂
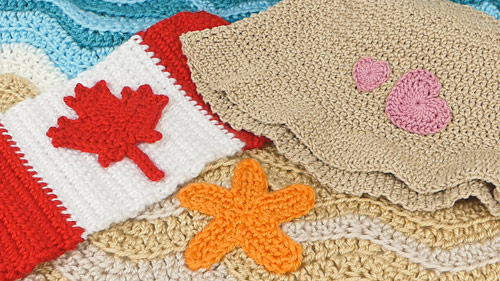
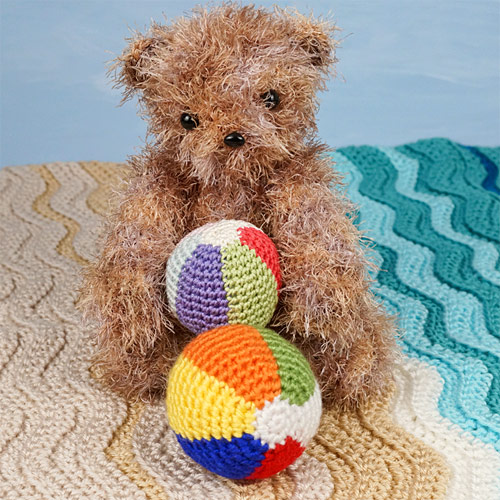
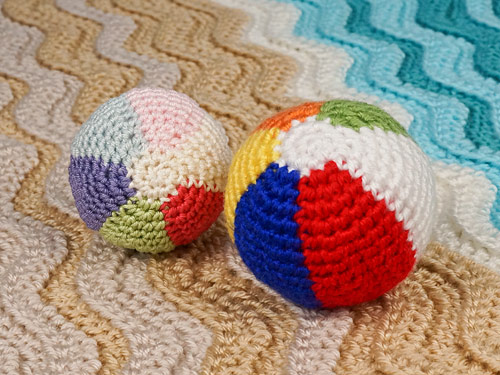
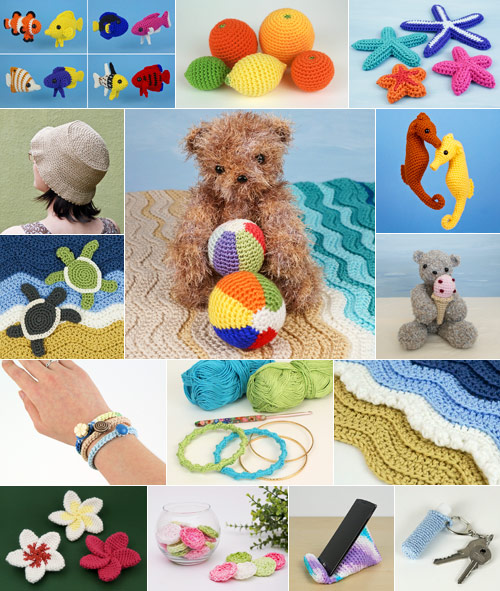 Here’s a selection of quick and/or summery PlanetJune patterns to give you some ideas…