Crochet Tools – last chance!
This is your last call to order from my Crochet Tools shop before it closes tomorrow (Wednesday) night.
If you’re reading this after June 15th, click here to sign up to be notified next time the shop opens!
Below, I’ll give you a quick rundown of what I have on offer this time – the classic PlanetJune tools plus exclusive new products! I only open the tool shop once or twice a year*, so if anything catches your eye, please don’t wait – get your order in now before the shop closes…
(And if you’ve already placed an order but want to grab something else while you have the chance, I’d be happy to combine your orders and refund you for the second shipping charge – just let me know!)
Detail Stuffing Tools
The ever-popular PlanetJune-exclusive stuffing tools are back, in all 5 cheerful colours:
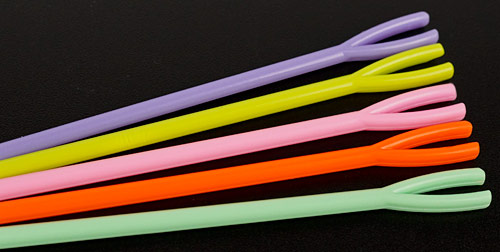
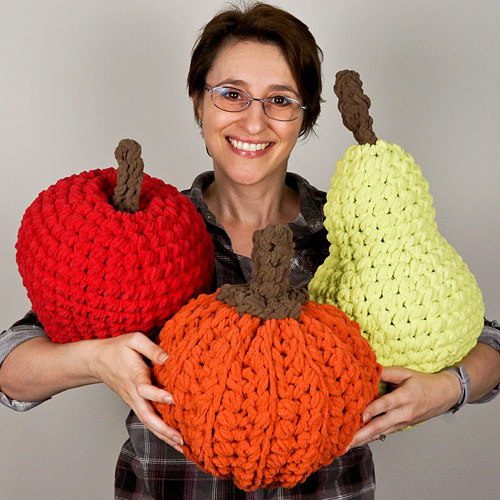
The Detail Stuffing Tool lets you get a grip on your stuffing, stuff the tiniest pieces and stuff right into the corners with ease. Don’t miss out on your chance to grab my bestselling tool that’s already an essential for thousands of amigurumi makers!
Detail Stuffing Tool Handles
If you’ve ever wished your stuffing tool was just that little bit longer or stronger, the Detail Stuffing Tool Handle is just what you need! Made from high quality aluminium, the handle is strong, lightweight, rustproof, and will last a lifetime. Note: At their low introductory price, these have been selling like hotcakes!
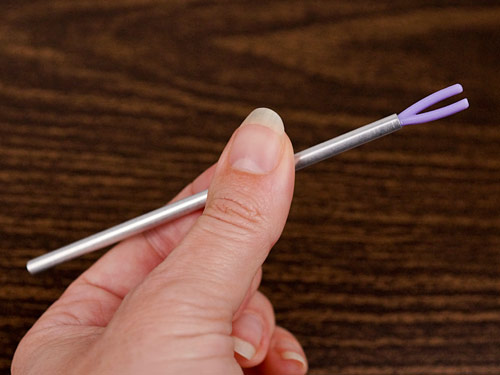
The Detail Stuffing Tool Handle is available as a Standard 4″/10cm length (pictured above), an Extra-Long 6″/15cm version, or a value pack of both lengths. They give your tool added strength and longevity, plus over an inch (Standard) or three inches (Extra-Long) of extra length, so you can place your stuffing further into your amigurumi with ease.
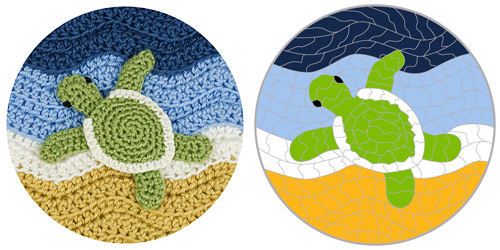
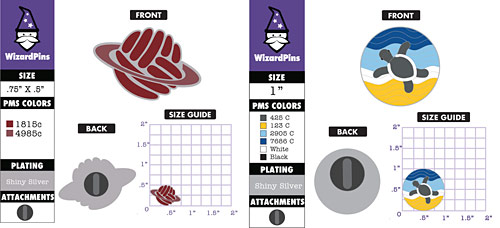
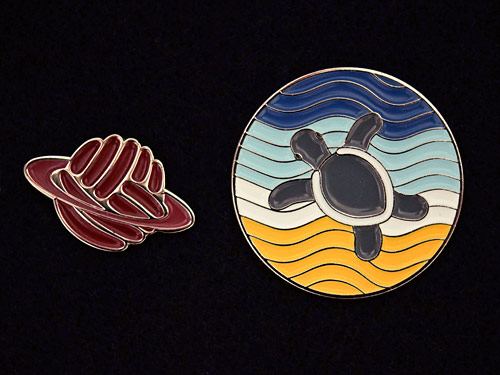
PlanetJune Enamel Pins
I’m thrilled to be able to bring my first pin designs to you! PlanetJune Enamel Pins are high quality, wearable and collectable. Pin them to your jacket, your backpack or your project bag, decorate your cork board, or add them to your pin collection.
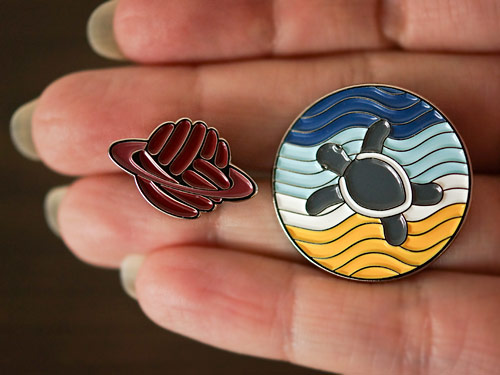
Choose between the stylish PlanetJune Logo pin, a precious baby sea turtle on the Turtle Beach pin, or a value pack including one of each pin!
Vinyl Stickers & FREE Signed Bookmarks
Show your PlanetJune love with a premium vinyl sticker that will stick on any flat surface! Stick it on your notebook, your laptop, your coffee mug, even your car’s bumper…
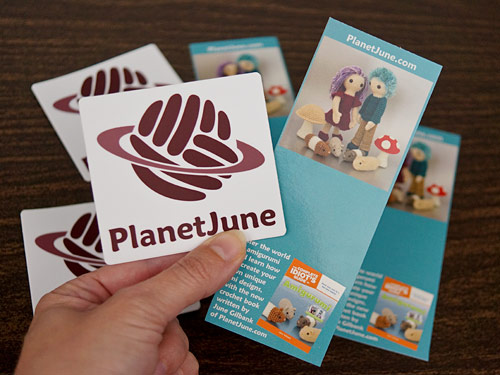
And, by request, here’s another chance to pick up a free signed Collector’s Edition bookmark to go with your collectible copy of my out-of-print first book, The Complete Idiot’s Guide to Amigurumi. (And if you don’t own the book but still want a signed bookmark, that’s fine too – I have plenty left, and I’d be happy to sign one for you!) This bookmark is totally free with the purchase of anything else from my Crochet Tools shop, or, if you don’t need anything else, you’ll just pay the cost of a stamped envelope.
More Crochet Tools
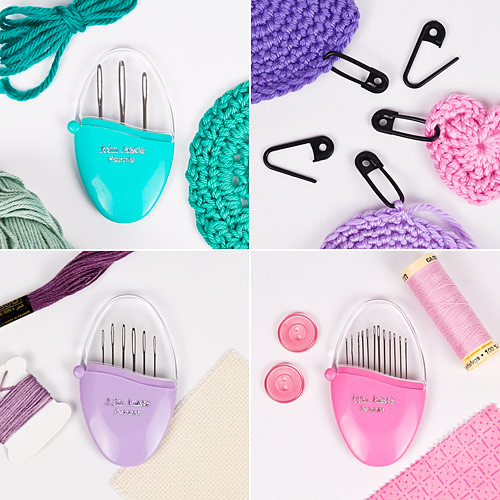
PlanetJune Stitch Markers are back in extra-strong black plastic with a wider opening, but still with the same rounded tip that won’t snag your yarn, a secure clasp that won’t pop open accidentally, a large enough size (3cm/1.2″) to be able to open and close easily, and a super-cute safety pin shape. Sold in a set of 5.
Needles in Flip-Top Pebble Cases – finally, the perfect way to store your needles so you won’t lose them! The stylish flip-top Pebble container is smooth and flat and easy to slip into your project bag, but large enough not to be mislaid. Each high quality needle slides into its own space in the Pebble, so it’s easy to see if you’ve forgotten to replace it after use. Available in three varieties:
- The Knitters Pebble (jade) includes 3 large assorted yarn needles for weaving in the yarn ends on your crochet or knitting projects.
- The Tapestry Pebble (lavender) includes 6 assorted tapestry needles for embroidery (including embroidering faces on your amigurumi!)
- The Household Pebble (pink) includes 12 assorted general hand sewing needles for emergency repairs or any other sewing projects.
That’s everything! You can find them all on one convenient page in the Crochet Tools shop, so do head over and have a browse – but please be quick, the shop closes tomorrow night. ⏰
* In case you’re wondering why I don’t keep the shop open all the time, this isn’t a marketing ploy – it’s just not logistically possible for me. Canada Post’s only international shipping option is slow, expensive and untracked, so I use a cross-border shipping service instead. It’s faster, cheaper, and includes tracking as standard, but to use that I have to ship all my orders at once, in a single batch. So now you know: there is a good reason!
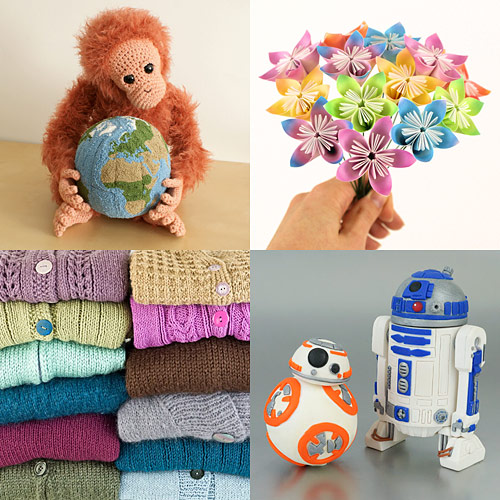 Clockwise from top left: crocheted orangutan and punchneedle embroidery globe, papercraft flowers, polymer clay R2-D2 and BB-8, knitted sweaters
 e.g. google “shrinkydinks rings” and

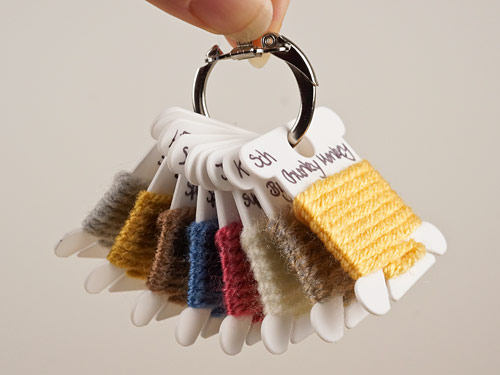
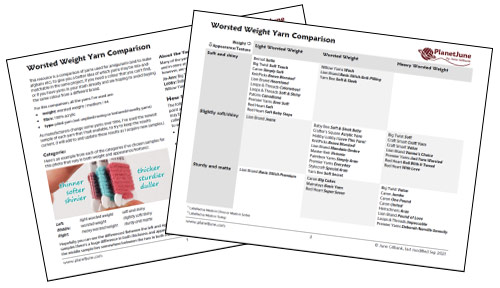
 New additions: Cygnet Aran, James C Brett Super Soft Baby Aran, King Cole Big Value Aran, Scheepjes Chunky Monkey, Sirdar Hayfield Bonus Aran, Sirdar Snuggly Supersoft Aran, Stylecraft Special Aran, Stylecraft Special for Babies Aran
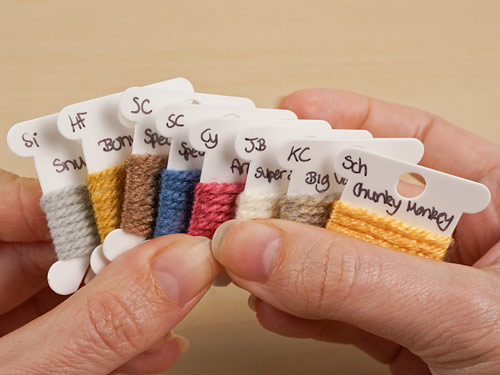

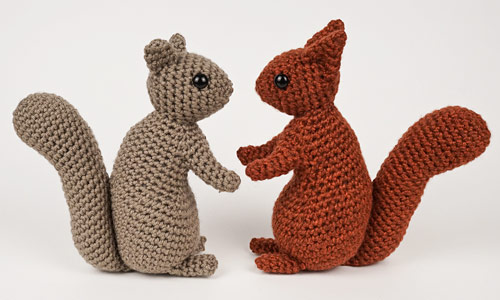
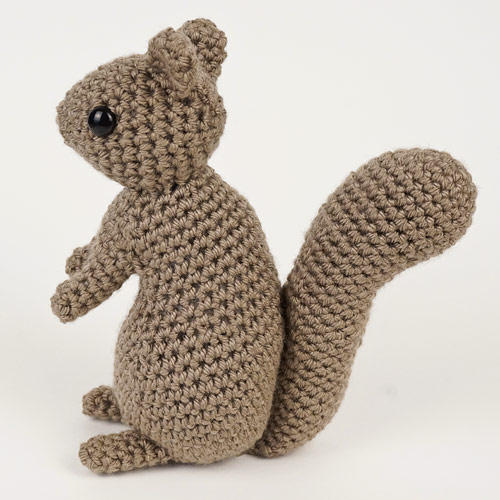
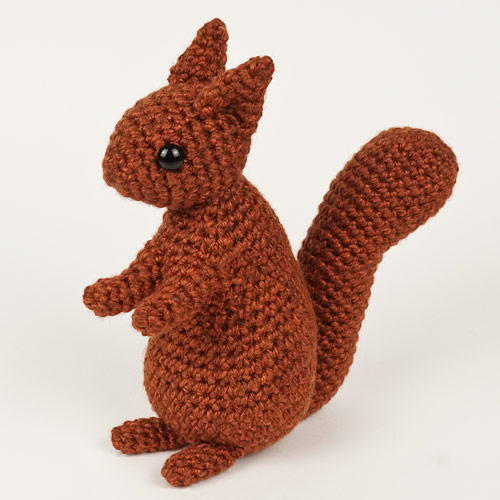
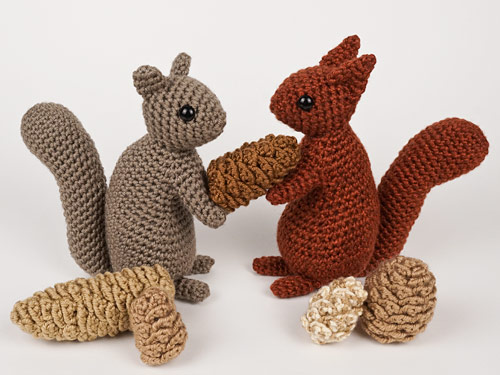
 Which is your favourite? It doesn’t matter – you can make both!