Alpaca & Easter PocketAmi patterns
Thank you all for the book congratulations! I’m sorry I didn’t have any real photos of it to share – the book is still in layout, so there’s nothing finished to show you yet. But soon, I promise!
Now, back to the crochet patterns. To make up (I hope) for my absence, I have two new patterns to release today: the Alpaca, and a fun new set of PocketAmi for Easter. I don’t have a name for the new ‘natural fibre’ range of patterns yet (ideas, anyone?), but I didn’t want to make you wait, so for now you’ll be able to find the Alpaca pattern filed under Misc Patterns in the shop. Or just click through from this post to make your life easier!
A little info about the new designs:
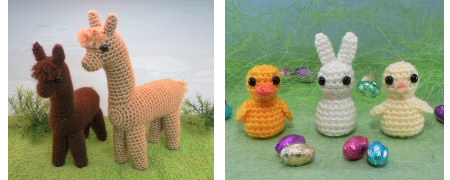
Alpaca
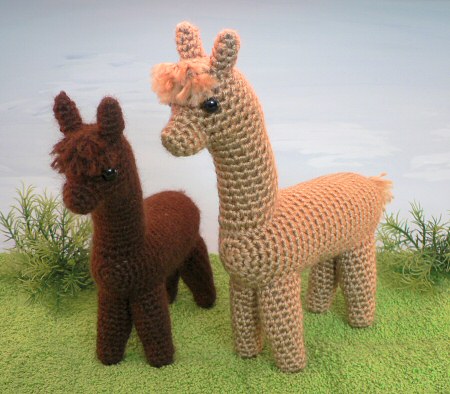
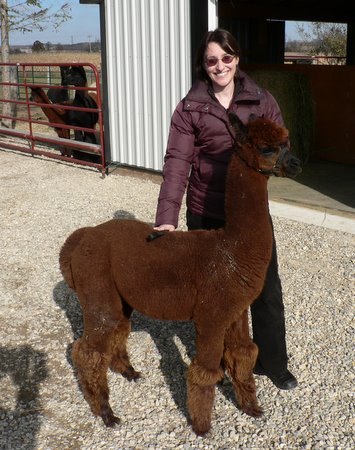
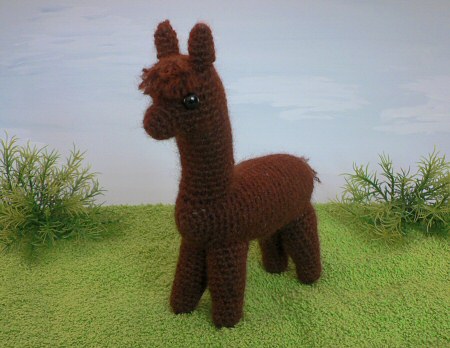
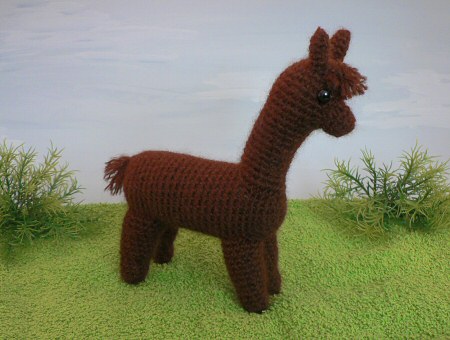
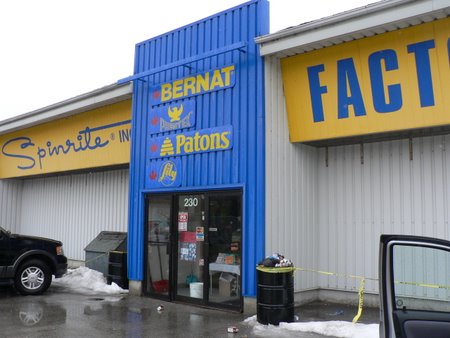
If you’d like to make an alpaca or llama of your own, you don’t have to find 100% alpaca yarn to do so! I designed this pattern to work with any worsted weight yarn, but, like all my patterns, it’s pretty flexible. The larger alpaca above uses Bernat Satin, which is 100% acrylic – it doesn’t get less natural than that.
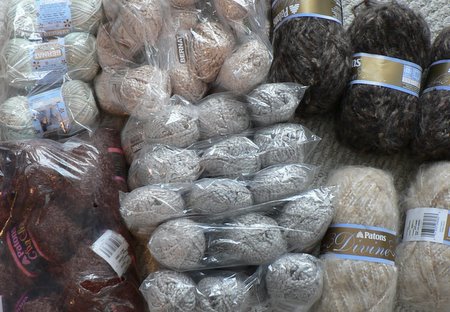
In fact, the alpaca yarn I bought was so fine (2-ply – I think that’s fingering weight?) that even after doubling the yarn, it was still significantly finer than the Bernat Satin – I’d say a sport-weight equivalent. But, as you can see, the pattern looks just as good in either size. If you substitute a different yarn weight, be sure to choose an appropriate hook size so you can form your stitches easily, but the stuffing doesn’t show through the finished piece. (Just ask if you have any questions about yarn choices.)
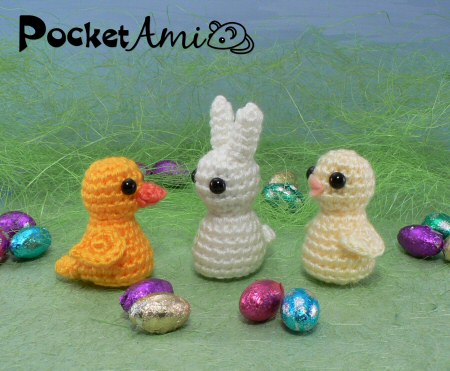
PocketAmi Easter
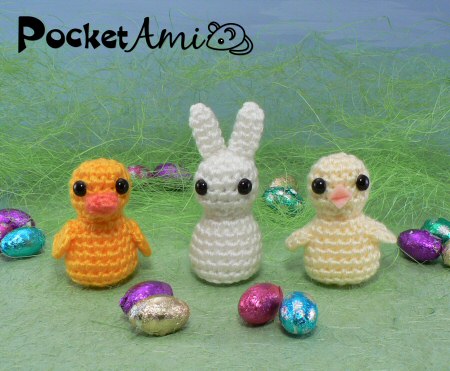
PocketAmi Easter is another seasonal set, comprising a baby duckling, bunny and chick. They provide all the sweetness you could want from an Easter gift, with none of the calories! If you don’t celebrate Easter, these would be a great way to herald the coming spring (I’m sure it’ll be here soon, won’t it?) or would make a really sweet baby mobile for any time of year. And they work up in no time too, which is always a bonus!
Both patterns are now available to purchase from the PlanetJune store (look at the New Products for March box on the homepage for easy access to my latest designs).
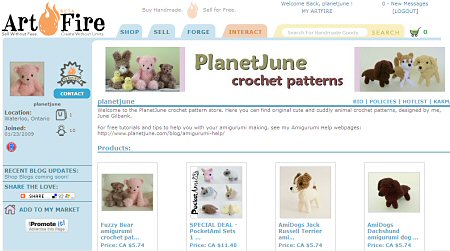
 And one more thing: If you sell your crafts and you’re still undecided about signing up for an ArtFire membership, I strongly suggest you give it some more thought. Since I wrote my