Summer Crochetalong: Alpacas & African Violets
After the success of the Spring Crochetalong (CAL) in the PlanetJune Crochet Designs Ravelry group, people have been asking for another CAL. I put it to the vote, and this is what we came up with:

For the Summer CAL, we’ll be crocheting two of my most popular designs: my Alpaca and/or African Violets patterns. Hopefully that will give everyone a chance to choose a pattern they like – or even make both if you’re feeling ambitious (one per month shouldn’t be too much of a stretch)…
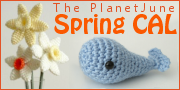
(To add the official Summer CAL button to your blog, right click on the image above and save it, then upload it to your blog.)
Summer CAL Rules
- The CAL will run from July 1st through to August 31st, so hopefully even the busiest people will have a chance to complete one of the patterns
- Join my Ravelry group to participate in the Summer CAL chat thread, share your progress, ask questions, etc
- A CAL is most fun when lots of people join in, so if you’re participating, please feel free to blog about it, post in other groups, etc
- Share, share, share! If you’ve made an Alpaca or African Violet already, add it to the group for inspiration! And remember to add your CAL projects too and post about them in the CAL thread
CAL Discount
- If you’re taking part in the CAL, you can buy whichever pattern you’d like to use (or both) for 20% off their regular price. To do this, just order the pattern(s) from my shop and use the discount coupon code 2010SummerCAL at checkout – you’ll see the discount automatically applied to those patterns before you pay.
- You can also order anything else you want at the same time – but you’ll only get the 20% discount on the CAL patterns(s) 🙂
- If you’ve already bought the pattern(s), you can still get your 20% discount, applied as credit towards another pattern purchase. To take advantage of this, order and pay for any other pattern(s) as usual, and put a note in the comments box saying which pattern(s) you’ve already purchased and will be making for the CAL (if you have them, the order date or order number would be helpful so I can verify it more easily), and I’ll refund you 20% of the cost of the pattern you’ll be using against this new order.
Note: please don’t abuse my generosity: only take advantage of this discount if you truly intend to participate in the CAL – thank you 🙂
The patterns
Click the images to jump straight through to the relevant shop pages:
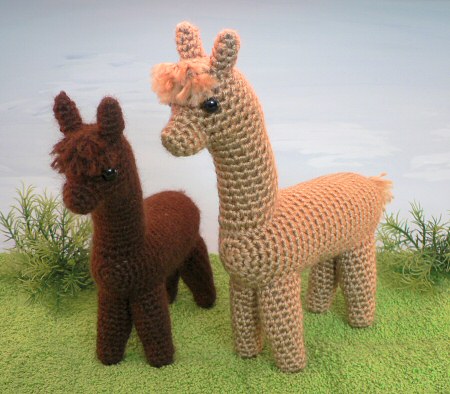
An adorably realistic Alpaca (or Llama) – for added realism, use alpaca yarn (although that’s not required!)
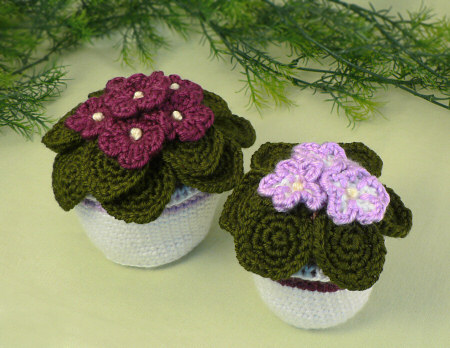
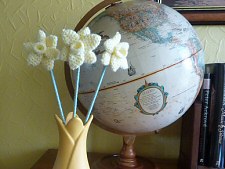
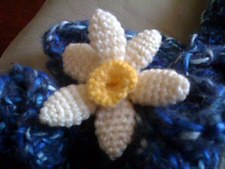
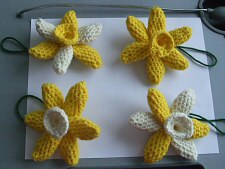
Finally – a beautiful houseplant that will never die and looks good year-round! The African Violets pattern includes 2 sizes and 2 different flower designs, so you can make the smaller version if you’re pressed for time, and choose the flowers you like the best.
So, how about it? Will you join the Summer Crochetalong? Which pattern will you pick?