shoe refashion with beads
I’m filing this as a tutorial because you could use the same methods to add pretty bead embellishments to any pair of shoes!
My sister’s getting married next week and I, being the maid of honour, need to have pretty shoes for the occasion. This is a huge problem for me; I’m not a girly shoe kind of girl, and I’ll go for comfort over style any day: heels hurt my feet, pointed toes hurt my feet, unpadded footbeds hurt my feet… However, I’m not stupid, and I don’t think running shoes would be the right look for this occasion! I thought silver would be best with my purple maid of honour dress, but all the silver shoes I saw looked totally tacky or ridiculously expensive. After a marathon 2.5 hour shopping trip covering 7 shoe shops, there was only one pair that looked nice (i.e. not flip flops), were fairly comfortable (i.e. standing in them for 2 seconds didn’t make me say “ouch!”), and reasonably priced. So we went back to the first store (of course that’s where they were!) to buy them.
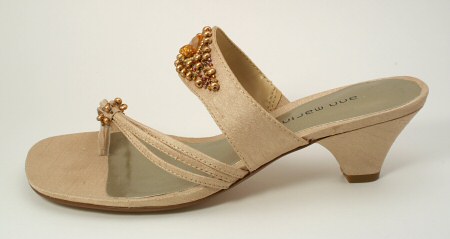
But. Slight problem: on closer inspection, the beading on the shoes was quite nice, apart from a hideous misshapen lump in the middle of each band, surrounded by a border of tacky-as-anything gold seed beads. Why would they do this?! I despaired for a moment and then remembered that I’m crafty and can totally fix stuff like this. I bought the shoes.
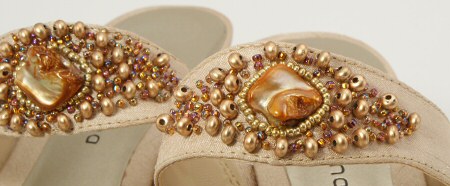
Before. Hideosity.
The beads were stitched on with invisible nylon thread, and the fabric (and hence the threads) were all glued down to the layer below, so I could snip the threads on the offending beads without all the other beads falling off.
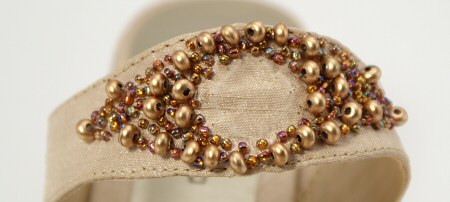
Offending beads removed.
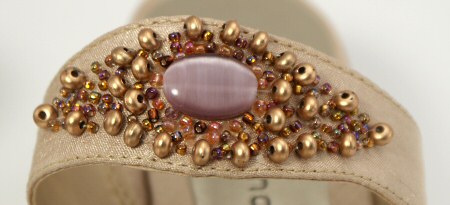
I wanted to replace the focal bead with something that would tie it more closely to my purple dress. I found some flat oval cats eye beads that are subtly purple, without looking out of place on the shoe (some of the existing beads are pinkish so the tones match). I couldn’t glue the focal beads to the shoe because the surface was too uneven and the beads were too slippery, so I used some invisible nylon beading thread to go through the focal bead and through an existing bead on each side to lock it in place. A little superglue on the knot to stop it from coming undone when I snipped off the ends of the thread, and the focal beads were secured.
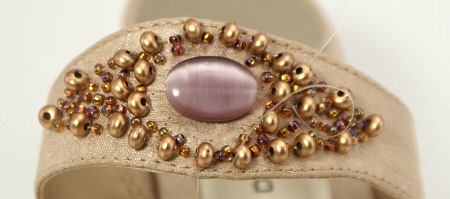
Focal beads attached.
Now I just needed to fill the empty space around the new focal beads. I bought some glass seed beads in similar shades to the seed beads already on the shoe, and used some Aleene’s Jewel-It glue (specifically designed for permanently sticking gems onto clothing – I happened to have bought an Aleene’s trial size multipack a couple of years ago, and never had a use for this type of glue until now!) to attach them. I put a bead on the tip of a needle, dipped one side into the glue, and used the needle to position the bead. Then I used a pin to keep the bead in place while I removed the needle, and waited for the glue to dry. Easy, if a little fiddly.
Seed beads fill the gaps
I love the finished shoes – well, as much as I could love impractical women’s shoes. No idea how I’ll cope with those little heels; I’ll probably trip up the aisle! Wish me luck!
Shoes: $35. Beads: $7.50. Wearing a pair of shoes I actually like to my sister’s wedding: priceless.