I just wanted to say thank you to all of you who took the time to leave me a message after my last post about the burglary. Reading them has meant a lot to me. These days, so few people comment on blogs, and it feels good to know you’re still out there reading what I write. I really appreciate all your advice and messages of support – thank you.
I still feel sick thinking about how lucky I was to be unharmed – at least physically – and how this could happen again (with far worse consequences) at any time, but here’s a quick update on my situation in case you’ve been worrying about me.
Fixing the Damage
All our belongings that were taken have been replaced. We’ve actually done quite well out of that: everything was insured, and having 2-4 year old laptops and tablets replaced with their current equivalents means nice shiny new models in place of the old slower ones.
But, in a great example of the relaxed pace of ‘Africa time’, I still have no front door! The company our insurance contracted to fit the replacement door and security door finally came to measure for the new door on Friday (9 days after the burglary…), but it’ll probably take another 2 weeks before the new door is made and can be fitted. In the meantime, our old door has been boarded up and screwed into the frame, so don’t worry: this delay isn’t a security problem, it’s just a bit frustrating not having a front door that opens.
Home Security
Thank you for all the advice – I’m definitely not considering buying a gun, but I’d like a dog, if I can figure out if Maui would be happy with that, and if we can find the right dog for our family. I’ve been considering getting a dog for several years, but it’s a big long-term commitment and I’ve never felt 100% sure that I’m ready. Maybe this will be the push I need, so I’ll have the bonus of a barking alarm as an additional burglar deterrent…
I live behind high spiked gates, with bars on all the windows and metal gates over all the doors. I assumed that would keep me safe, but it’s obviously not enough. I’m hoping the replacement doors will be more secure, and we’re also going to see if we can change how the alarm system works so I have more protection against intruders while I’m working from home all day.
Data Security
One excellent thing has come of all this: I’ve had to seriously address the issue of protecting my data with some sort of offsite backup, so I don’t lose my business files (or personal documents). Several of you suggested cloud storage, but I don’t feel that’s a secure solution for sensitive information. I already use Dropbox for saving ideas and sharing files with other people, but I’m not convinced it’s sufficiently safe for important private data such as my business files, tax records, etc.
I now have an excellent solution (thanks to Aleksandra’s recommendation) – I’ve created my own private, secure, cloud storage on my own web server. It works exactly like Dropbox, so all my files are automatically synced whenever I update them, I have access to all my data from any computer or mobile device. The difference is that my data is all encrypted at my end, so only I have the decryption key, and it’s only stored on my own server, so there’s far less risk of a security breach. And, because my server lives in North America, it’s 100% safe from South African burglars 😉
I know this probably won’t help many of my readers, but in case anyone googling for secure offsite data backup and file synchronization finds this post, I’m using Seafile for my own private cloud storage. A one-sentence review: it’s open source, completely free if you have your own server, and so far I’ve found it very easy to use: my files are auto-syncing from my computer, and I can easily access anything I need using the Android app on my phone and tablet. (I also found a similar solution called OwnCloud, but I haven’t tried it, so that’s not a personal recommendation, just another option you could consider.)
Moving Forward
Well, I’m trying to, at least. I’m still very jumpy, and every noise sounds like an intruder preparing to break in and attack me, but I have a plan for that: if I see anyone on my property, I’ll hit the panic button to set off the alarm, and hopefully scare them off before they get into the house. I feel a bit safer knowing I have some way to protect myself if I see anyone coming.
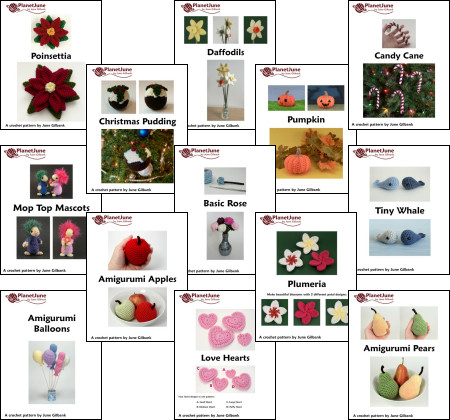
I’ve also made lots of progress on several of my big long-term projects – trying to take my mind off being scared – although there’s nothing to see yet, as I haven’t been able to do any final quality checks while I’ve been too exhausted to think clearly. But this means there’ll be lots of new PlanetJune stuff coming very soon…
Things are getting better. Thank you for caring. 🙂