2011: year in review
I’m quite happy to bid farewell to 2011: although I’ve had some amazing experiences over the past year, it’s also been the most bizarre and difficult year of my life. Trying to keep my business going while moving halfway around the world and coping with 6 months of illness has been a tremendous struggle, but now the transitional year is finally over and I’m welcoming a new start in 2012!
All things considered though, I don’t think I did too badly on the craft front this year:
In 2011:
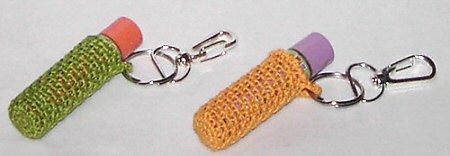
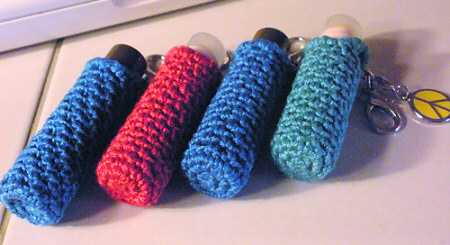
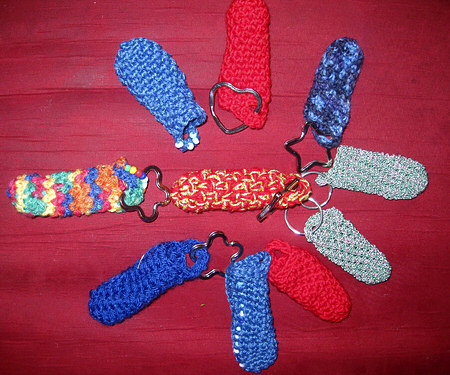
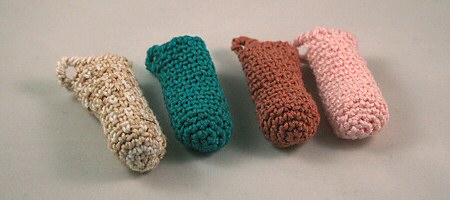
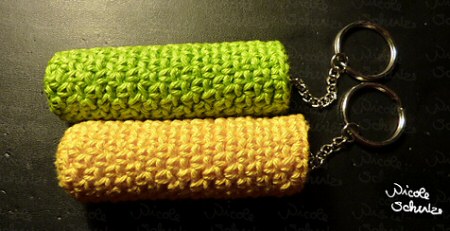
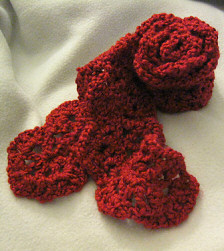
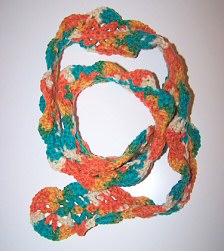
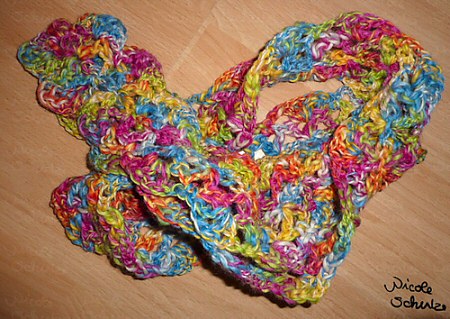
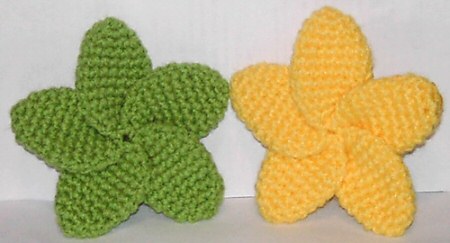
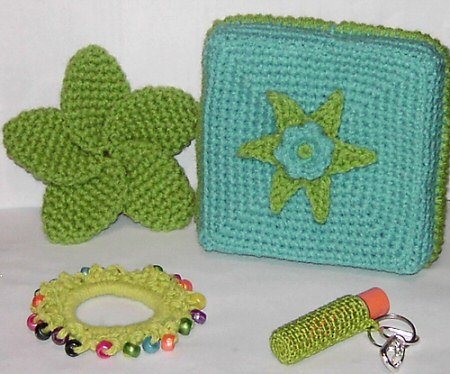
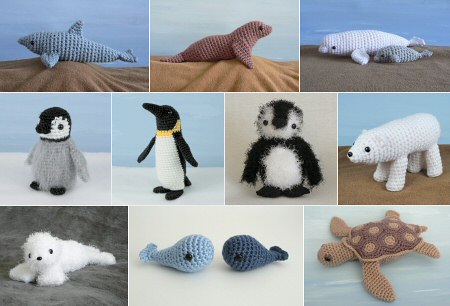
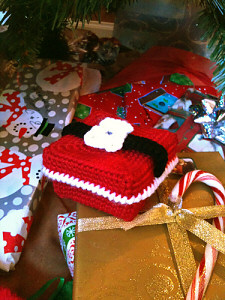
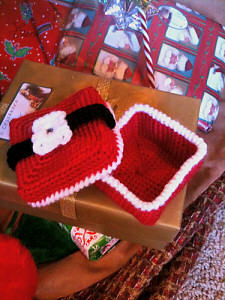
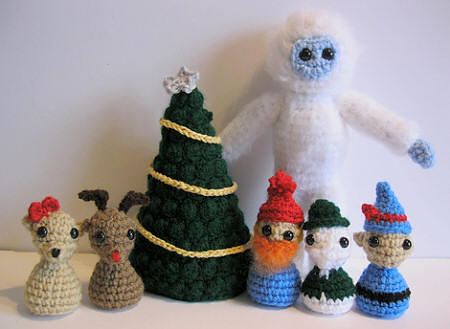
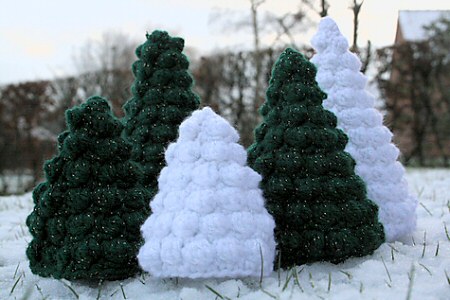
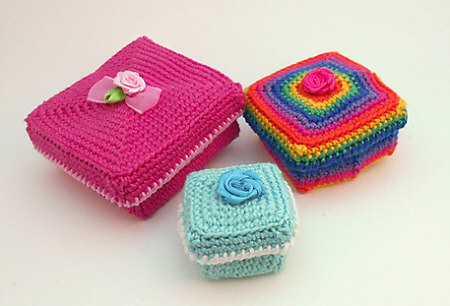
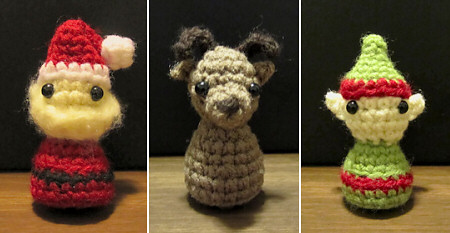
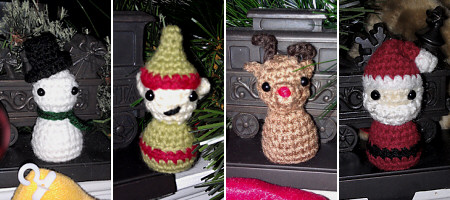
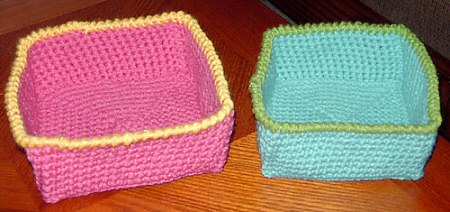
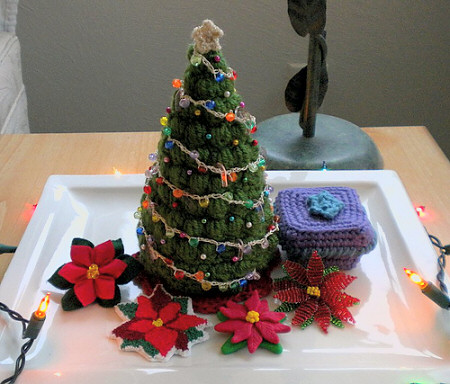
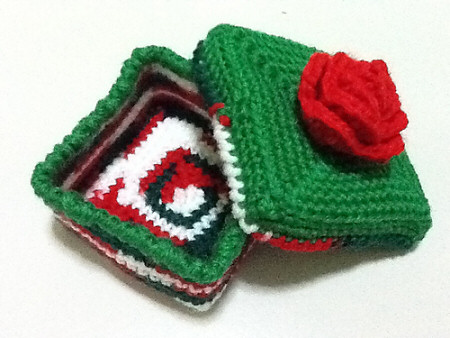
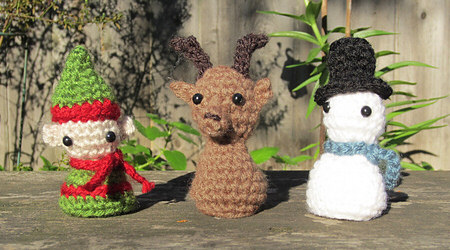
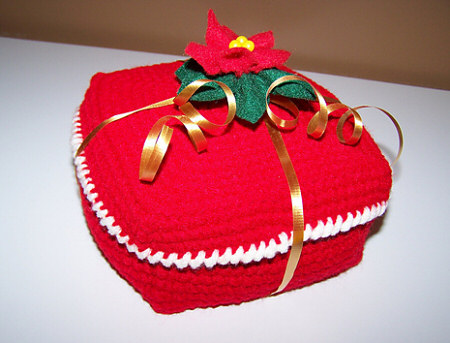
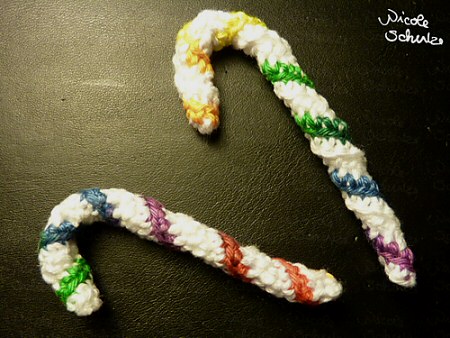
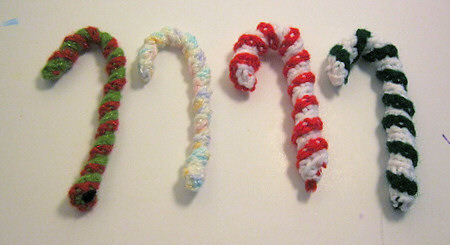
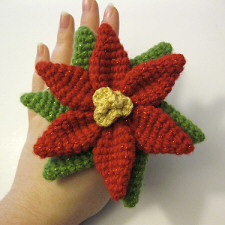
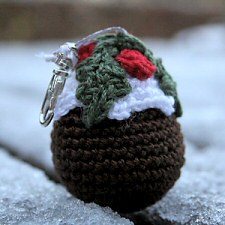
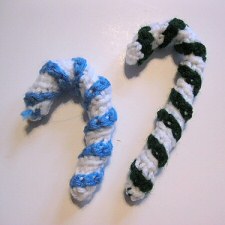
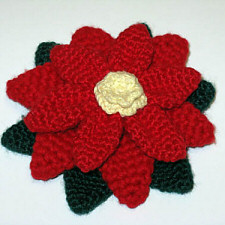
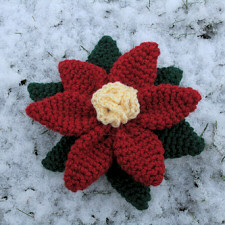
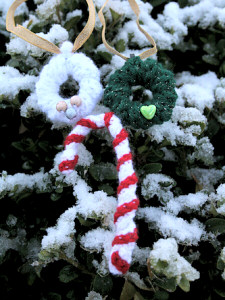
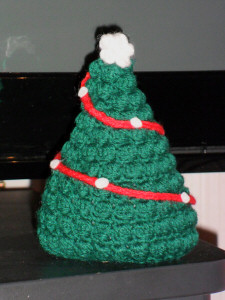
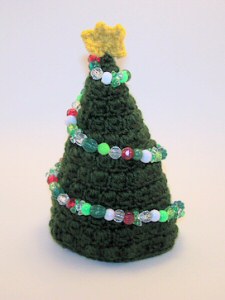
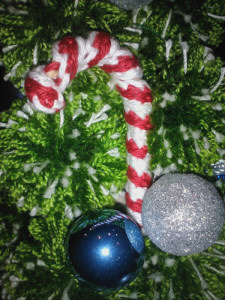
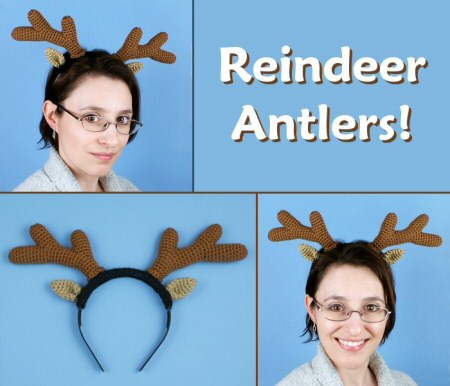
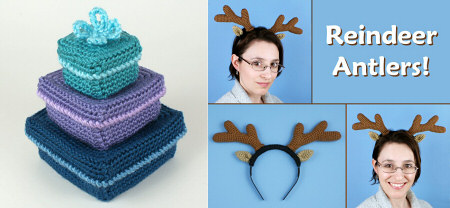
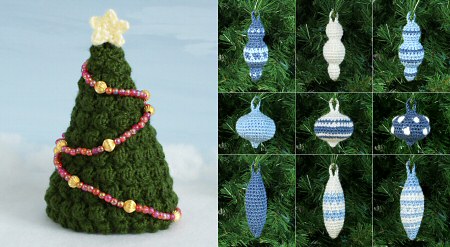
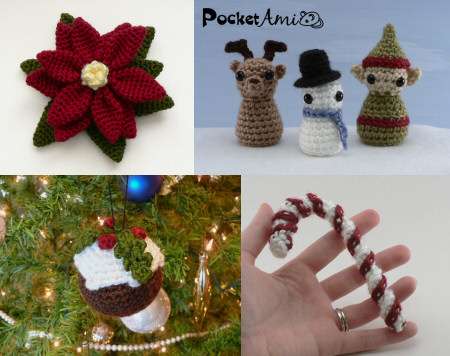
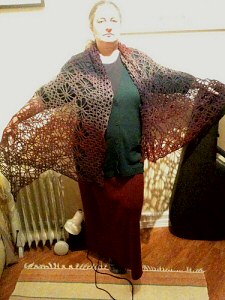
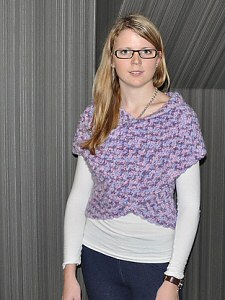
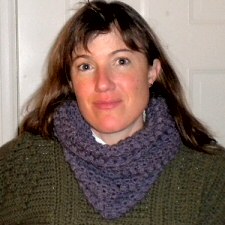
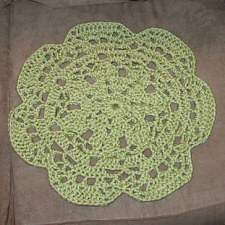
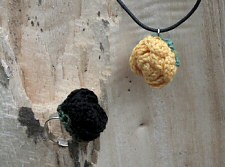
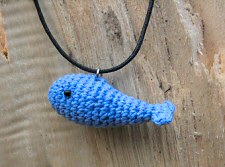
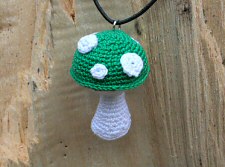
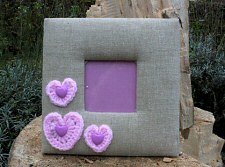
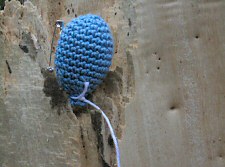
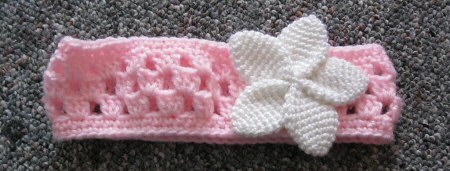
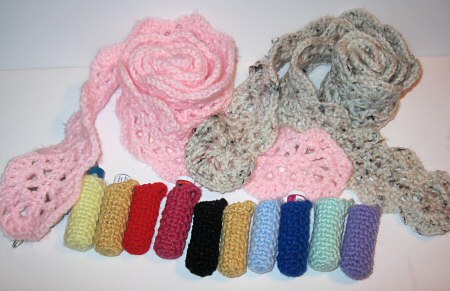
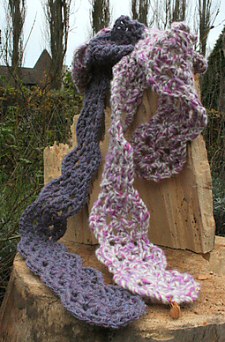
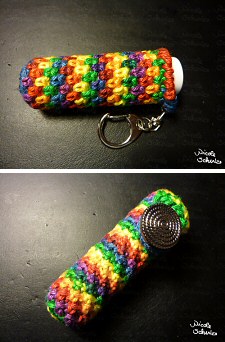
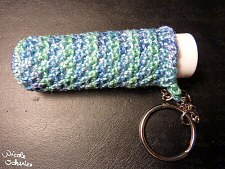
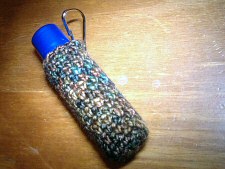
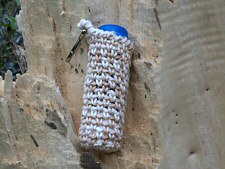
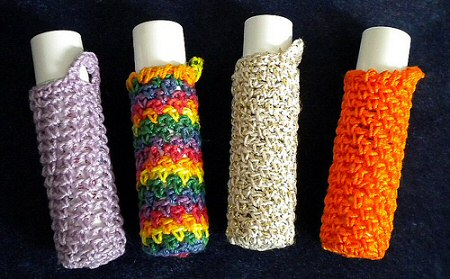
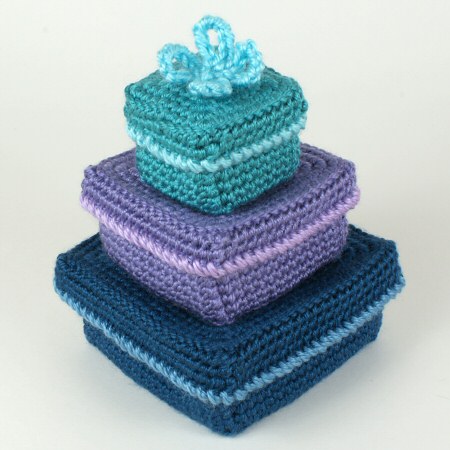
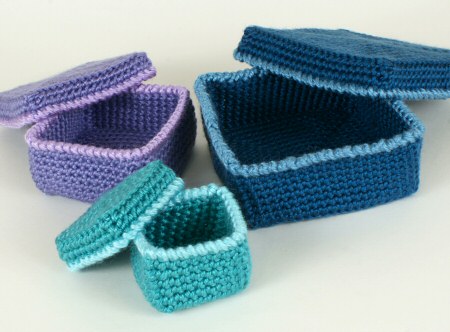
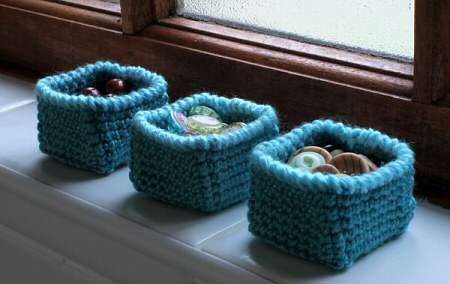
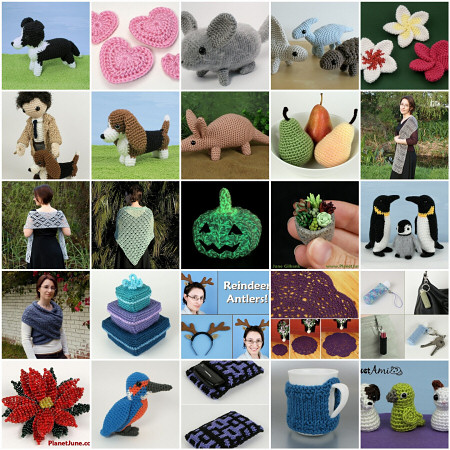
- I published 22 new crochet patterns across my amigurumi and accessories ranges, as well as creating my annual ‘art’ project (my amigurumi Columbo, a tribute to Peter Falk).
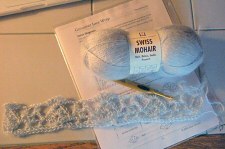
- I continued to create high quality crochet video tutorials, and detailed, honest book reviews.
- I took an educational approach to a spate of copycat designs with my posts on inspiration vs copying and tips for aspiring designers.
- I started a monthly series of wildlife posts, which I don’t think is too tangential on a craft blog, as they demonstrate my passion for nature – the inspiration for most of my designs!
- PlanetJune Crochet-Alongs took on a whole new direction
and are now being run directly from the PlanetJune Ravelry group, which has also blossomed into a fun and supportive crochet community. I hope to see it expand further over the coming year!
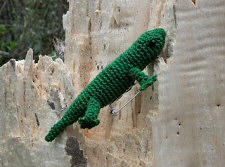
Now I’m living in Africa, my priorities and my lifestyle have been forced to change. I no longer have easy/inexpensive access to yarn and craft supplies, books, DVDs or video games; instead I have easy/inexpensive access to amazing wildlife, and temperatures that let me explore nature year-round. The time that I once spent on weekly shopping trips to Michaels, I can now spend sitting in my garden and noticing those little magical things like butterflies hatching and fast-as-lightning lizards darting along the walls.
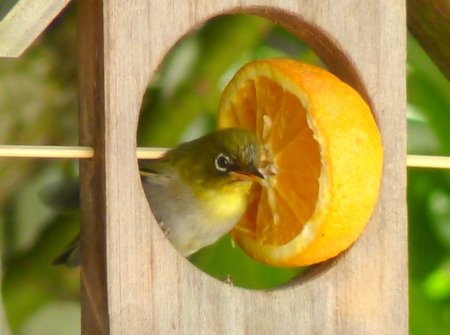
White-Eye eating an orange on the feeder in our garden
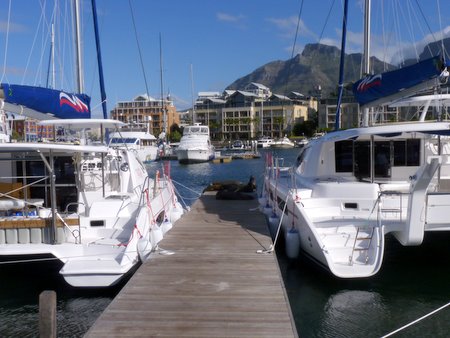
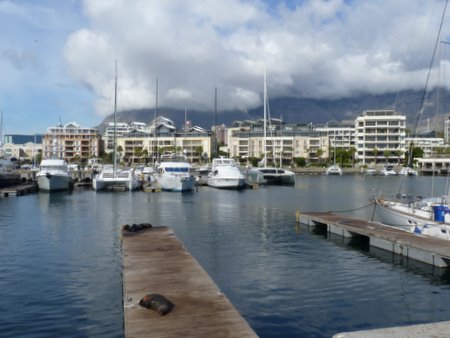
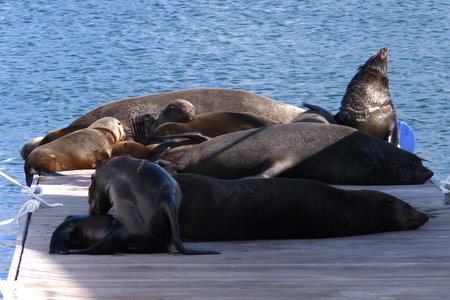
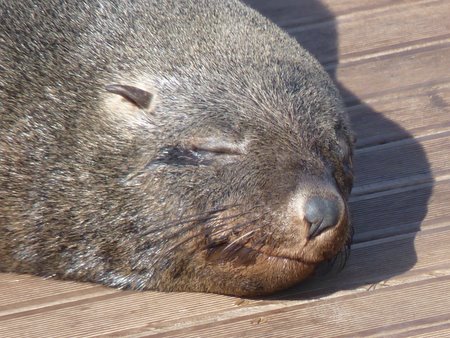
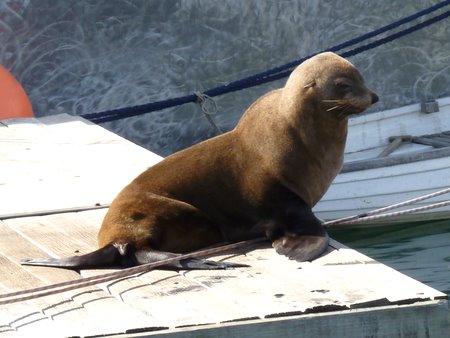
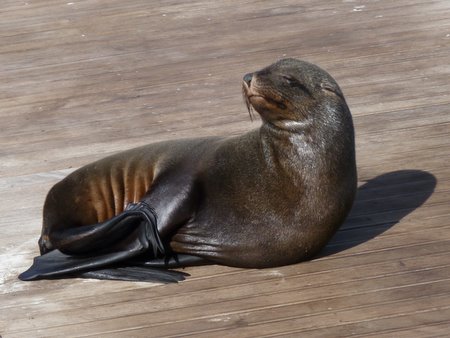
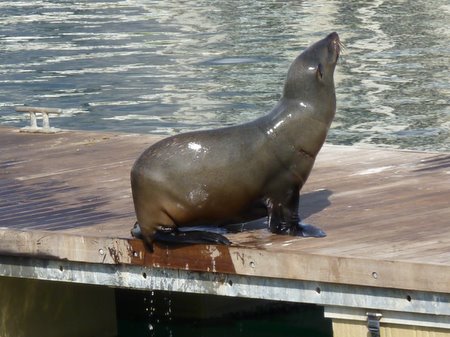
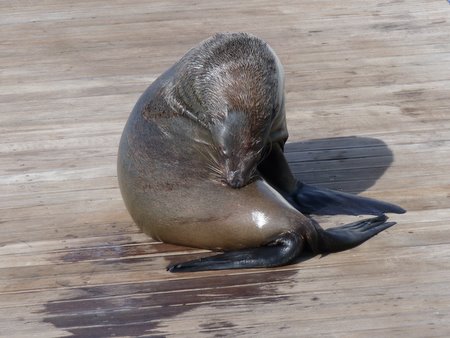
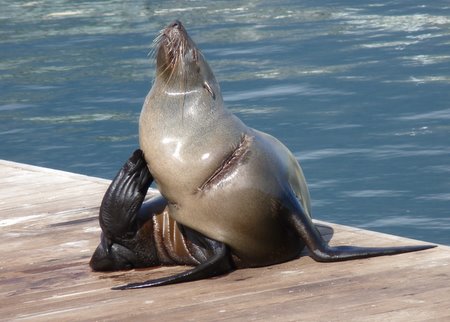
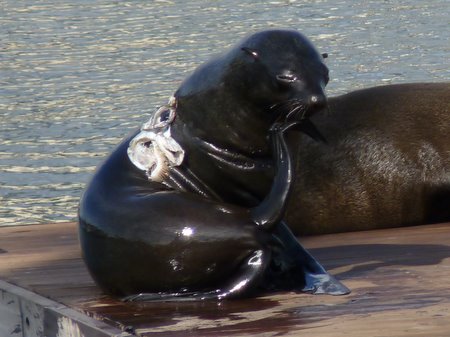
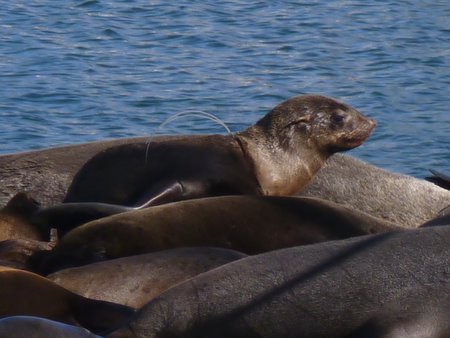
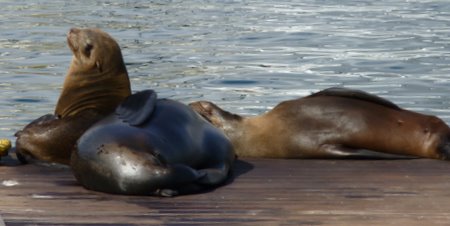
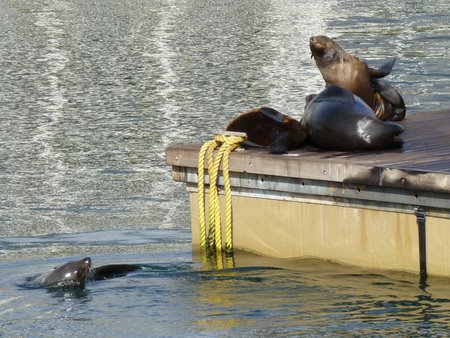
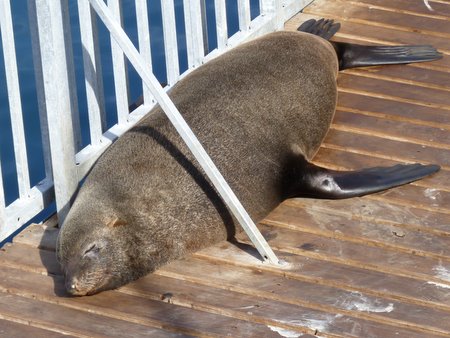
It’s a simpler, less materialistic life, and I like that. And, I can (with some difficulty and/or generous friends) import yarn, books, etc, but no amount of money can buy the amazing experiences I can have here. During our Christmas ‘staycation’ we’ve seen wild antelope, tortoises, ostriches, seals, mongooses, and more, all within an hour or so of our house – an endless stream of inspiration for my future designs.
My resolution from last year was to “to figure out what’s really important to me and to be true to myself in the decisions I make” and, although I’m still working on that, I’ve definitely made progress this year. I’m more aware than ever that my biggest barrier is lack of time, and I need to keep examining where I want to take my business and make sure I leave enough time to actually have a life too!
I worked myself into the ground over the past few months, trying to build my business back up after the move and sickness, and trying to keep up with my own ideas and self-imposed deadlines. I’ve spent days and weeks holed up in my craft room trying desperately to get things finished and having little time for anything else, which was, in retrospect, both unhealthy and a little crazy. So I decided to take December off from designing, and try to catch up with other things in my business and really think about where I want to go from here. And we took 2 weeks off over Christmas for a much-needed break.
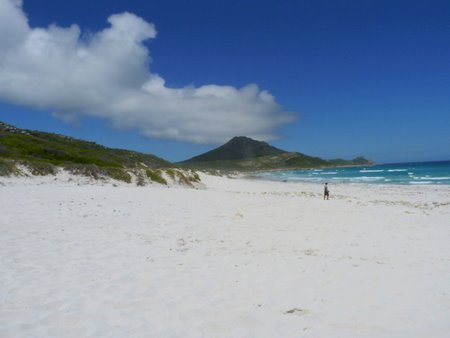
Amazing white sand beach at Cape Point
I’ve had a bit of an epiphany: although I do, of course, want to have financial success with PlanetJune, I’ve realised that money is not my motivator. Most of the things I enjoy are free or inexpensive, and having the time to do them is far more important to me than making more money. Doing things well is what I value: creating beautiful designs, making high-quality tutorials, learning new techniques, and improving my skills.
So, my resolution for 2012 is to work smarter, not harder. I need to slow down and enjoy life, not let it pass me by while I’m working non-stop. I want to invest time into things that will, in the long run, save me time in the technical and administrative sides of the business, leaving me with a larger proportion of time to spend on the creative and instructional sides, and having a life apart from my work.
Helping people (both customers and potential future customers) is something that’s important to me, so this will hopefully allow me to continue to do that without having to spend all my time answering emails. I’ve already started with an expanded FAQ and a bank of canned responses to common questions I receive by email, and I’ll continue to build on both of those so I’ll be able to spend less time on admin tasks in future.
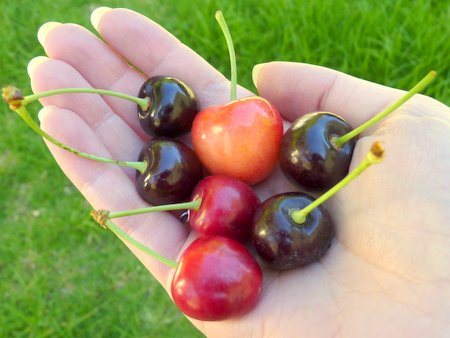
We picked the most delicious cherries ever at Klondyke Cherry Farm
I have no idea what 2012 will bring for PlanetJune. I have so many ideas and plans that if I could split myself into 3 people I still wouldn’t have enough time to implement everything! But I’m not stressed about that; I actually feel calmer than I have in a long time. I have no deadlines, no commitments, no big events on the horizon, and that’s a huge relief. As you can see from my photos, we’ve had a lovely relaxing break (our first chance to relax in a year and a half) and now I’m looking forward to jumping back into work – I wonder if my new tranquillity will show in my 2012 designs..?
I know I’m very fortunate to be in a position where I can support myself (from wherever in the world I happen to be), but it wouldn’t be possible without your support, custom and friendship, so thank you for following me on my journey! I hope you’ll stick with me for the next chapter 🙂
Happy New Year – I hope you have a very happy and healthy 2012!