disastrous prototypes!
I thought I’d share a little more insight into my design process today – just so you know that things don’t always turn out perfectly the first time, even when you’ve been designing for years, and why I think that’s not a bad thing.
I challenge myself to come up with new techniques to keep things fresh and interesting, but the more original I get, the more chance that an idea that seems perfect in my head will look completely different when I actually crochet it. So let’s have a chuckle at some of my ridiculous prototypes that (for obvious reasons) didn’t make it into a finished pattern…
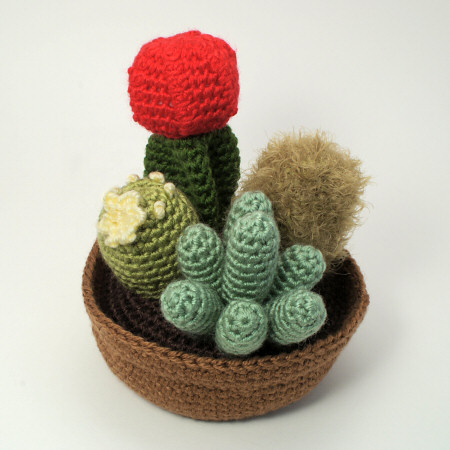
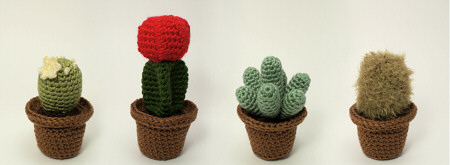
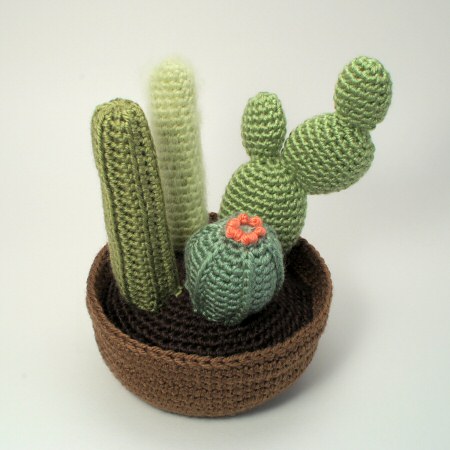
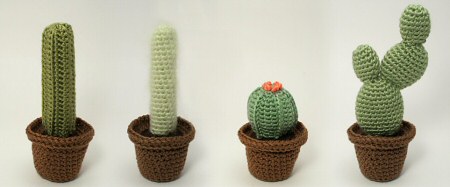
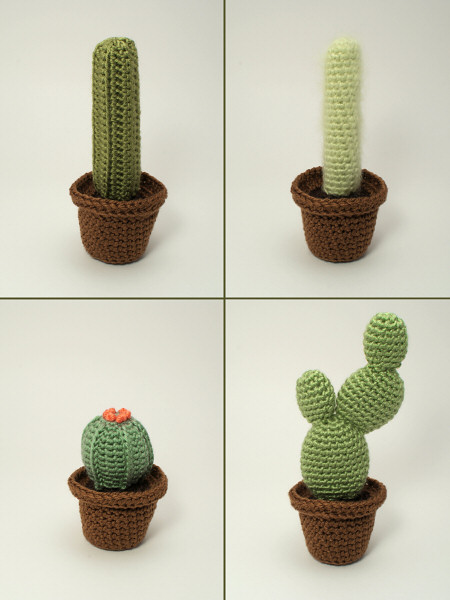
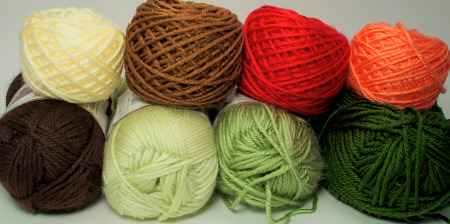
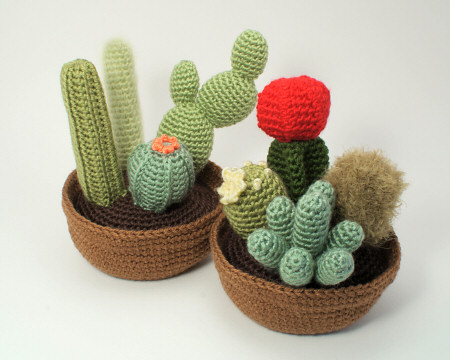
When I was working through my Cactus Collection patterns, one of my design decisions was to make each cactus different by more than just size. I always like to do lots of research before I get started on a design so I know exactly what I’m looking to create before I ever make a stitch. I used different stitches, techniques and embellishments so that none of the cacti are the same as any other and to make them look like actual cactus species.
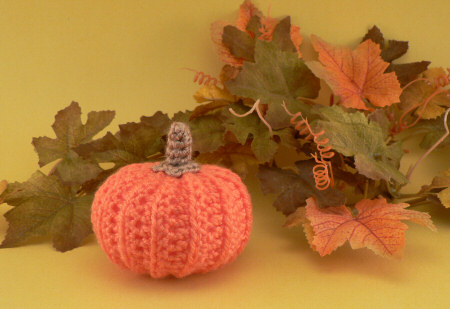
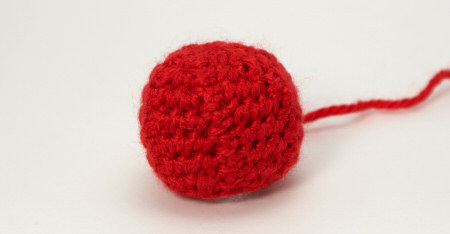
This worked out fine until I came to the top of the moon cactus (the red piece in my collection). It should have ridges around the sides, but I didn’t want to make it using the same technique I used for the ferocactus (the one with the orange buds at the top). So, time to think of something new…
I liked my first attempt, but felt the ridges were too subtle:
The second attempt looked more like a mistake than a cactus (is it a peppermint candy?!):

I thought I had a genius idea with the third attempt, but it ended up looking even more subtle than the first attempt:

I tried something totally different with the fourth attempt: interesting, but the proportions are wrong and it’s far too big:

A similar technique on a smaller scale for the fifth attempt still didn’t give me the effect I wanted, so I abandoned the attempt halfway through:

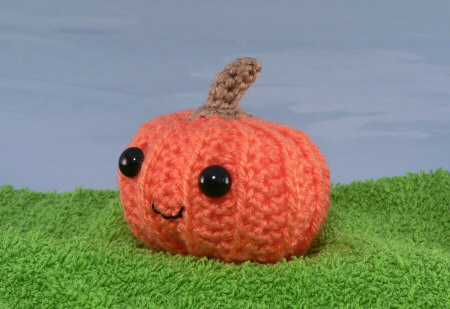
And finally, I found something I was happy with. It’s similar in look (but not construction) to my first attempt, but the ridges are just that little bit more obvious:

I hope that my patterns look clean and simple, but, as you can see, a simple pattern doesn’t necessarily imply a simple design process. Taking it from ‘pretty good’ to ‘just right’ sometimes takes a lot of extra effort – but I think that’s effort worth expending.
And as an added bonus, I always learn something from the failed attempts that I may be able to use for another design in the future! Nothing is ever a completely wasted effort, so don’t be discouraged if your creative efforts don’t always quite turn out the way you imagined they would. 🙂
PS – If you’d like to try crocheting some cacti for yourself, you can find the Cactus Collection patterns in my shop!