Writing my Year in Review post every year helps me to see what I’ve accomplished, think about what I’ve learnt, and decide what I’d like to do differently in the following year.
This year has been bookended by accomplishments: I started 2022 by receiving my Silver Award from YouTube for passing 100,000 subscribers, and ended it with the publication of the crochet reference book I always wanted to create: Everyday Crochet.
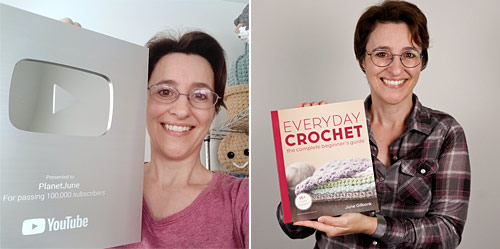
As most of my work is in digital patterns, having these two physical, tangible items I can hold in my hands feels significant.
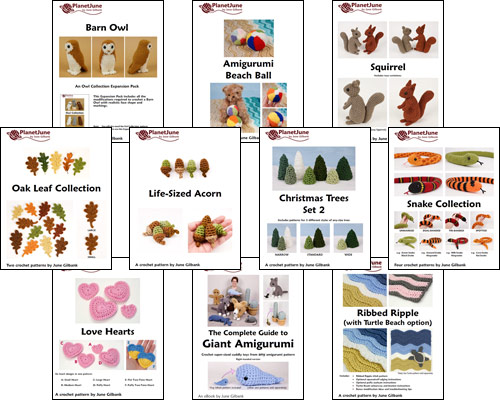
Also in 2022, I published half a dozen new patterns and added additional content to several older ones:
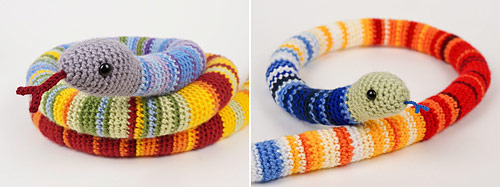
And I’ve just launched my ambitious year-long Temperature Snake CAL for 2023, which kept me busy throughout the year as I simultaneously worked on two samples – in secret!
I had no idea how the launch would go, but it’s been a huge success: we have hundreds of people signed up and preparing to start their snakes today (and there’s still time to join us, if you haven’t already!)
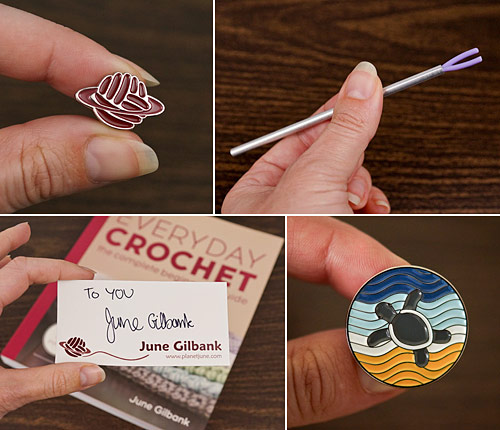
Also in 2022, I designed and launched new physical products (enamel pins and stuffing tool handles – sign up for the Crochet Tools list to be notified of the next flash sale!) and created always-available bookplates so I can ‘sign’ copies of my books for you.
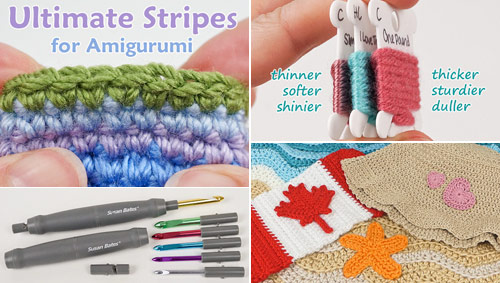
I published some new crochet video tutorials, reviewed some new crochet hooks, and updated the worsted weight yarn comparison with additional samples.
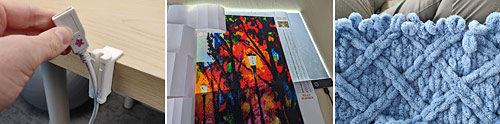
In other crafting, I’ve enjoyed collaborating with my husband to make useful 3D printed objects, and I’m still enjoying diamond painting. I made a blanket by finger knitting with loop yarn – and I’m shocked to realise that was the only knitting I did all year! I have more hobbies than I have time and energy…
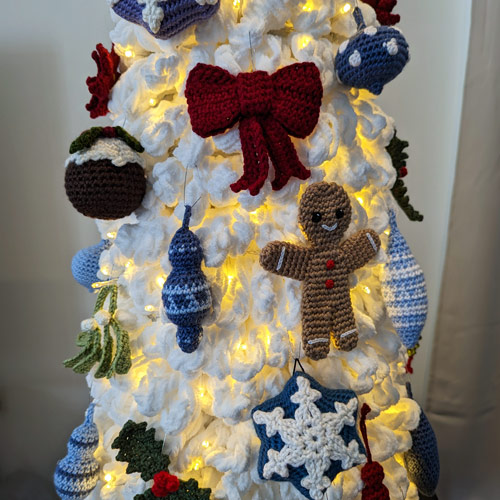
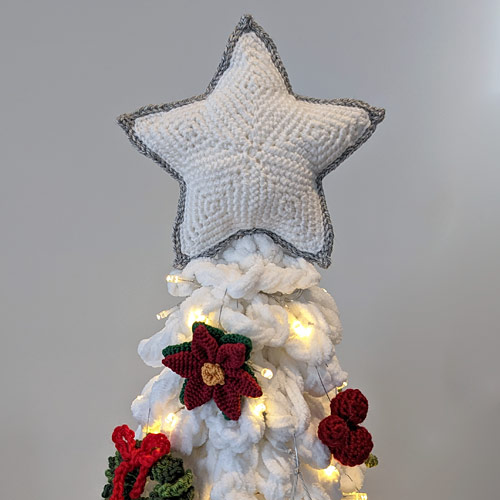
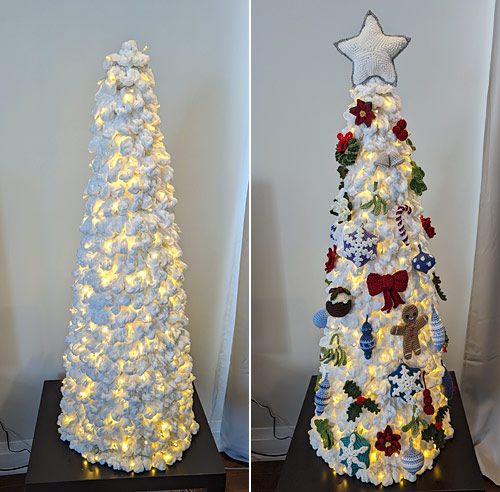
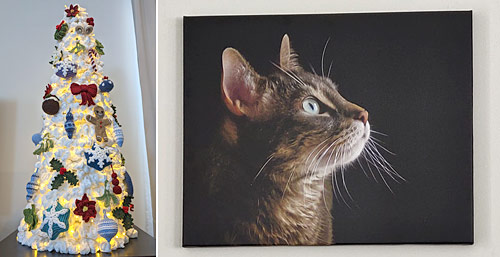
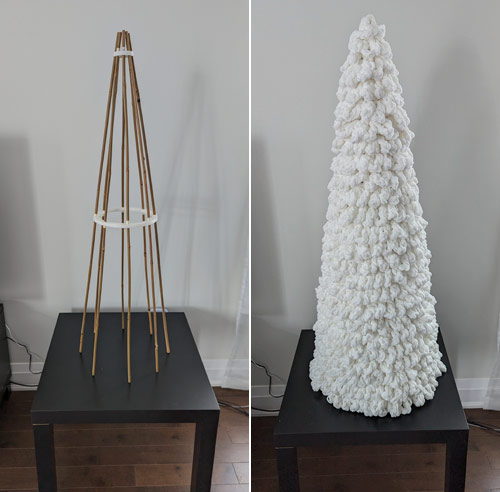
I crocheted and assembled my giant Christmas tree, and I spent many hours tweaking and editing a photo of Maui to make a portrait on canvas that would be a fitting tribute to him:
And I’ve reluctantly taken up gardening this year too – as our forever home is a new build, the garden was 100% plain lawn, so if I want to encourage wild visitors (which I definitely do!) I need to develop a nature garden. With that in mind I’ve started planting native shrubs and pollinator-friendly wildflowers that will hopefully take care of themselves once they’re established.
My little wild corner doesn’t look like much yet, but fingers crossed it’ll be beautiful in a few years’ time:
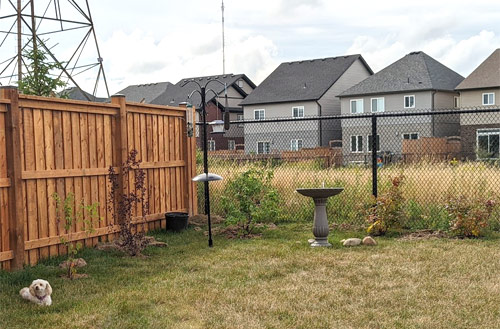
Gardening is not one of my natural talents (hence my huge collection of crocheted plant designs that I can’t kill…) and I’ve made some mistakes with my plants this year, but I’ve learnt a lot so I can do better next year. And 15 bird species visited my garden before they all disappeared for the winter, so something has been working!
Business Report
Behind the scenes, I’ve been making progress on a long-term project, making lots of little tweaks to improve and speed up the website and to improve PlanetJune’s visibility in search engines. I don’t have anything flashy to report here, but the incremental improvements all help.
I discovered that Google Analytics has some issues with privacy law compliance (unless you really know what you’re doing), so I’ve switched to a much simpler GDPR-compliant analytics package running on my own server so I can still track useful things like how people find me without accidentally storing any personal data.
On a whim, I ran a quick customer feedback survey through my newsletter, which proved to be very helpful. I’ve implemented some of the suggestions already (like increasing the font size of the newsletter itself), and I have a whole list of other things I can continue to improve in future.
And I’ve been taking courses and researching book design and self-publishing (more on that later…)
Personal Report
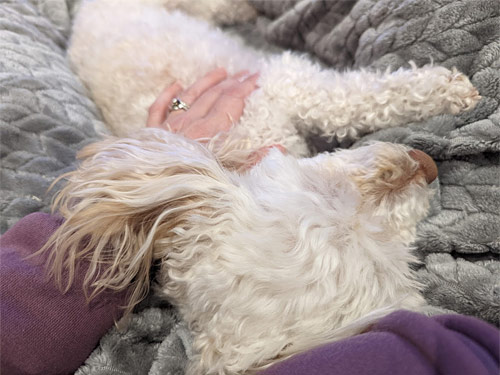
Saying goodbye to our precious cat Maui in early January was an awful start to 2022, and although I’ve tried to stay positive, his absence still hits me like a punch in the chest at unexpected moments, almost a year later. But this little bundle of love has really helped with that – Maggie is my constant companion, and keeps me on track.
Healthwise, I had a long-lasting respiratory infection this autumn, my bad knee has declined again (and I’ve been going to physio for that), and I’m still plagued by fatigue that’s crippling at times.
I’m trying to come to terms with the limitations my health puts on my work – there’s so much I want to create, but I’ve found that there’s a hard limit to the energy I can expend, and pushing myself too hard one day just makes me a zombie in the evening or ‘borrows energy’ from the next day so I’ll be too exhausted to do anything all day.
It feels like laziness if I don’t always work full time hours, but I need to remind myself that it isn’t: if I don’t push too hard or expect too much from myself, I can still accomplish the same amount while also enjoying every day instead of feeling shattered – and in the end, isn’t that what life is about?
I know I’m not alone in this, and if you also have a chronic health condition that limits your energy, I recommend reading up about Spoon Theory (google it!), and the book How to Keep House While Drowning is also very helpful if the daily tasks of life are overwhelming.
Looking Back
As of 2022, I’ve been blogging for 16 years (with over 1000 blog posts), I’ve been a published crochet designer for 15 years and self-employed full-time for 13. I’ve published 4 traditionally-published books and well over 250 self-published patterns and ebooks. I’ve worked for a long time to get to where I am today!
Although it may not seem like I’m super-productive these days, I’m juggling a lot of plates behind the scenes, managing life challenges as well as business ones, and I’ve set a high bar to keep making high quality innovative work and offer dependable support to all my customers.
And I’m still doing too much: I thought I’d allowed plenty of time to prepare the Temperature Snake CAL without a last-minute time crunch, but being sick for so long in the fall knocked all my plans off track and I’ve had to work far too hard – even over Christmas! – to get all the CAL pieces in place, two weeks later than I’d planned.
I can’t keep doing this to myself – it takes a huge toll on me, but there always seems to be just one more thing I have to do before I can rest. Speaking of which…
Looking Forward
I had a plan. A grand plan. A hope to leave a legacy in the form of two crochet reference books that I can really be proud of.
Revamping IG:Crochet into Everyday Crochet in 2022 was the first part of the plan, and the second part – replacing my old CIG to Amigurumi with an all-encompassing amigurumi reference book that includes all my tips, tricks and tutorials from my 15+ years as a trail-blazing amigurumi designer and looks and feels as gorgeous as Everyday Crochet does – will be my mountain to climb this year.
I’m not going into this unprepared: I’ve been in the craft book industry since 2009, I have the technical writing and editing qualifications, I’ve done a ton of research on book design, and I’m equipped with endless years of experience in producing patterns and and tutorials. But this will be my first solo climb – my first book where I’m wearing all the hats and aiming to produce a book that’s at least equal in quality to any other crochet book you own, as well as being full of the content you’d only get in a PlanetJune amigurumi book.
I’m ready for this challenge, but I anticipate it’s going to take most of the year to produce the amigurumi reference book of my dreams. I’ll probably have to postpone all my other patterns and tutorial ideas so I can bring this book to life – it needs all my energy and attention, and it’ll be worth the sacrifice.
If I’ve learnt anything this year, it’s that I need to allow even more buffer time than I think I could possibly need, to take account of my health, so I need to be strong and say no to everything else – even the most exciting new ideas and opportunities – if I’m going to bring this book to life.
So, a heads-up: I never post filler content just to keep to a fixed publishing schedule. Although I’m sure I’ll still have some crafty things to post about, it does mean my blog and social media may look a little quiet for much of 2023 – please know there’s a good reason for that!
Creating and publishing my amigurumi reference book will be my Everest, and once I’ve conquered it I’m hoping to settle into a more comfortable, less thrilling, sustainable lifestyle, and enjoy developing my future designs at my own pace. But first, I have an epic challenge ahead in 2023!
2023 Wishes
Last year, I wished for resilience (to keep going through the tough times), grace (to not beat myself up when reality falls short of expectation), and hope (to look forward to the better things to come). When I made those wishes, I didn’t know how much I’d need all those things in 2022.
For once, this coming year, I actually have a concrete tangible goal (and it’s dauntingly ambitious: to write, photograph, edit, design, publish and market a professional-quality book all by myself). So, in 2023, I wish to be grounded, steady, and focused: to move forwards, one step at a time, without getting overwhelmed, sidetracked or discouraged.
I wish those things for you too, no matter what your goals for the coming year may be, and I hope 2023 will bring you health, happiness and fun. Happy New Year!
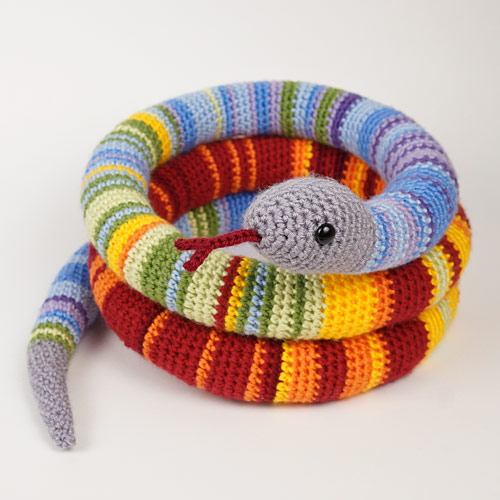 Spectrum is named for her colour scheme – the colours of the rainbow.
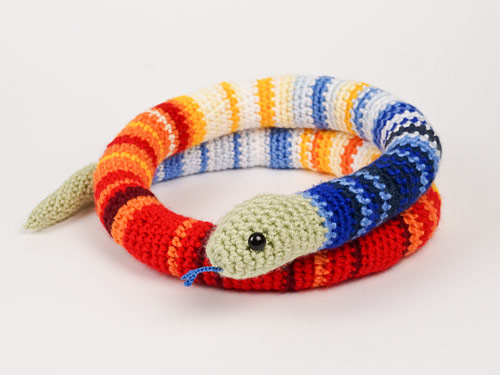 Kelvin is named for the temperature scale used to measure the colour temperature of light, from warm red to cool blue.
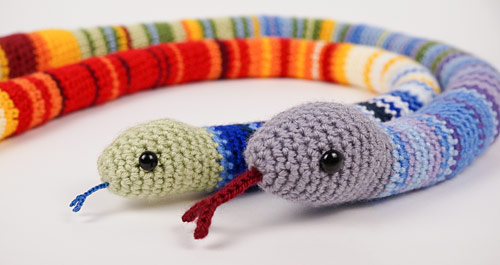
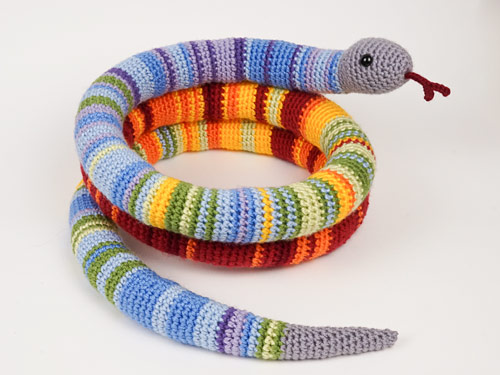

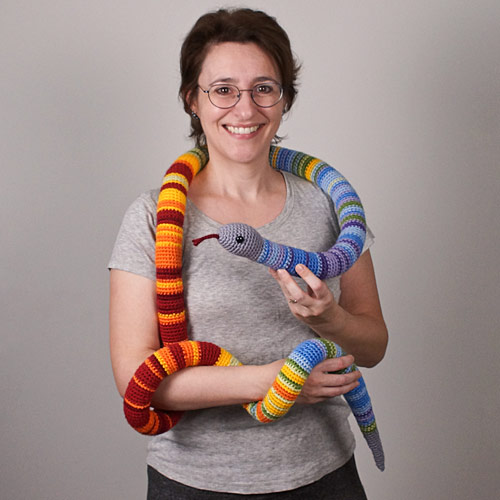 Spectrum is by far the longest amigurumi I’ve ever made!
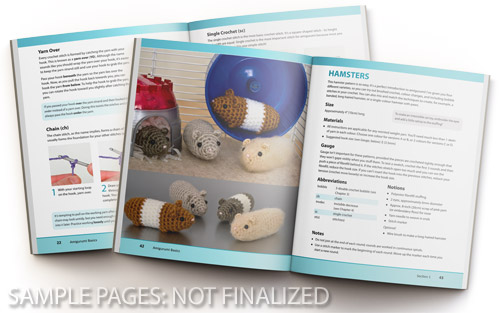
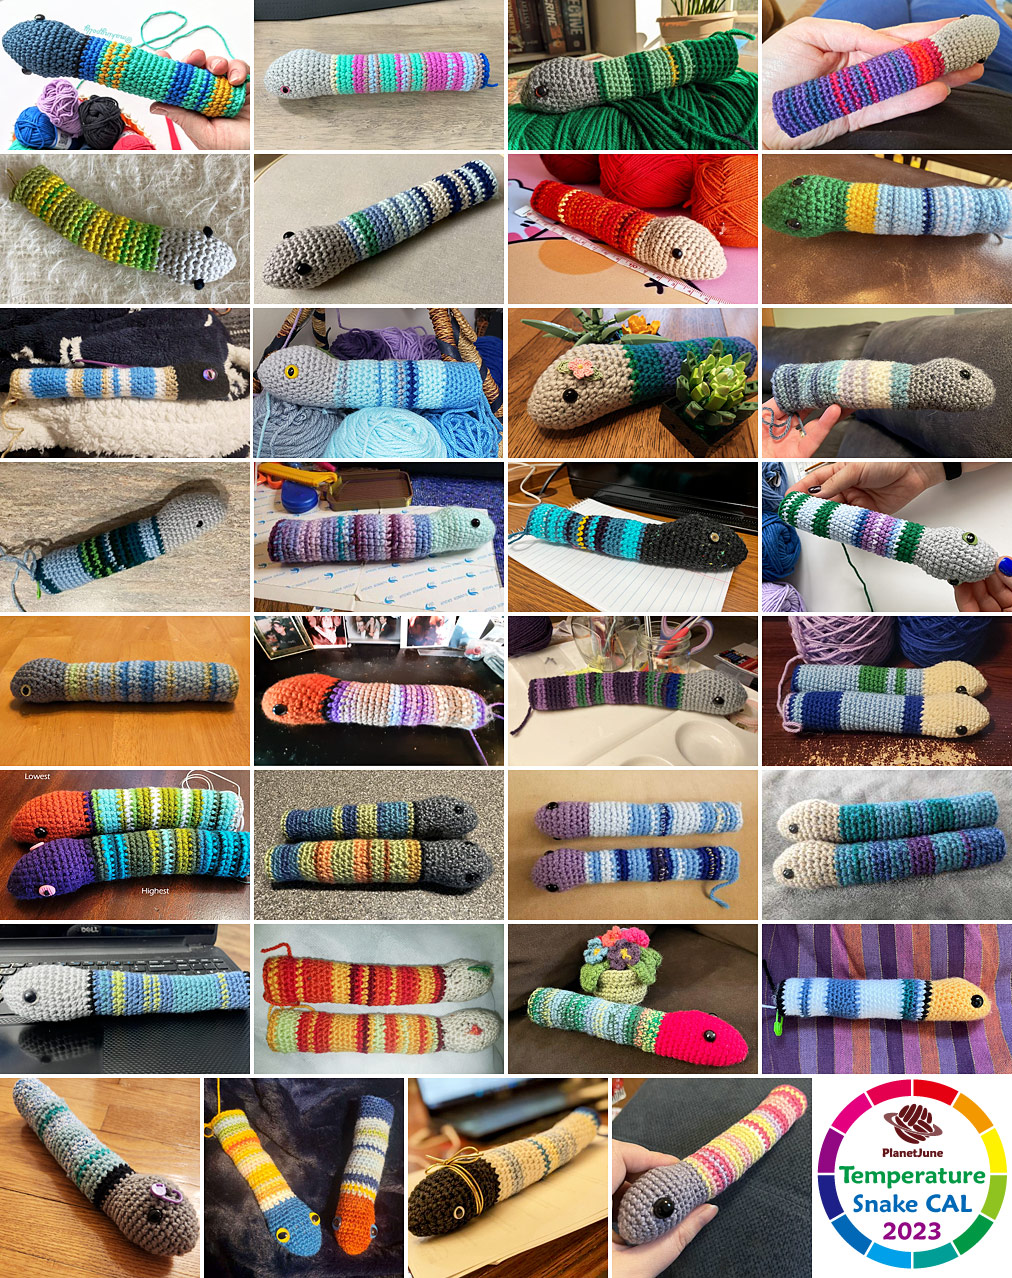 Click to see the collage larger!
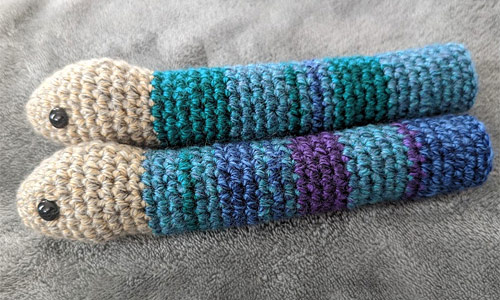 Jewel (top) has the daily high temps, and Gem (bottom) has the daily lows
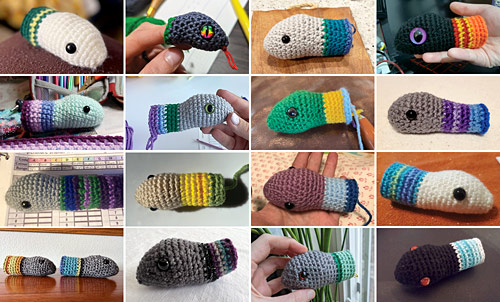

 It’s going to be so interesting seeing how differently all these lovely snakes will turn out…
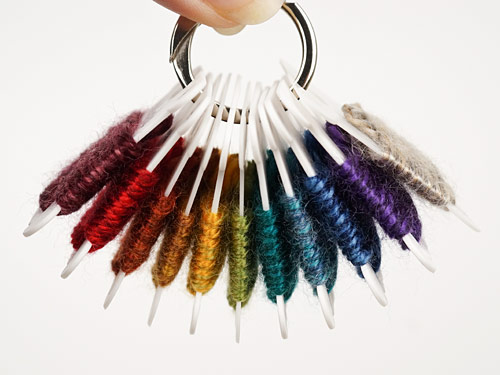
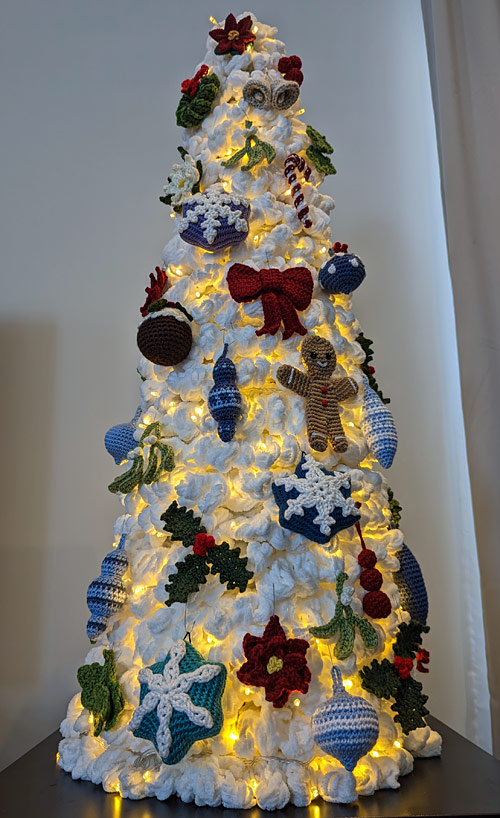 My giant crocheted Christmas Tree is 108cm (42.5″) tall!
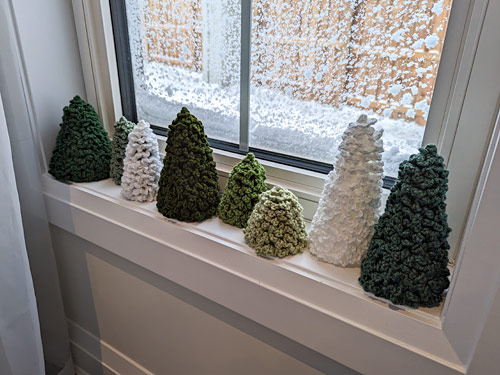 The standard Narrow Trees are on the right here, but this project would be a little larger than all these other Christmas Trees!
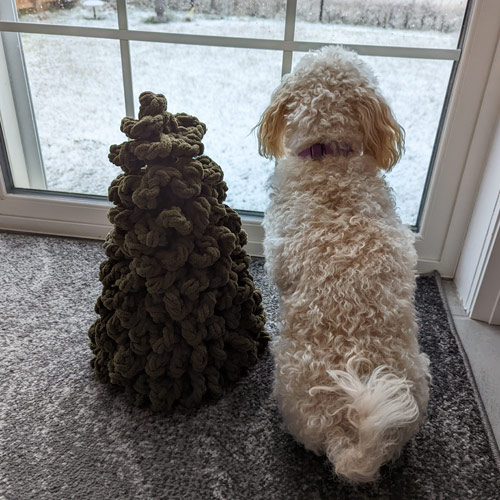
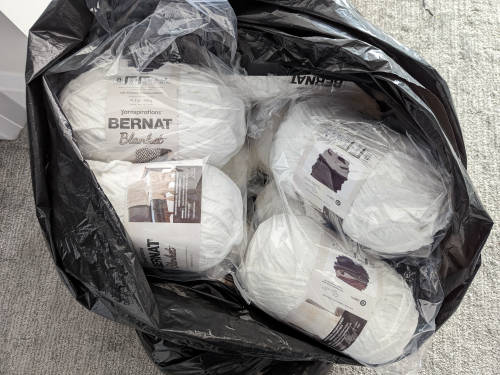 Each of those balls is 300g (10.5oz) of yarn!
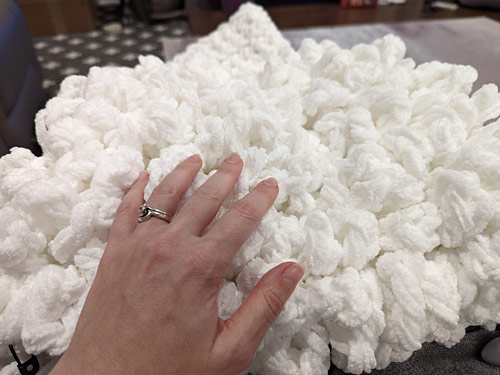 Mmm, this texture looks like giant popcorn kernels to me…
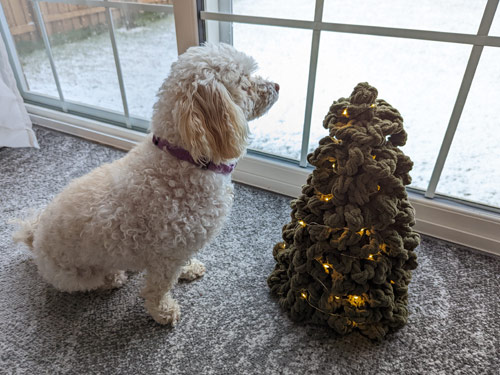
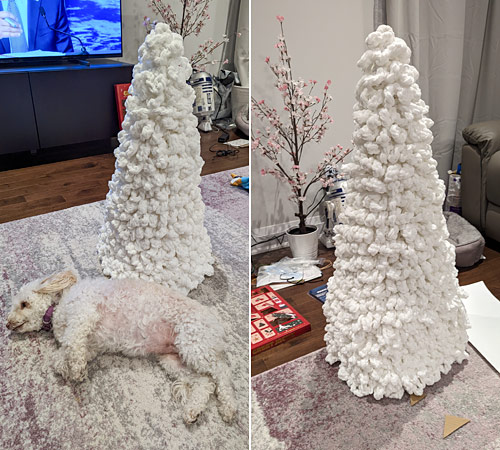 The extra height between the 30″ version and the final 42.5″ version made a big difference!
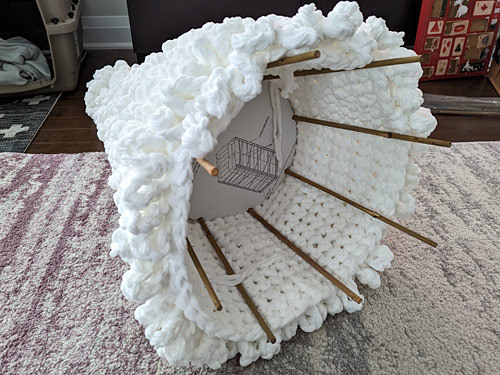 One of several prototype support systems that didn’t work very well…
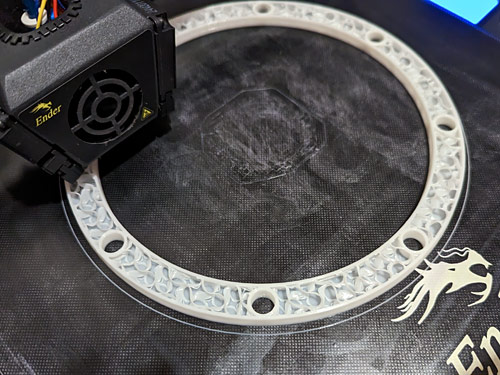 Printing in progress
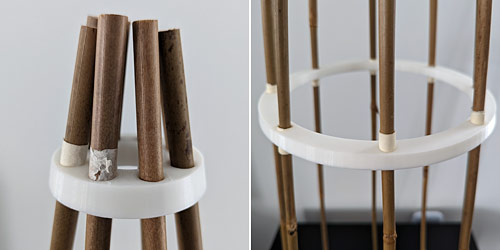
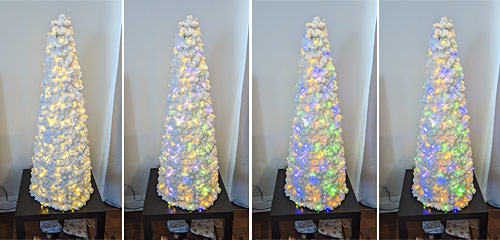 The colours don’t photograph very well, but at least you can see that they do change!