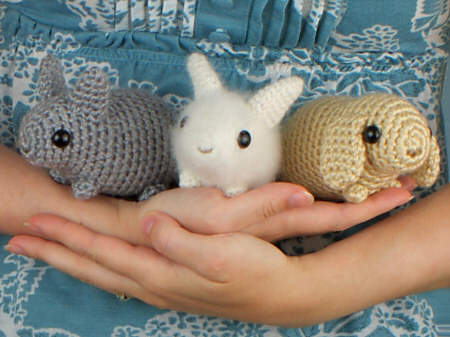
Setting prices for amigurumi can be very tricky. I thought I’d offer some pointers that may help you to set reasonable prices if you want to sell the amigurumi you’ve crocheted.
As you may know, I allow people to sell items made from any of my patterns (provided they give me credit as the designer). As my time is more than filled with creating new designs, running my shop and blog, and providing assistance to my customers, I can’t accept crochet commissions any more, so I’ve started a list of people who sell PlanetJune-designed toys for people who want to buy finished PlanetJune items. If you sell items made from my patterns, have an online shop, and would like to be added to the list, please let me know!
Although the following post is geared towards online amigurumi sellers, there’s probably some value in reading it if you sell any kind of handmade goods. Read on for my pricing tips…
Common Handmade Pricing Strategies
Note: I’m ignoring consideration of profit above material and labour costs and the wholesale/retail price factor – these are outside the scope of this post, which isn’t aimed at people who want to sell their handmade work as a serious business, but for hobbyists who’d like to support their yarn- and pattern-buying habit while they enjoy their hobby, and maybe not fill their house to overflowing with all the amigurumi they’ve made!
Very simply, there are two general schools of thought for pricing handmade goods:
- Set prices based on an hourly ‘wage’ for yourself plus the costs of materials
- Set prices based on material costs multiplied by 3 (or some other number)
Now, neither of these strategies work at all well for amigurumi:
Hourly wage: Unless you can successfully market yourself as creating ‘art toys’, it’s very difficult to make any sales if you charge a decent hourly wage for everything you crochet. (And if you’re crocheting while you watch TV or chat, should you really be earning the same amount per hour as if you were giving 100% concentration to your task..?)
Costs x3: While this may be an appropriate figure for, e.g. a simple crocheted blanket with a repetitive stitch pattern, the material costs for making an amigurumi are miniscule (typically a fraction of a ball of yarn, a handful of stuffing, and a pair of safety eyes) and it can take just as long to make a toy that uses less than 1/2 a ball of yarn as to crochet a blanket that takes 5 or 6 balls, so the resulting price would be far too low if you use this formula for amigurumi.
So, as an amigurumi seller, you’re looking for some middle ground: a price that covers all your material costs and accounts for both the time taken and the complexity of the project (i.e. the concentration required to complete your item), but still gives you a number that your potential customers will find acceptable.
Know the Market
What do other people charge for similar items? Look at the other shops on my list and see what they charge. You should also look at other Etsy amigurumi sellers to get a broader picture.
Don’t try to beat their prices – it’s not a competition, and doing that will damage the market for both you and the other sellers! But do look critically at your work and theirs:
- If you think your items look as good as theirs, charge the same (or more, if you want).
- If you think yours are better, charge more (unless they have no sold items and you think that’s because their prices are unrealistically high).
- If yours look worse, why is that? Don’t charge less; instead look at this as an opportunity to improve your listings by either improving your crocheting and finishing skills, or by learning to take better photos, as applicable.
Your photos will make a huge difference in what sells and what doesn’t. Is there anything that makes your items more special than other amigurumi sellers? Something that may justify higher prices? Show that in your photos, if possible, but otherwise, make sure it’s clear from your item description. If your prices are the same and your photos are equally appealing, the description may also be the deciding factor for your customer.
If you’re just starting out with your shop, you may decide to start by pricing slightly lower than others, to help you gain some initial sales and positive feedback from customers, and then raise your prices a bit once you’re more established. Please don’t sell yourself too short though, by setting your prices far below what other comparable items sell for. If your items don’t sell as well as you’d hoped, there’s nothing stopping you from lowering your prices, or offering sales and discounts, at a later date.
Hidden costs of selling online
Notes:
- I’m assuming the most common scenario: you’re selling in USD through Etsy, using PayPal to accept payment, but the general principles apply however you’re selling, although the exact fees and percentages will vary.
- Etsy selling fees have increased from 3.5% when I first wrote this article to 6.5% as of 2022(!) so I’ve updated the figures below to reflect that. You can also use Etsy’s own payment processing instead of PayPal, but your cost is essentially the same, either way.
If you started out by selling items to friends and family, or at in-person craft shows, you may be tempted to price your online items the same way. But remember you’re paying 20c per listing (whether it sells or not) plus 6.5% (if it sells) to Etsy, and PayPal will take 30c plus 2.9% (or 3.9% from an overseas customer), so your online prices should be higher by that amount, at least.
e.g. on a $20 item you’ll pay:
$0.20 fixed fee to list the item on Etsy
$1.30 to Etsy when it sells (6.5% of $20)
$0.30 fixed fee to PayPal
$0.58 percentage to PayPal (2.9% of $20)
Those small costs start to add up: that’s a total of $2.38 that you’ve lost by selling the same online vs a cash in-person sale. So you should consider charging $22.50 instead of $20 for that item, to cover those costs, unless you want to accept that you’ll only receive the lower amount.
In general, the amount you need to add is:
Amount to raise prices by to cover PayPal and Etsy fees = $0.50 + 0.094 x (in-person sale price)
Notes: If you regularly sell to overseas customers, use 0.104 instead of 0.094 in the above calculation. This also assumes that your item sells within 4 months of listing, otherwise you’d need to pay an additional 20c to Etsy for relisting it.
(If all this seems too complicated, you can use an Etsy Fee calculator and it’ll do the math for you!)
Shipping costs
Do your shipping costs include all your costs? Aside from postage, are you buying a bubble mailer, a box, bubble wrap, tape, mailing labels…? Any of these add to your costs, and you should include them in your shipping charge (or raise all your item prices by that amount, if you want to make your shipping costs look more reasonable), or you’ll end up taking a loss each time you ship a package.
Also, remember that the fee calculation above also applies to shipping costs, so you’ll need to add 9.4% (6.5% selling + 2.9% processing) to your actual shipping costs (e.g. that works out as 47c if you charge $5 for shipping) or you’ll be losing money! Once you’ve worked out the cost of postage plus all your packing and shipping materials, you need to add the fees like this:
Shipping charge = 1.094 x (postage cost plus packaging materials cost)
Note: if you offer shipping to overseas customers, use 1.104 instead of 1.094 in the above calculation.
These little amounts add up, and you don’t want to end up paying for packaging materials out of your own pocket.
Underpricing: Warning Signs
- Are you selling items faster than you can replace them?
- Are you crocheting every spare minute of the day to keep your shop filled?
- Are your hands or wrists starting to hurt?
- Are you starting to wonder why you’re even doing this?
All these are signs that you need to raise your prices, if you want to keep selling what you’ve made. Yes, you’ll see less sales if you do that, but if you make the same amount of money while selling fewer items, you’ll find it easier to keep up with demand, to avoid giving yourself a repetitive stress injury, and to (hopefully) not lose your love of crochet – which, after all, is why you’re doing this in the first place, isn’t it?
Go Forth and Sell!
I hope this has given you some points to consider, whether you’re setting your prices for the first time, or considering updating your pricing scheme. It’s perfectly okay to crochet for friends and family for the cost of yarn and patterns (or for free), if that’s what you want to do, but do remember not to offer those same bargain prices to all your customers, or you’ll burn yourself out and your hobby will turn into slave labour! You’re worth more than that, but ultimately, only you can decide how much money you need to make in order for it to be worth your while to sell your handmade goods.
Good luck with your selling!
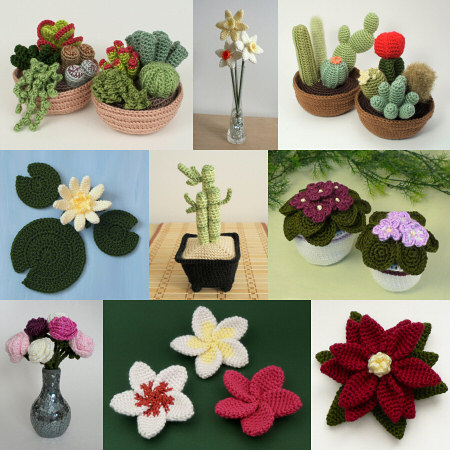
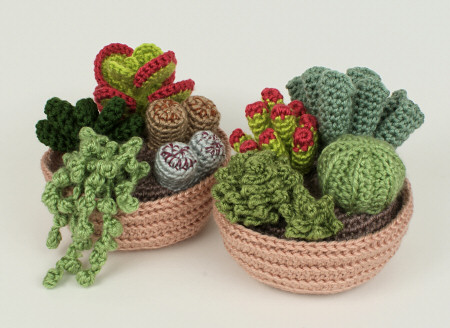
(Please send me your details if you’d like to be added to my list of sellers – see the bottom of the linked page for details – I hope it will send potential customers your way for items you’ve already crocheted, and/or generate custom order requests for you. I’m getting a lot of requests for cacti and succulents at the moment..!)
Do you have any tips to add to mine? Or good (or bad) experiences with selling amigurumi? Please share them in the comments below!