Join the Reindeer Games crochet-along!
Team PlanetJune had such a blast with the Ravellenic Games last summer, we decided that our Christmas crochet-along this year will be a Team PlanetJune special event!
The first annual PlanetJune Reindeer Games begins on Monday November 1st, and I hope you’ll join us 🙂
Crochet anything PlanetJune as part of the PlanetJune Reindeer Games 2021 (Monday, Nov 1 – Friday, Dec 31). This is a Team PlanetJune event, hosted in the PlanetJune Ravelry group, with a similar concept to the Ravellenic Games: the idea is to challenge yourself by starting and finishing crochet project(s) before the end of the year.
It’s just for fun, like a CAL but you get to choose your projects – anything PlanetJune, including projects from my books – and earn virtual awards! During the Games, we all cheer each other on to complete our chosen projects. Our team captains will award you with your Reindeer Village medals and Antlers as you complete your project(s).
Santa and all 9 reindeer have set up their stalls in the Reindeer Games Village – have a virtual wander around and choose which you’ll visit first:
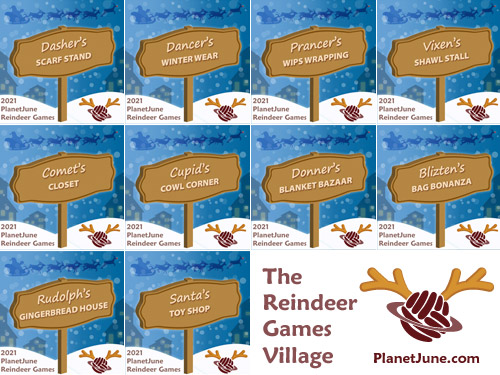
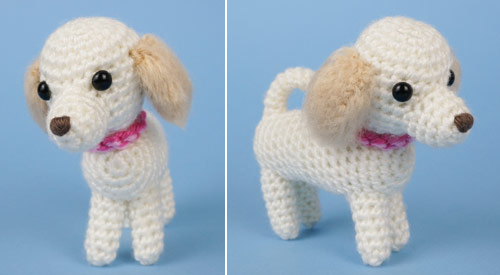
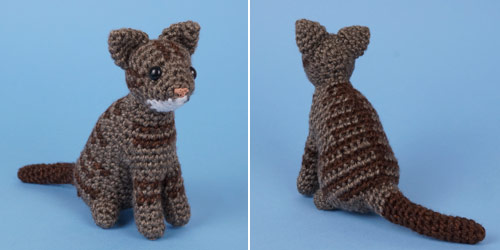
- Santa’s Toy Shop – toys
- Rudolph’s Gingerbread House – home/décor
- Dasher’s Scarf Stand – scarves
- Dancer’s Winter Wear – hats and mitts
- Prancer’s WIPs Wrapping – any project started before the Games
- Vixen’s Shawl Stall – shawls and wraps
- Comet’s Closet – sweaters and other garments
- Cupid’s Cowl Corner – cowls and neckwarmers
- Donner’s Blanket Bazaar – blankets and afghans
- Blitzen’s Bag Bonanza – bags and purses
You’ll receive the medal for the stall you ‘visited’ once you’ve finish your project! And you can also receive bonus Antler awards for your projects:
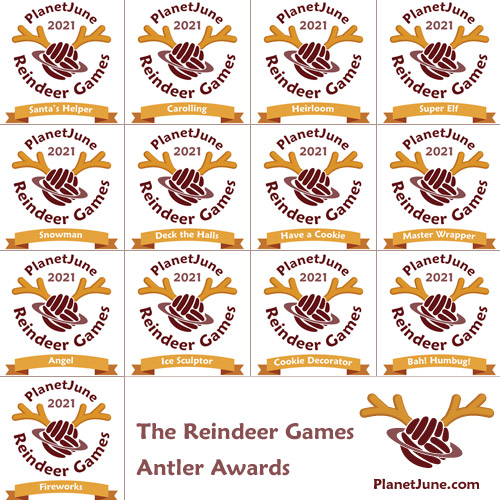
- Santa’s Helper – showing team spirit
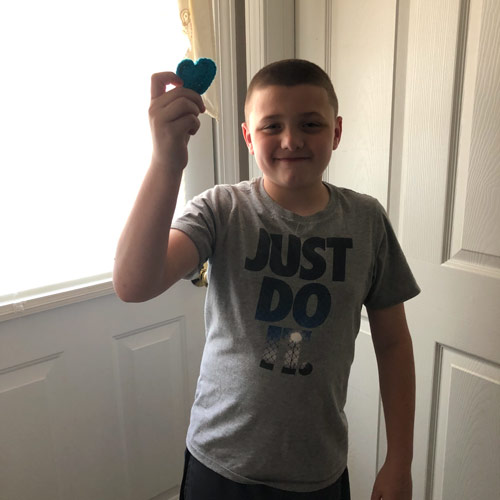
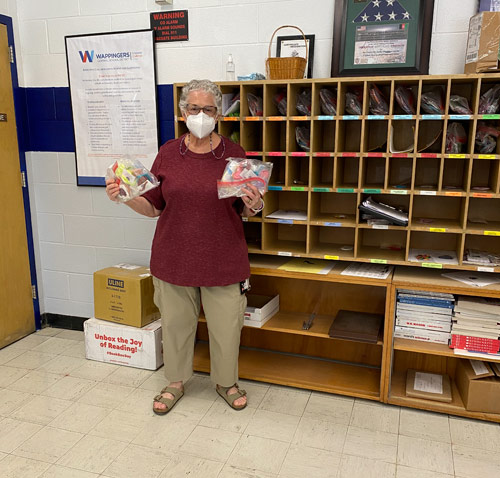
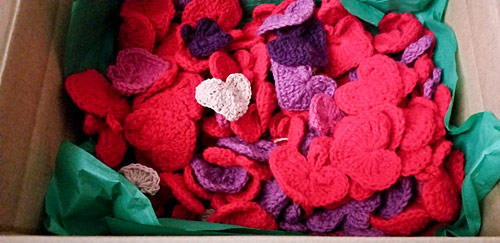
- Angel – charity project
- Carolling – crochet in public
- Cookie Decorator – colourwork
- Deck the Halls – embellishments
- Heirloom – using a PJ pattern you’ve owned for more than 3 months
- Ice Sculptor – techniques: cables, lace or Tunisian
- Snowman – modifying the base pattern
- Master Wrapper – complete 3 WIP projects
- Super Elf – complete any 3 projects
- Bah! Humbug! – complete a project on Christmas Eve
- Fireworks – complete a project on New Year’s Eve
- Have a Cookie – a special antler for those of us who try our best but don’t quite get to the finish line
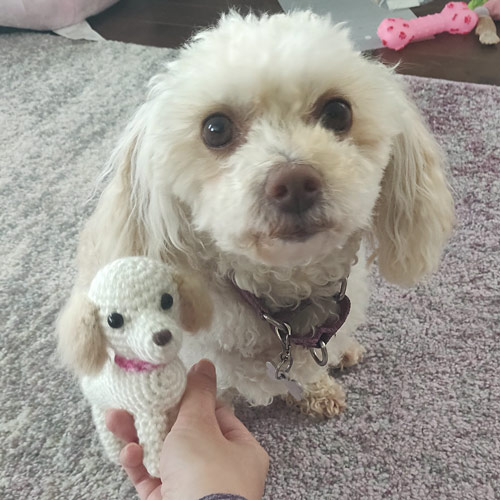
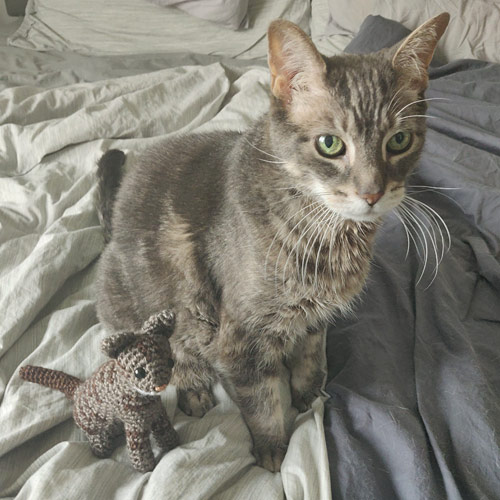
Whether you’re crocheting your favourite PlanetJune patterns as Christmas gifts, items to sell at craft fairs or online, toys for charity, or projects for yourself, we’re ready to encourage you to complete your goals and to celebrate your successes with you!
And, even if you think you may not have time to complete a project, you’re very welcome to join the team for the community spirit and friendly chat. There’s something about PlanetJune that attracts the kindest and most supportive people, and, if you enjoy PlanetJune patterns, you’re already part of our community – do come over and say hello!
Team PlanetJune in the Rav Games 2021
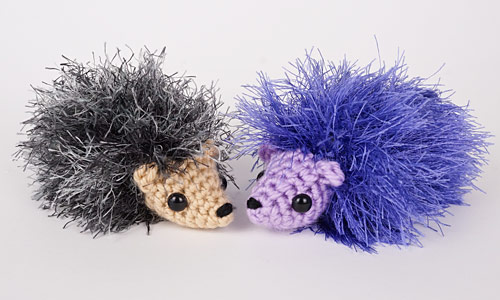
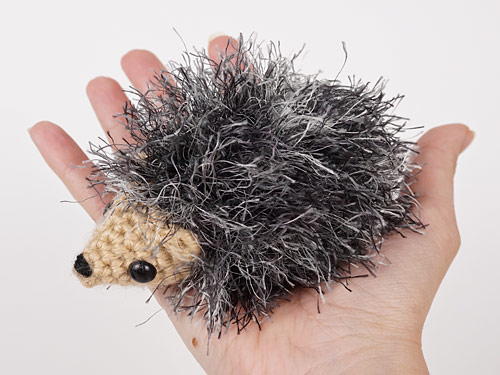
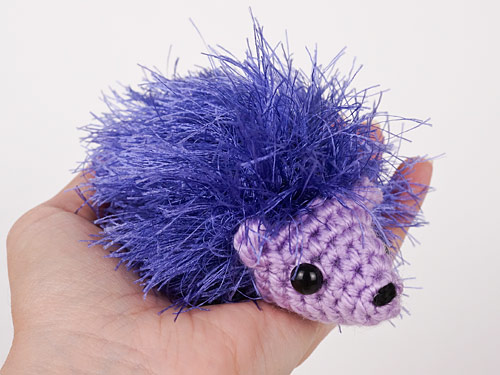
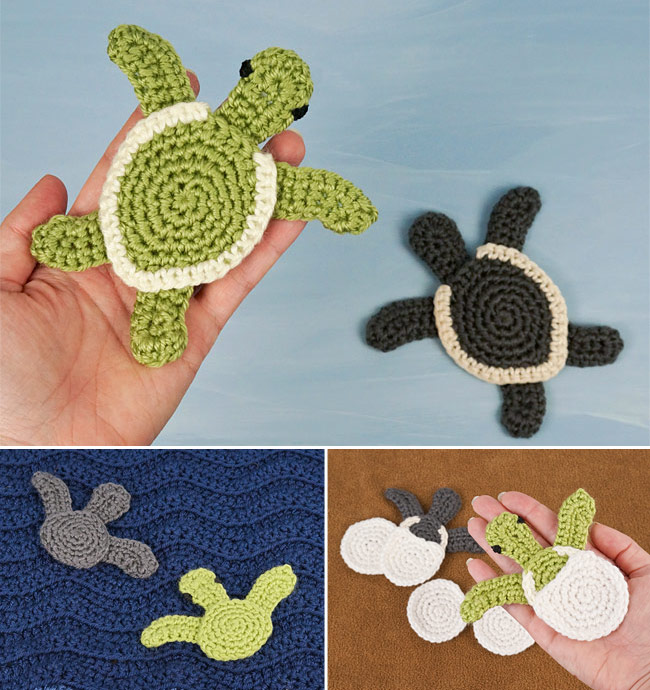
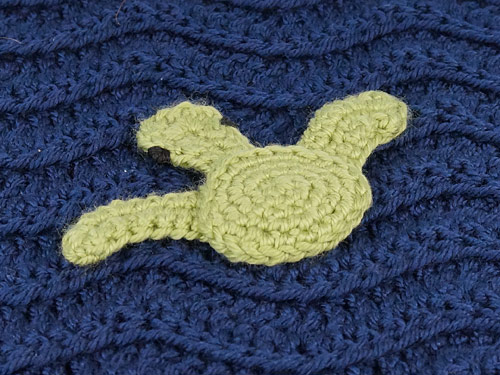
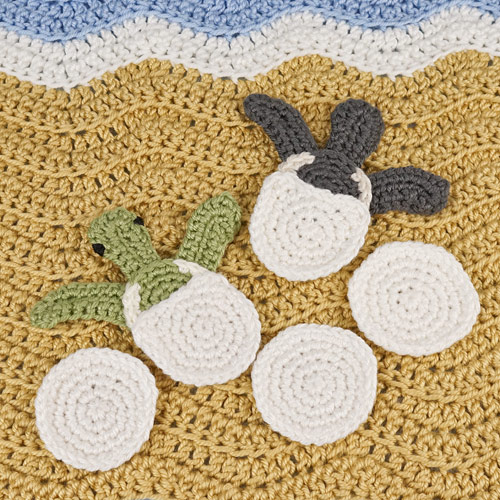
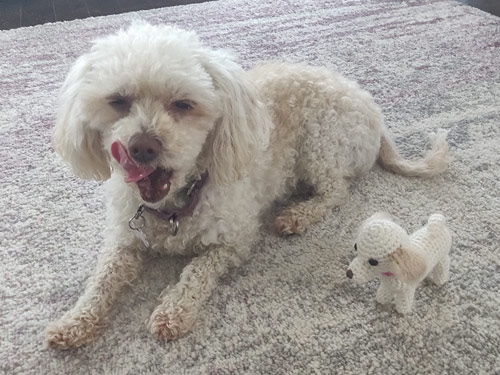
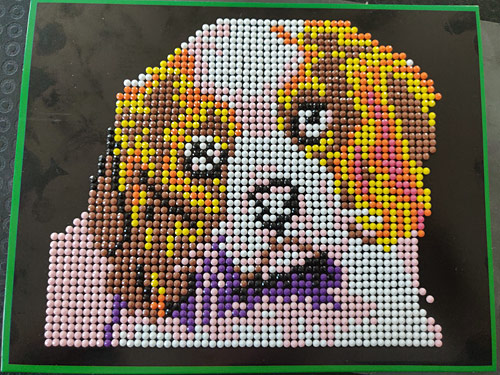
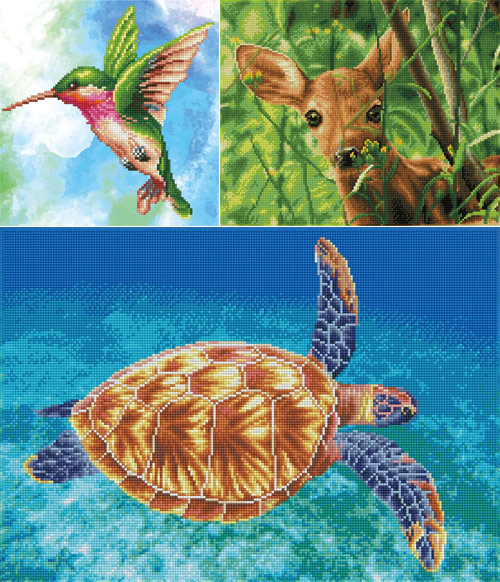
To give you an idea of what to expect, in the Ravellenic Games last summer, Team PlanetJune completed 54 projects, and enjoyed 56 pages of chat! Here’s a roundup of all the wonderful PlanetJune projects that we completed in just 2 weeks:
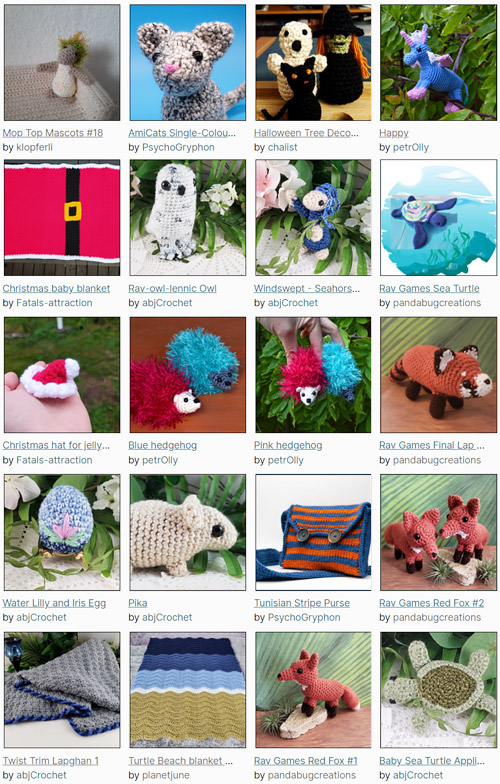
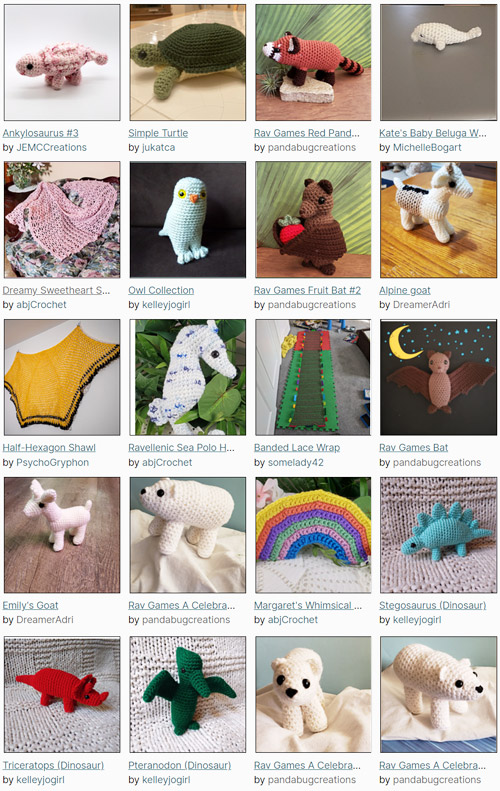
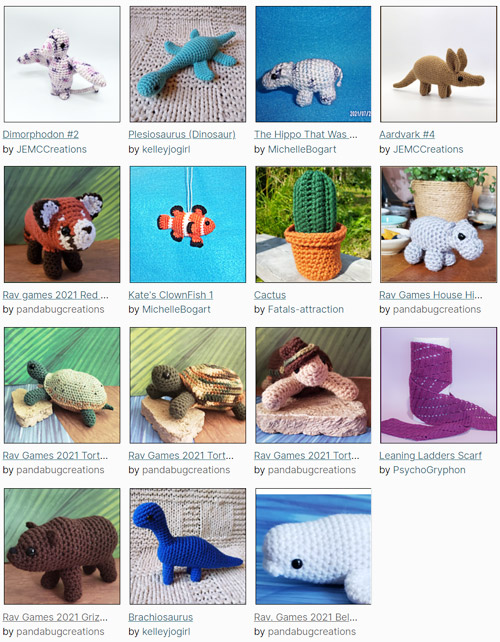
Isn’t it lovely to see the variety of projects and be inspired by what other people are making? I expect the project mix will look somewhat different for the Reindeer Games, with more Christmas decorations and warm accessories – but who knows! You’ll have to join in to find out…
Join us for the Reindeer Games!
While the Ravellenic Games is a fast-paced sprint, the Reindeer Games is more of a gentle stroll together towards the holidays. The rules are relaxed, the timeline is extended, and having fun and supporting each other is the main goal.
If that sounds good to you, please hop over to the PlanetJune group on Ravelry, and leave a message saying “I’m in!” in the Reindeer Games thread. We look forward to welcoming you into our virtual Reindeer Games Village. 🙂


 New York City Crochet Guild, Manhattan NY
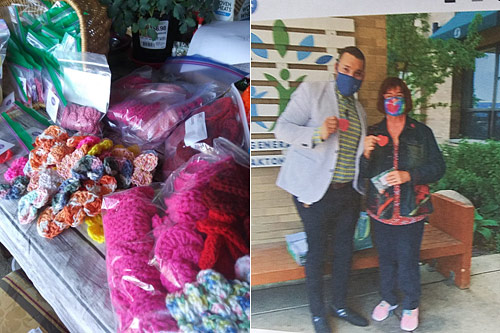 Northern Illinois Crochet Guild, Rolling Meadows (a suburb of Chicago) IL
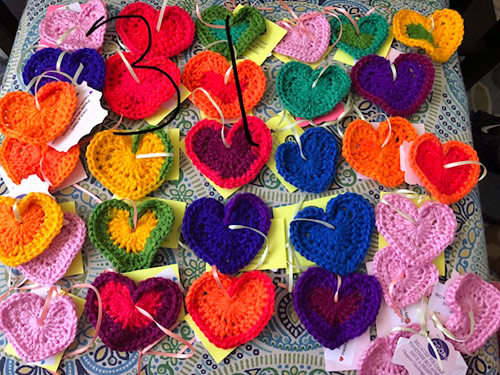 Happily Hooked on Crochet Guild, Danbury CT
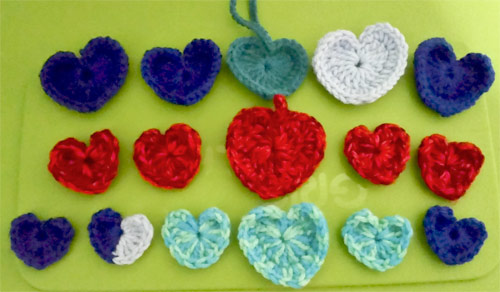 The Happy Hookers, Atlanta GA
 Northern Kentucky Crochet Guild, Burlington KY
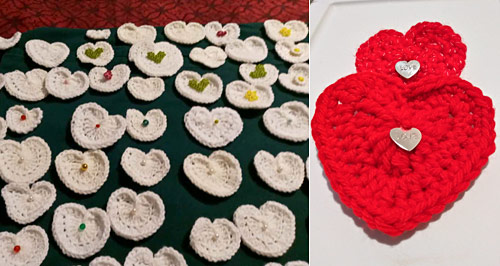 Ebenezer Angelic Crocheters, Washington DC
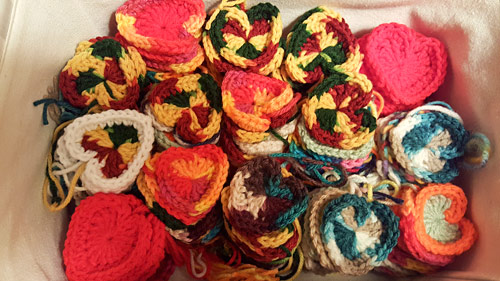 Crocheters of the Lakes, Lake County IL
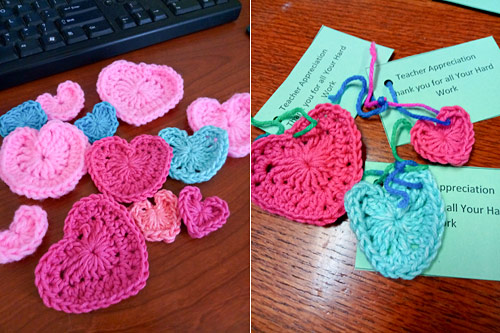 New Mexico Crochet Guild, Albuquerque NM
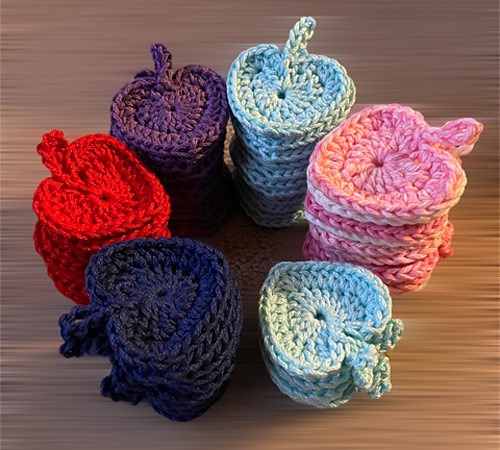 Crochet Twin Cities, Minneapolis/St Paul MN