I’ve never really been interested in making socks – they are so inexpensive to buy, and seem like they would take so long to make, it just doesn’t seem worth it to me (although I know many knitters would disagree). Also, sock yarn is normally made of wool, which I’m sensitive to, so I a) can’t make them without wearing gloves, and b) couldn’t wear the finished socks anyway!
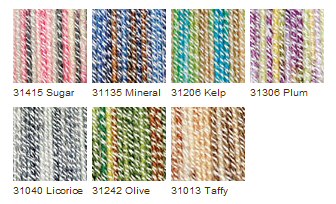
And then I saw the new Patons Stretch Socks yarn, which changed my mind…
- It’s elasticated! Maybe it would be the perfect yarn to crochet some non-bulky hand-warmers for when I’m working?
- It comes in some really nice colourways
- Although it is 39% wool, the elastic wrapped around the outside of the yarn cushions it from my skin and I can touch it with no problems
- Oh, and it was on super-special at Michaels, and I can never resist a bargain
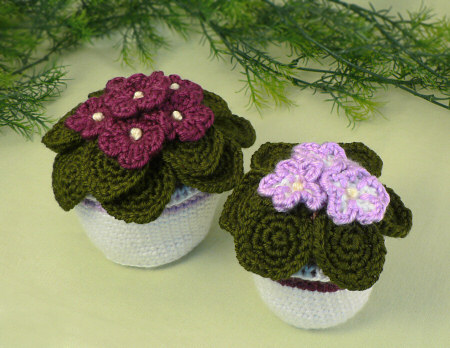
I decided to try Dorothy Hardy’s Ultimate Crocheted Socks pattern from CrochetMe.com. I liked the idea of the one-piece construction (no sewing!) and working from the toe end means if you run out of yarn, you just end up with a shorter sock – a nice idea. The first sock came together without too many problems, although the pattern has some unclear points and I had to unpick a few times before I figured it out. I also redesigned the heel shape a bit because it didn’t really fit the shape of my foot as written, and I added a couple of extra rounds and a crab stitch edging to the top of the cuff.
I decided to save the second sock as a travelling project for the plane trip to Hawaii. I made half the sock on the way out, but on the way back I was tired and didn’t want to have to figure out how to do the heel, so the second sock sat unfinished until this weekend… After a false start on Saturday (proof that even pattern designers can slip up: I was crocheting hdc stitches instead of esc – hey, I’m only human!) I raced through it, and now I finally have a pair of socks to wear around the house:
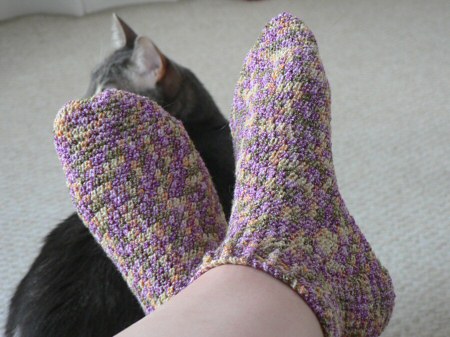
It was hard to get a decent photo of my own feet, and Maui kept wandering into the shot too! Hopefully these will give you an idea though:
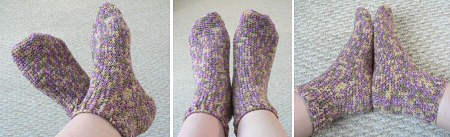
They are comfy and cosy, and I really like the yarn and the colour. I don’t love the shape of the toe or the heel, but it’s not a bad design, and not having to sew anything was a definite bonus.
I can see why knitting is better-suited to sockmaking – crocheted socks just look a bit clumsy and bulky by comparison. Although, having said that, now I know how a sock is constructed, I’m sure I could design a more stylish crocheted sock… I’m just not sure I want to! I’m glad I have made a pair of socks, just for the experience, but I think I’ll use the leftover sock yarn to make those custom-fitted hand-warmers instead…