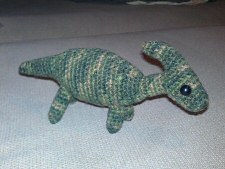
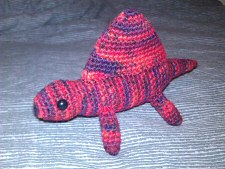
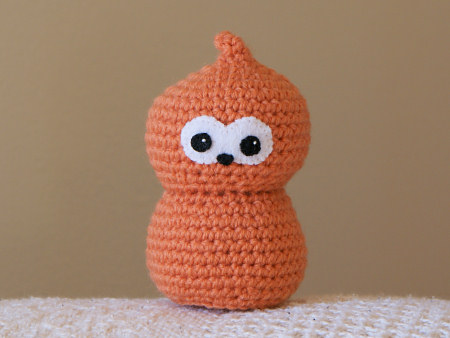
Amigurumi Sea Otter crochet pattern
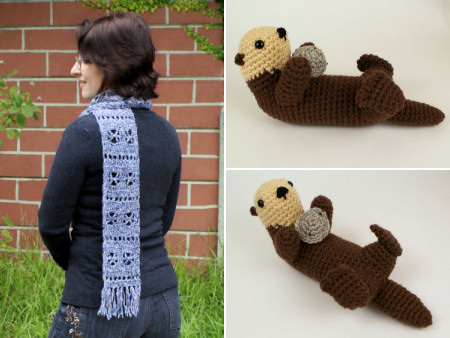
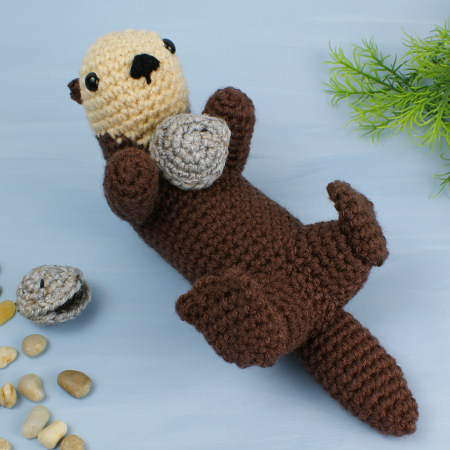
Here’s my latest commissioned design – say hello to my Sea Otter!

This pattern is a little later than scheduled, I’m afraid; I just wasn’t able to write up the pattern until I got over my bronchitis enough to have a clear head. Turning the new techniques I use to create my designs into clear and easy to follow instructions is impossible when my brain isn’t fully functional. But hopefully you’ll agree that it was worth the wait 🙂
I’ve wanted to make a sea otter for years – they are truly adorable. Have you seen pictures of a pair floating together, holding hands?! Awwww!
Sea Otter fun facts
- Sea Otters are both the smallest marine mammal and the largest member of the weasel family.
- Their fur is the densest of any animal and traps a layer of insulating air bubbles within it to keep the otter warm in the cold ocean waters.
- Sea otters almost never leave the ocean. They float on their backs to rest, groom and sleep.
- Their diet is shellfish and crustaceans. They often use a rock as a tool to crack open the hard shells.
- They have special kidneys that allow them to drink sea water and process out the salt!
To help with my design, I made a list of essential sea otter features:
- Sea otters have small sensitive front paws that let then catch their food by touch.
- To aid in swimming, their back feet are large, flat and webbed, and their tails are broad and strong.
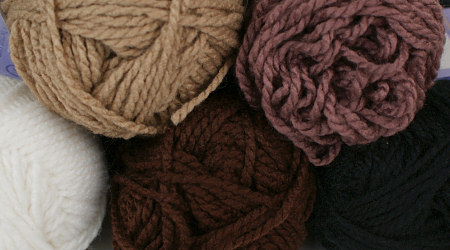
- Their colour varies from beige to very dark brown, and the fur on their heads lightens with age.
- They have a diamond shaped nose and small ears. They can close their nostrils and ears when underwater.
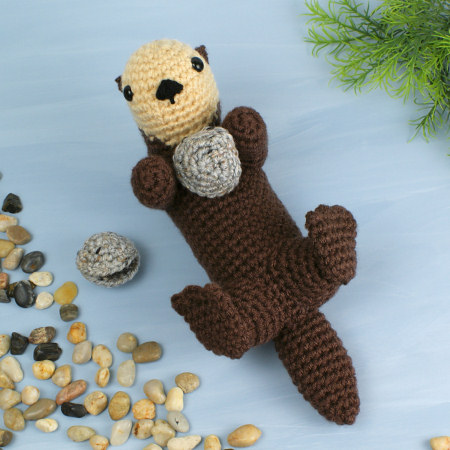
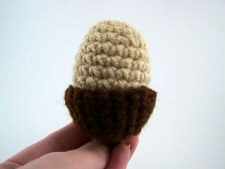
I hope the sea otter’s playful nature has come through in my design – especially in the back feet! I think sea otters really need to have something to hold on their tummies for maximum cuteness, so I’ve also included a bonus pattern to make the simple clam you can see in my photos – you can make the closed and/or open (empty) version.
If you pledged towards the commission, you should have already received your copy of the pattern. Otherwise, if you’d like to make a sea otter of your own – or a pair to hold hands – you can now pick up the Sea Otter crochet pattern from the PlanetJune shop!
If you’re not quite ready to buy though, how about queuing Sea Otter on ravelry so you don’t forget about it?