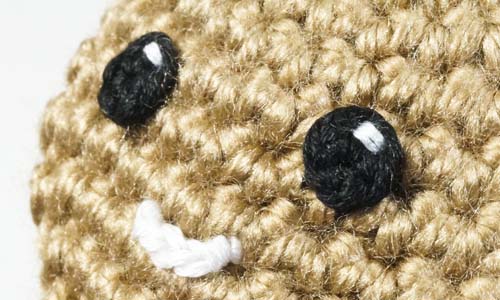
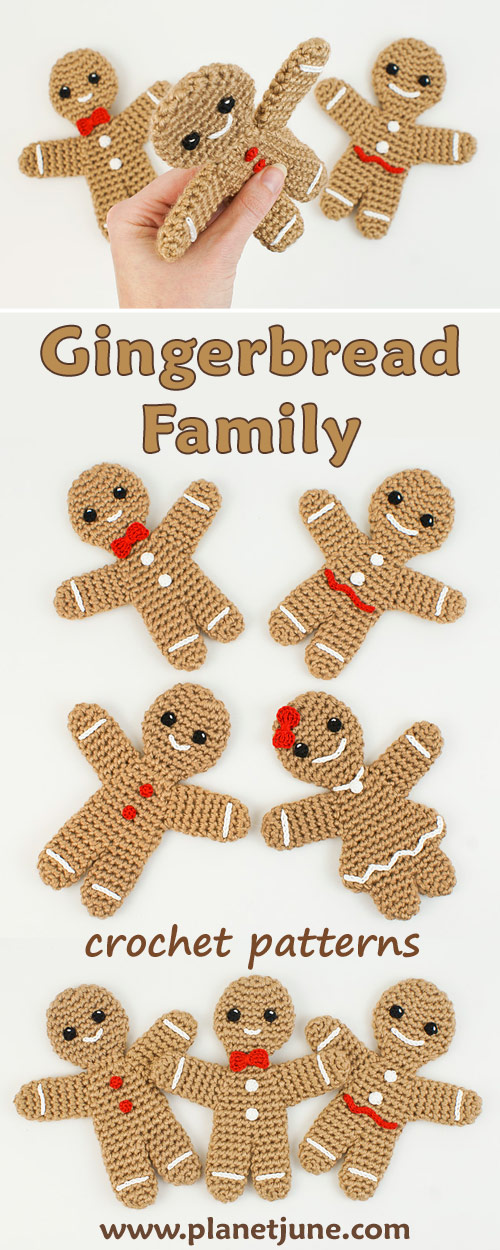
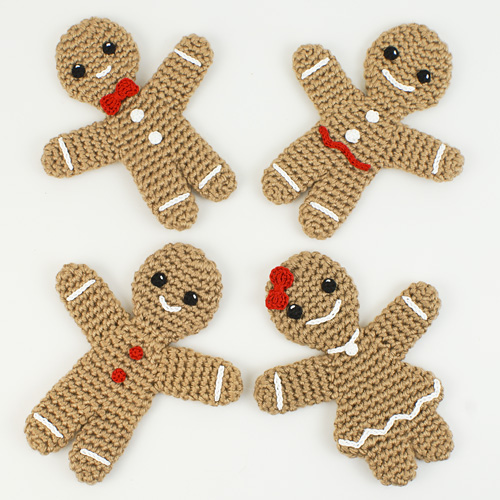
amigurumi Gingy
If you haven’t picked up my new Gingerbread Family patterns, you may not know that there are also instructions in there for making a Gingy character (based on the Gingerbread Man from Shrek)…
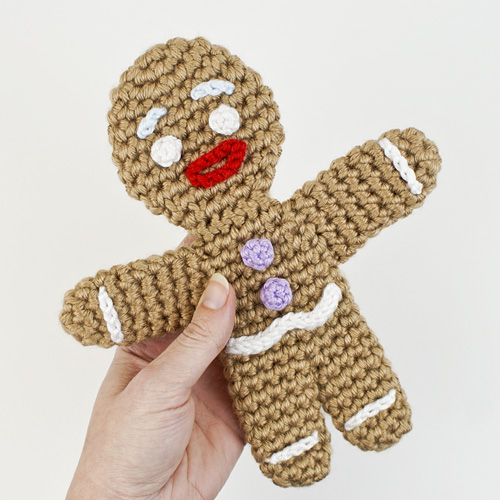
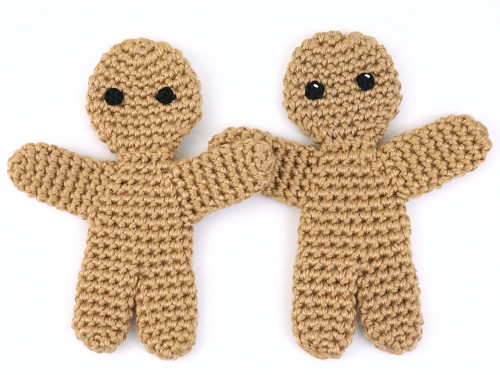
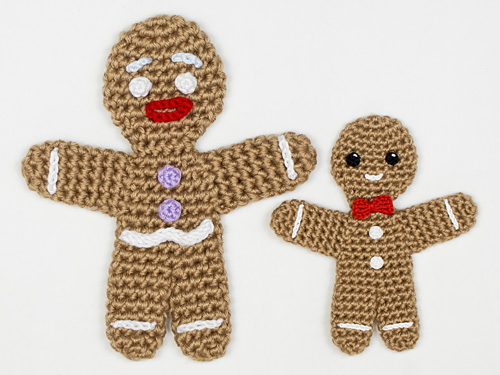
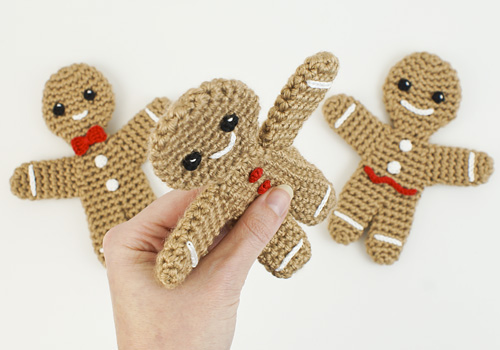
I made a super-sized Gingy, at over 8″ (21cm) tall, but, of course, you can also make a regular-sized Gingy using my pattern, or a super-sized regular gingerbread man – I just chose to demonstrate two options at once.
Gingy Embellishments
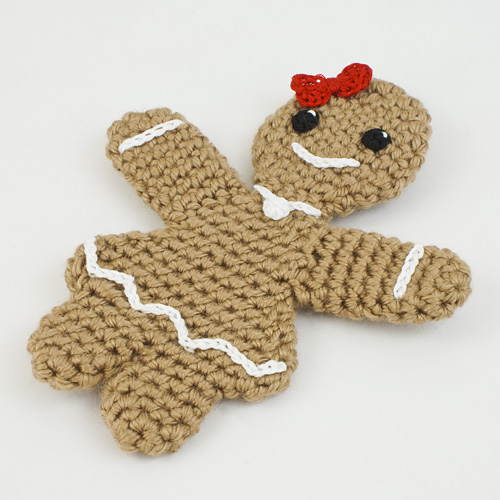
I took the opportunity to demonstrate how versatile the Gingerbread Man pattern is by decorating my super-sized sample as Gingy – you really can decorate your gingerbread men/girls however you wish, just like you do with real gingerbread!
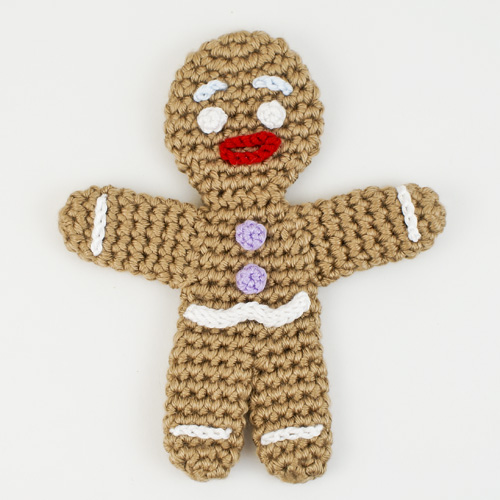
I chose to leave off Gingy’s ‘broken leg’ icing, because I wanted to keep all the embellishments crocheted so you can clearly see how upsizing my regular-sized gingerbread men will look with no other changes. But if you embroidered the embellishments on your gingerbread man instead, you could make much finer lines than with crocheted chains, and add as much detail as you like.
(You can find the full details for the ‘Gingy’ embellishments I made on p9 of the Gingerbread Man pattern.)
Upsizing
I worked the extra-large gingerbread man by holding two strands of yarn together, with a larger hook. (See my Resizing Amigurumi article for my advice on choosing an appropriate hook size when you double your yarn.) This means you can make the embellishments using one strand of the same yarn (and a smaller hook) instead of the embroidery floss embellishments I used for the standard gingerbread men.
A New Yarn Experiment…
Making these amigurumi gave me the opportunity to take some measurements, so now I have a much better estimate of how much additional yarn you’ll need if you hold two strands together. I already knew you’ll need more than just the obvious twice as much (2 strands means 2x yarn length), because each stitch is also larger, so uses more yarn, but how much more?
| Single-strand | Double-strand | |
|---|---|---|
| Hook size | E US/3.5mm | I US/5.5mm |
| Finished height | 5.75″/14.5cm | 8.25″/21cm |
| Yarn quantity | 18g | 49g |
| Yarn length | 36yds/33m | 98yds/90m |
So, by doubling the yarn and using a correspondingly larger hook, the finished piece was 44% larger, and took 2.7x more yarn – useful to know!
Although this won’t be an exact formula, because it depends on how tightly you crochet at each size, and how big your larger hook is compared with your smaller hook, it gives a good rule-of-thumb indication for yarn quantity when you scale up by doubling the yarn.
(I’ve added this new info to my Resizing Amigurumi article so you can refer back if/when you need it.)
If you’re making Gingerbread Men (or Girls) from my patterns, I’d love to see them! Please join the Christmas crochet-along in the PlanetJune Ravelry group, or post them on social media (and tag @PlanetJune so I can see your post).