2018: year in review
Today marks the first day of my second decade of full time self-employment! I’ve just read back over all my previous Year in Review posts and it’s been an epic journey so far. I sometimes forget how much time and heart I’ve put into PlanetJune to reach this point, but I’m pretty proud that here I am, 10 years later, doing exactly what I set out to do – making my living at the intersection of my passions for crafts and nature, through designing, creating and writing…
Over the years, these annual review posts have formed a clear record of what I’ve accomplished, and writing them each year helps me to think about what I’ve learnt each time and what I’ll do differently next year.
2018 Achievements
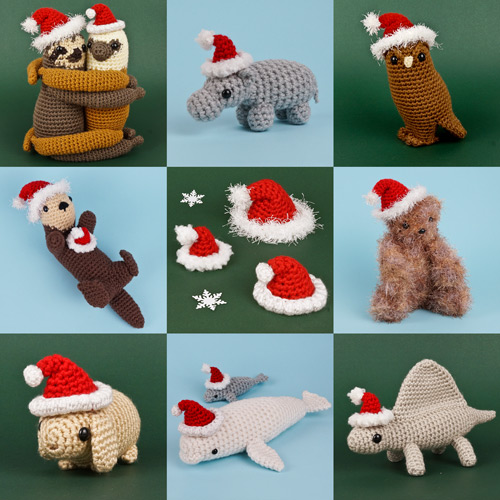
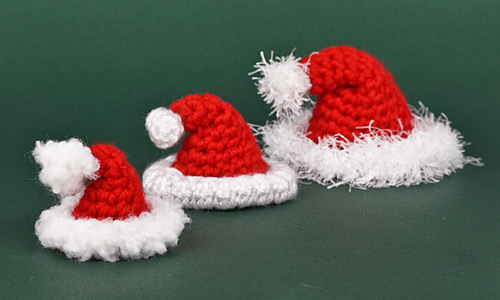
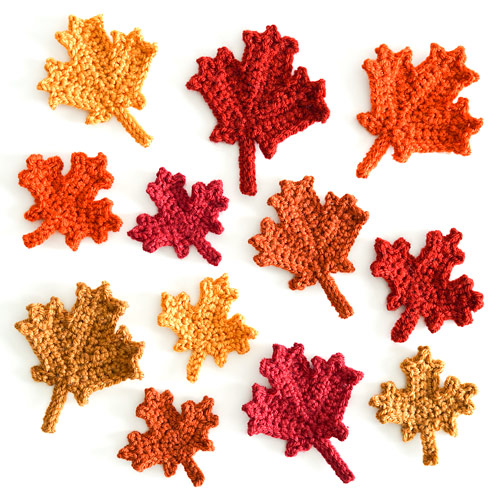
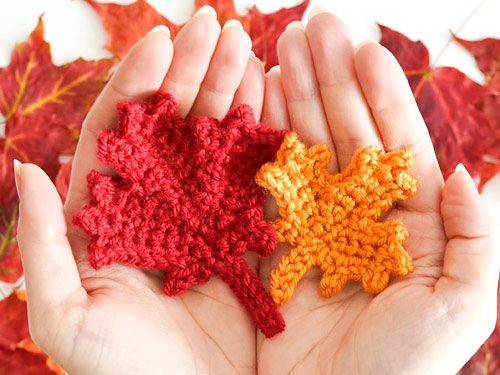
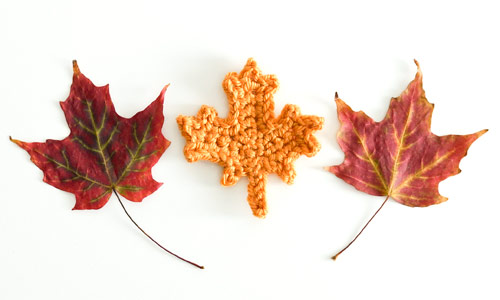
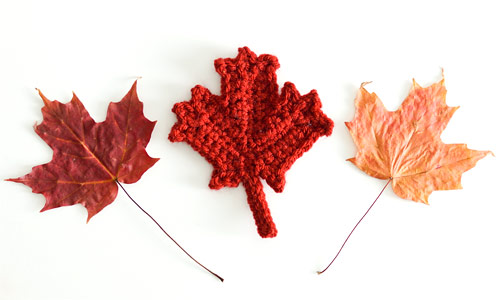
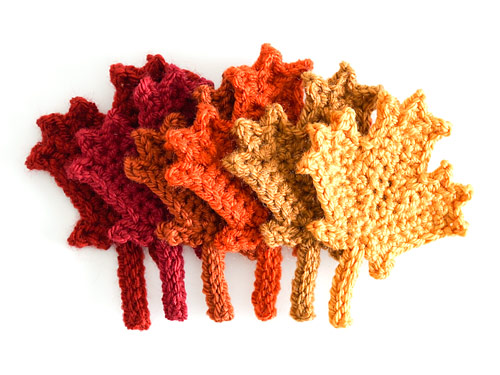
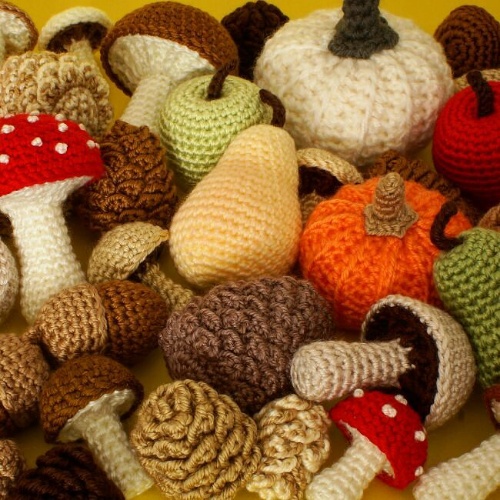
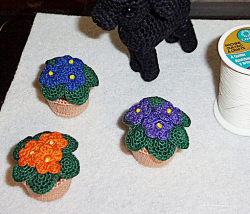
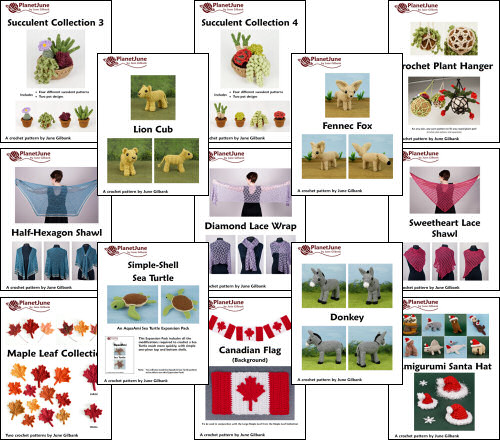
This year, I published a range of new crochet patterns that included something in each of my design categories – animals, plants, accessories and seasonal:
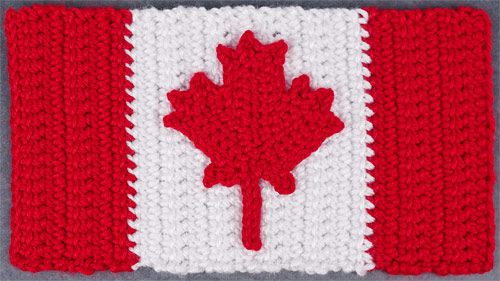
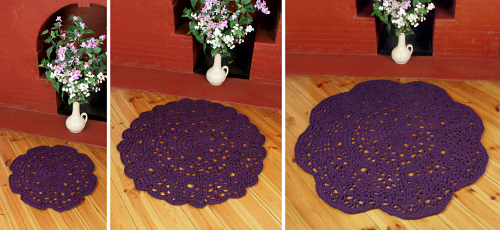
I’ve added to my tutorial library with a few new tutorials:
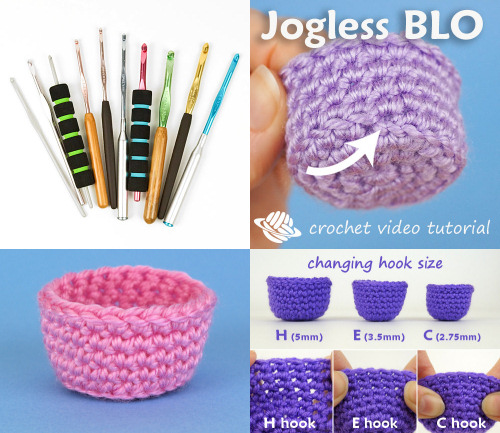
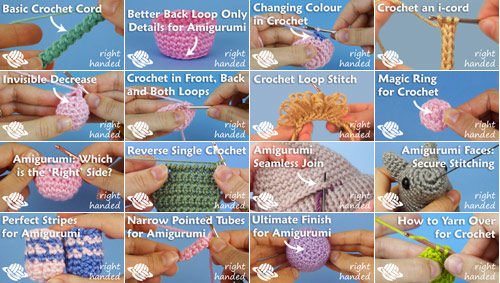
I rebranded my YouTube video tutorials with a fresh new look and created an animated logo that I’ll be using for my new crochet videos:
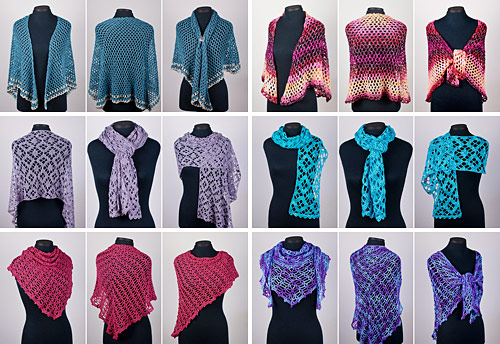
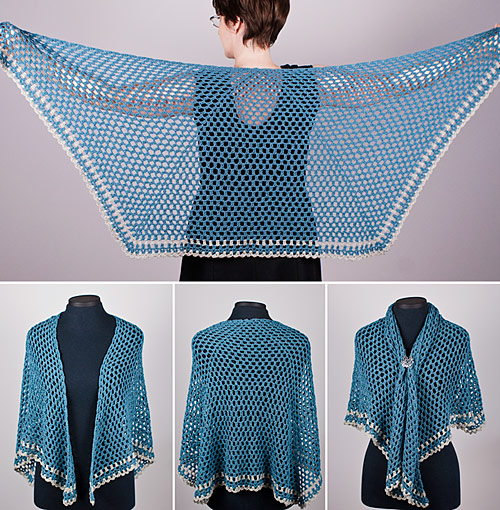
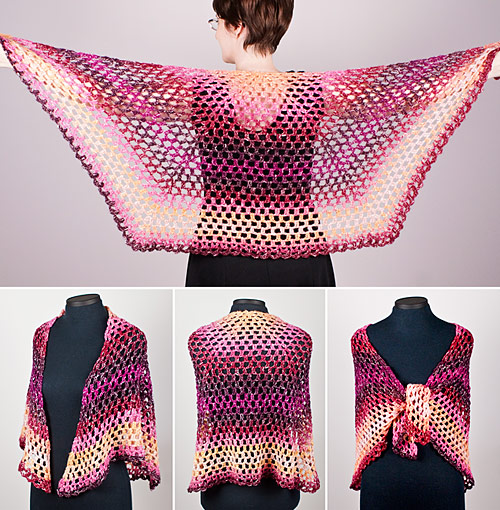
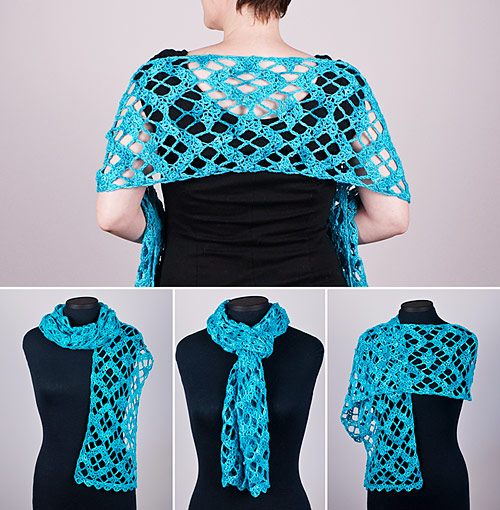
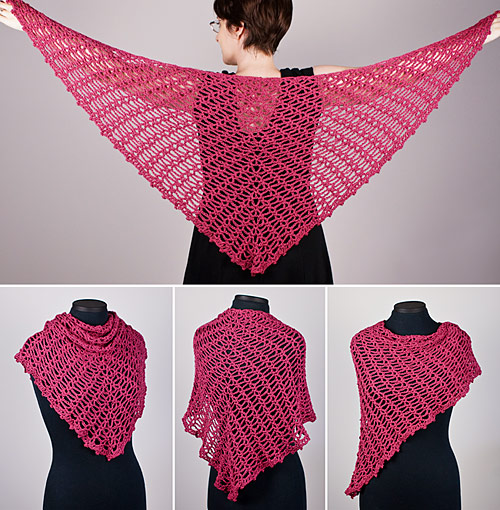
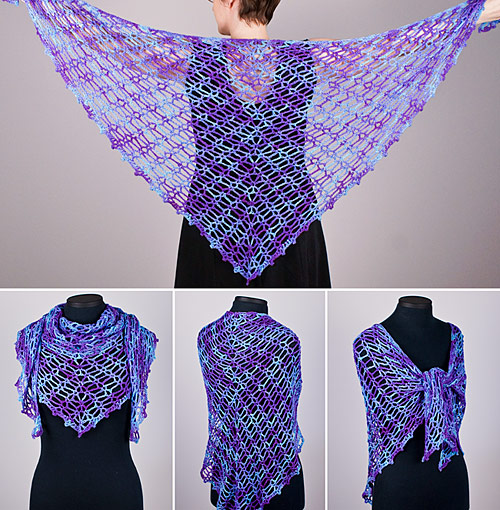
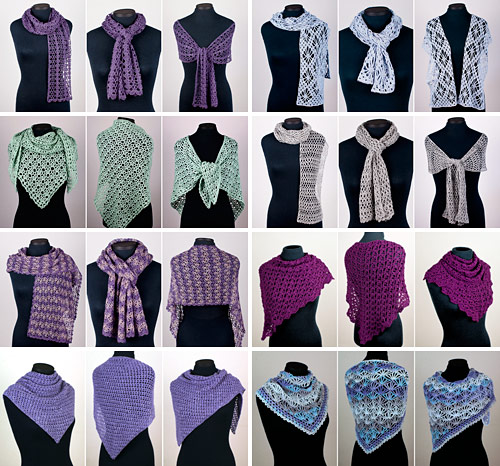
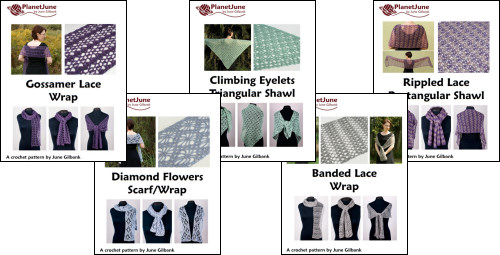
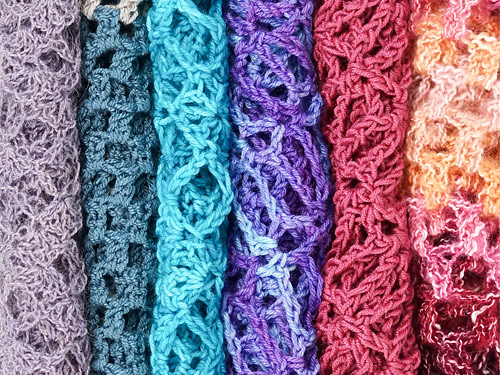
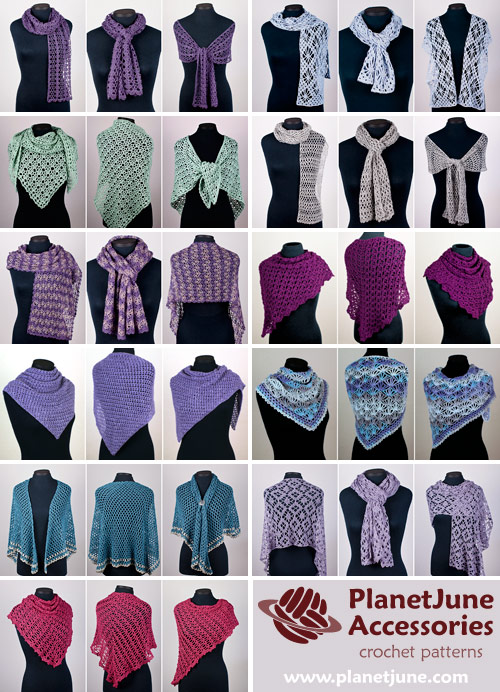
I also rephotographed all my PlanetJune Accessories shawl and wrap patterns, so now the photos all have a cohesive look and you can see the designs more clearly:
Behind the scenes, I’ve been improving the backend of the business, with new payment and processing systems, sales tax collection, and adding to my library of responses to common questions.
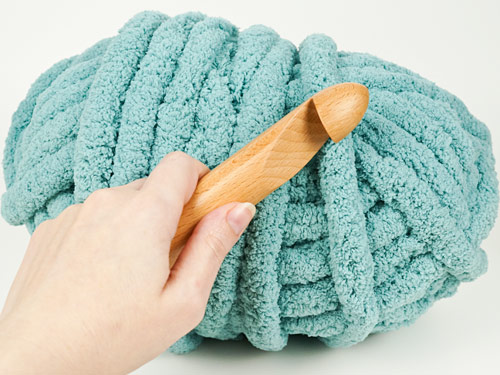
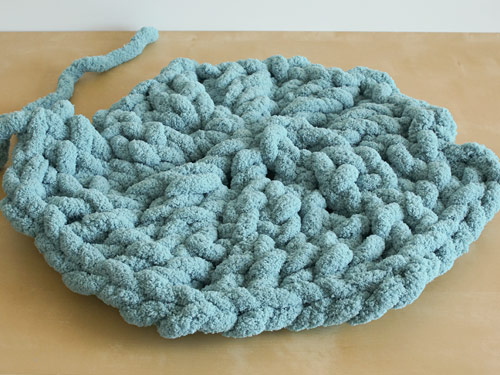
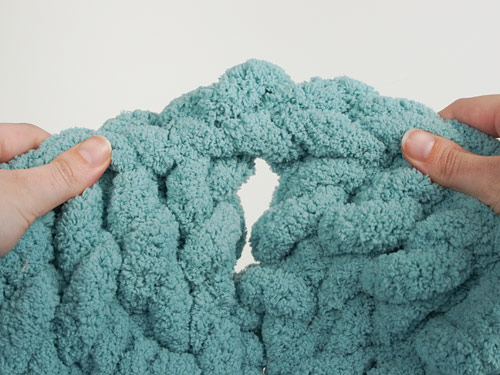
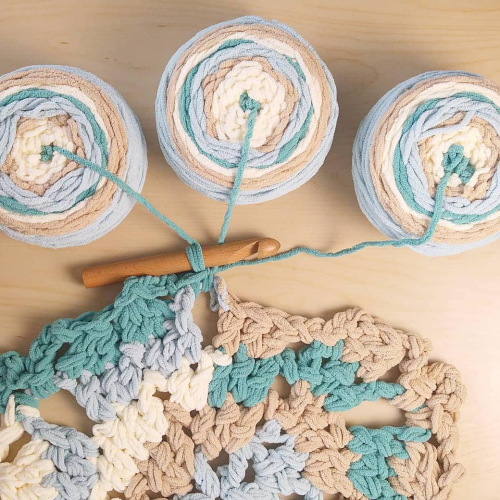
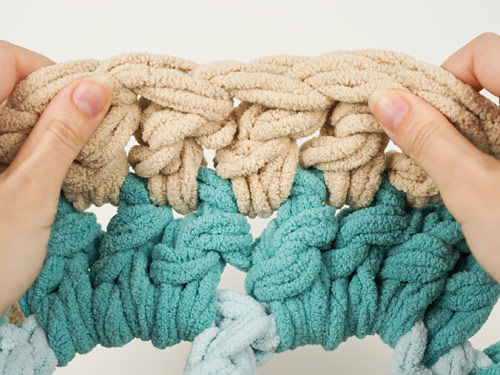
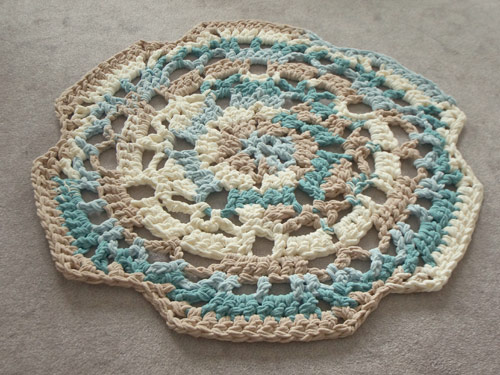
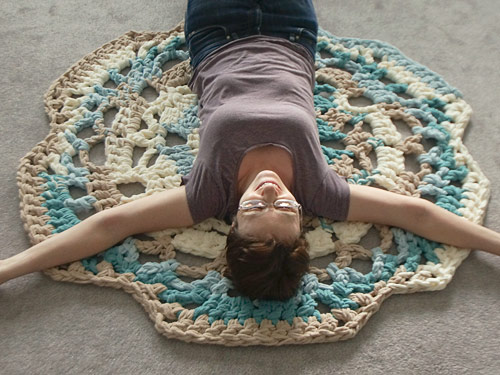
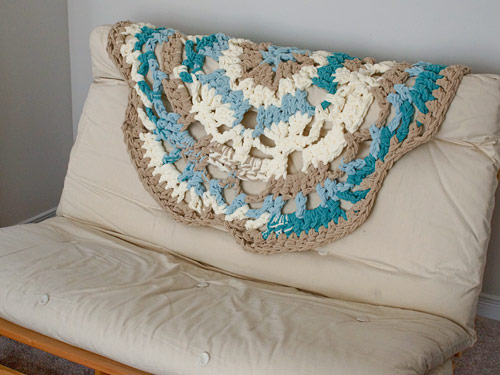
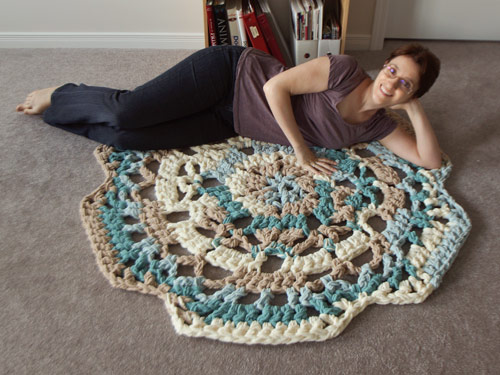
And I’ve made time for more making in 2018 – both crafting and cooking (although I don’t want to get into food blogging – my food always tastes better than it looks, anyway!) I’ve been enjoying experimenting with some new (to me) materials and ingredients and creating something useful or beautiful or delicious or just fun with them:
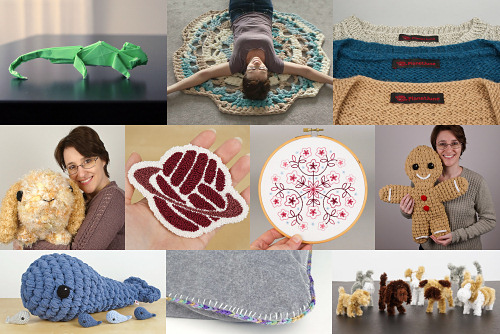
(And there’s a little sneak peek photo above for two projects I haven’t blogged about yet: my giant amigurumi gingerbread man and a new handknit sweater! I’ll tell you about those soon…)
For most of the year, I’ve also been working on a big project – a crochet ebook – that hasn’t launched yet, so between planning, writing, editing, making samples, photographing, editing photos, page layout, project managing and more, I’ve been pretty busy! I’m in the last stages (final edits and cover photos) now, so it’s coming soon.
Settling In
Although we arrived back in Canada at the end of 2017, the first half of 2018 was filled with moving into our new house, sleeping on the floor of an empty house until we finally got all our belongings back, selling our old house and jumping through hoops to try to get permission to move the money out of SA, and Dave changing careers. All of that took a lot more time and energy than I anticipated, and now it’s all over, I’m still feeling a little shell-shocked from the whirlwind of all the move-related stuff.
I also completely underestimated the way that mental health works. You may have noticed that I like to do everything myself (like running all aspects of PlanetJune), but that just wasn’t working in this case – although my panic attacks dropped off as soon as we reached Canada, I still didn’t feel right and I couldn’t snap myself out of it. I finally went to the doctor and was diagnosed with a general anxiety disorder as well as the PTSD.
Although there’s no magic cure, I feel so much better now that I’m getting professional help, so I want to put my experience out there in case it can help anyone else: mental health is at least as important as physical health, and there’s nothing weak about asking for help.
Looking Forward
I am so happy in my life now – I still don’t 100% believe it’s real. It’s been a long stressful road to get here, including receiving my Canadian citizenship in tears the day before leaving for Africa with no idea if I’d ever return. But this long journey has led to me being so grateful for everything I now have, and an appreciation of how fortunate we are.
I’m still struggling with my energy levels, and I have a host of relatively minor but inconvenient health issues, but I’m trying to give myself grace when these interfere with my business plans. I know I need to look after myself first, and PlanetJune second, so I have to plan carefully to make the best use of my time and energy.
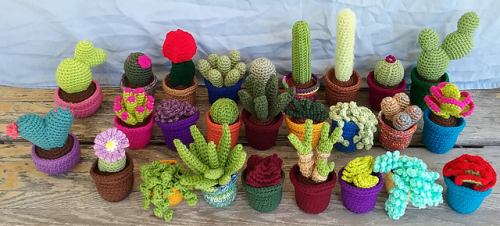
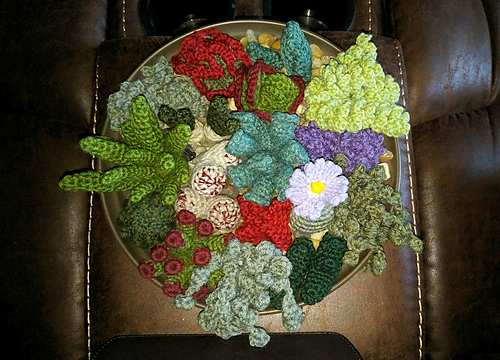
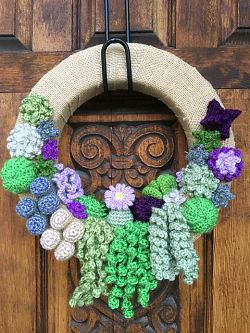
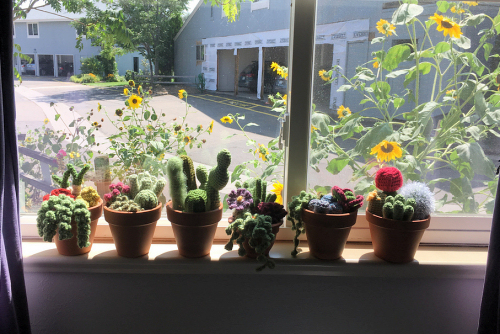
I want to focus this year on designing amazing new patterns and creating high quality video tutorials. My biggest problem is deciding which of my many ideas to try: I’m trying to work out if there’s a way to balance being productive with following the flow of creativity and allowing the best ideas the time they need to blossom. (My bestselling patterns of 2018 were the new Succulent Collections, and they wouldn’t exist if I hadn’t given myself months to research, develop and prototype to build the collections.)
After closing my crochet tool shop last April, I’ve been investigating options to be able to offer limited runs of my Detail Stuffing Tools in future, and I think I’ve found a solution that will work – more on that later. And I have some ideas for really fun new products too, but we’ll have to wait and see if I have time to develop those any further in 2019 or if they’ll have to wait for the 2020s(!) – I’m determined not to let myself get spread too thin.
Last year, I wished for peace, calm and quiet strength, and re-reading those words now, that’s exactly what I’ve been building for myself all year, although I hadn’t realised it until just now! My attitude now is to take time to appreciate what I have and what I can accomplish, and not dwell on what I can’t.
My wish for this year is a continuance of that: focus, determination and acceptance. I wish all those things for you too, and a very, very Happy New Year!