Look what I’ve got! It’s a shiny new Husqvarna Viking Emerald 116 sewing machine!
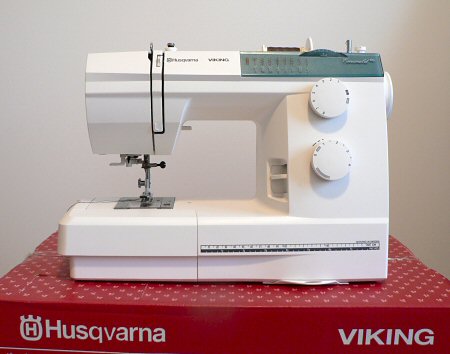
It’s the basic model, but it still has 16 stitches and 8 (!) different feet. It even threads the needle for me! And, most importantly, it purrs away, stitching cleanly and easily through ANYTHING. This machine has some serious power behind it.
Thanks to everyone who gave me advice on which machine to buy. I hope people will continue to leave comments about their sewing machine experiences so that others in the same situation can google it and share the knowledge.
This is my first quick project to test it out – I made some ‘thumb support gloves’ (for want of a better word) for my poor thumbs which seem to have some arthritic tendencies at the basal joint. I made the gloves from two layers of a smooth and stretchy spandex knit jersey fabric that’s thin enough to let me drive, type and crochet without impediment. I’m in my second day of wearing them now, and it seems to be helping my sore thumbs.
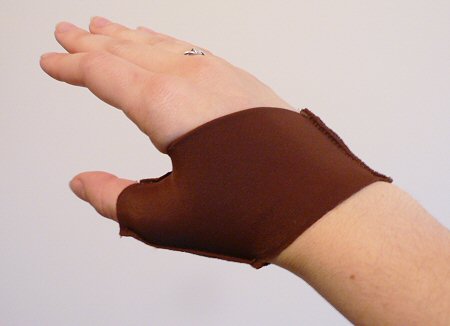
(This is just my first prototype – I’m planning to try making a pair with some stretchy interfacing between the 2 layers, to add even more support to the gloves.)
I’m really looking forward to putting my new machine through its paces. I have plenty of project ideas, now to try to find some time to actually make some of them…
 by Hashiworks
 by Creative Quilt Girl
 by Florence