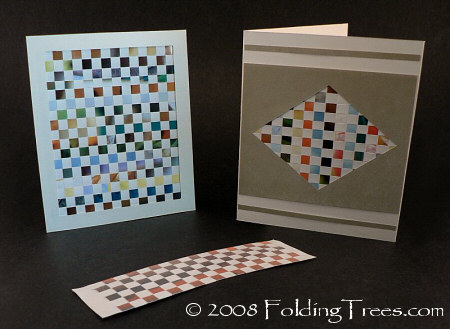
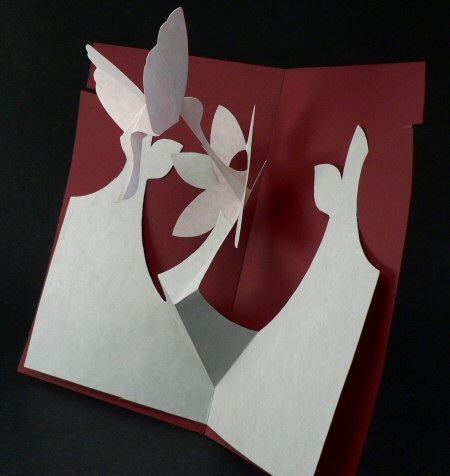
I’ve just reviewed this pattern for Folding Trees, and here’s the hummingbird card I made. Isn’t it gorgeous? And it looks a lot more complicated to make than it really is!
Click through to Folding Trees this week to read my review of the pattern and to enter our contest to win a pattern of your choice from Easy Cut Pop-up, the people who designed the amazing hummingbird above and many more wonderful pop-up card designs!
You can now see my review of the Easy Cut Pop-up pattern, below.
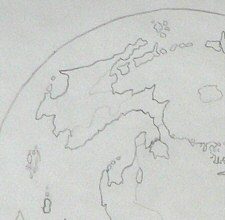
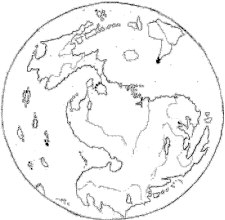
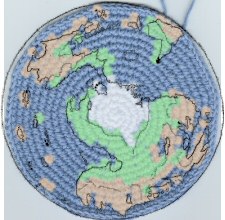
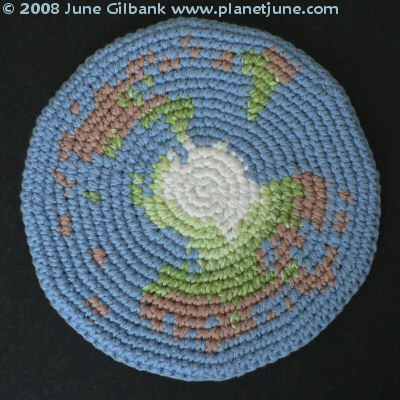
PS – Thank you to everyone for the Discworld love! Many of you have asked, so I’m in the process of writing another post about it, to give you a bit of insight into how I designed the Disc to make the landmasses – watch this space…
Review: Easy Cut Pop-up Cards
This review was originally published on my old papercraft site, Folding Trees.
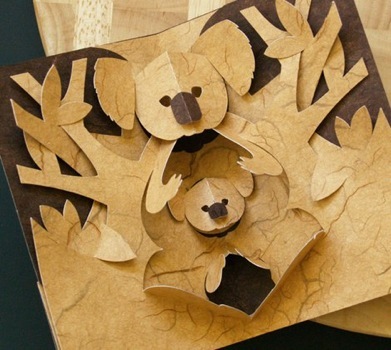
Kirigami is a Japanese art similar to origami, but with kirigami you cut the paper as well as folding it, making it easier to create more complex shapes. Easy Cut Pop-up specialize in unique pop-up cards patterns with beautiful kirigami designs, such as the above koala and joey card. All their designs look wonderful, but are they really easy to make? I was given the opportunity to try one of their patterns, so I can now answer that question for you with this review!
I downloaded my pattern, the Hummingbird pattern, as a pdf file. The file includes the pattern pages and pages with pictorial instructions. The website also includes links to YouTube videos of each model being assembled – what a great idea! I would recommend you watch the video all the way through before you start your model, to get some familiarity with the process.
To begin, you need 3 or 4 sheets of letter-sized cardstock (you could probably also use heavyweight paper).
June’s Tip: at my local craft store, the only letter-sized cardstock I could find came in packs of 50 or 100 sheets, and the colours weren’t great either. Try checking out the scrapbooking section, which has individual sheets of paper and cardstock, in a much wider range of colours, patterns and textures. I bought 3 sheets of 12″x12″ scrapbook paper and trimmed them down to 8.5″x11″. Much cheaper, and I got to pick the colours I really wanted!
Print the pattern pages directly onto your cardstock. Score the sheets along all the dashed lines, then fold each sheet in half along the marked fold. Cut along all the solid lines with scissors, cutting through both thicknesses of cardstock. The scoring took only seconds to complete. The cutting took a little longer, because it pays to cut accurately along the lines. The advantage of these designs is that, as each piece is symmetrical, you cut both sides at once, saving on half the cutting!
June’s Tip: make sure you have some comfortable, sharp scissors to cut the cardstock with. My scissors weren’t comfortable to begin with, and my hand was hurting by the end. In any of your crafting, if your hand does start to hurt, TAKE A BREAK.

Now for the fine folding and assembly. Fold all the pieces along each fold line. This was the only step I had a slight problem with – I couldn’t figure out whether to make one fold forwards or backwards. It was easily solved though – I just revisited the YouTube video, skipped through to the part I was stuck on, and found the answer within a few seconds. Assembly was very simple – the pieces are cleverly designed to slot together easily.
And wow… the result is amazing! It really was quick and easy to make. This is my finished hummingbird card:
I have never made a pop-up card or done kirigami before, and this pattern made the process really simple. I highly recommend Easy Cut Pop-Up card patterns if you want to make spectacular, unique cards for your friends and family (there is even an option to print your own message on the front of the card!), or display the finished cards as beautiful artwork.