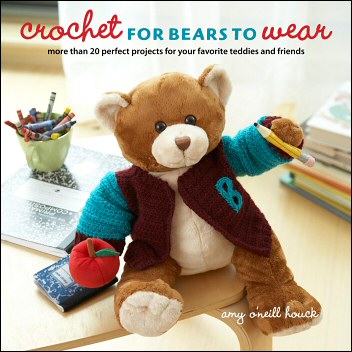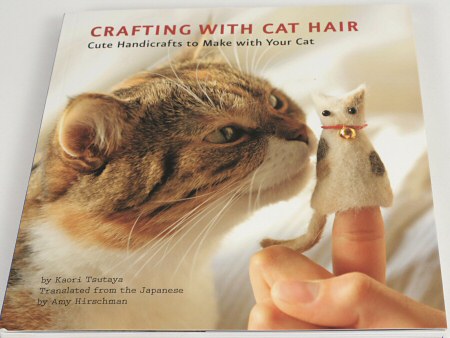
Let’s get this out of the way first: I was given a copy of this book to review. But I’m not being compensated for this review in any other way, and the following is based on my honest opinions! Overview Crafting With Cat Hair: Cute Handicrafts to Make with Your Cat by Kaori Tsutaya was […]