2025: year in review
Writing my Year in Review post every year helps me to see what I’ve accomplished, think about what I’ve learnt, and decide what I’d like to do differently in the following year.
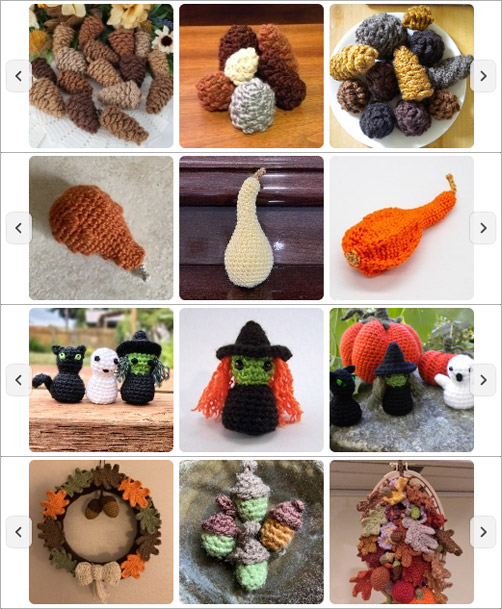
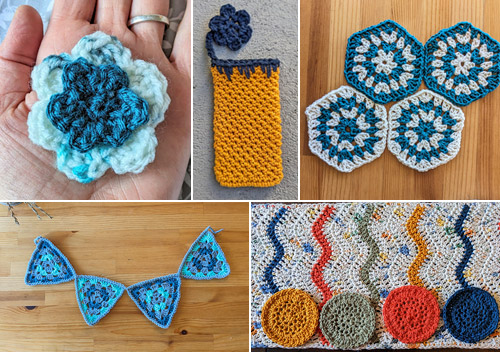
2025 has been a year of invention in my patterns – almost all of them include new techniques that took much longer to figure out how to explain clearly than to come up with in the first place! That makes for slow going, but I’d much prefer to have a few fantastic new designs than a couple of dozen forgettable ones, and I’m pleased with my innovations this year:
The bestseller so far from my 2025 new releases is the Farmyard Sheep. With a new stitch I invented just to make that bouncy textured fleece, it’s been selling very well all year, and placed near the top of my bestsellers chart. New patterns usually take time to climb the chart, and my Loon also only just missed out on placing (coming in at number 11), so that’s a big win for me!

2025’s Top 10 PlanetJune patterns:
- Temperature Snake
- Tortoise & Simple-Shell Tortoise, Turtle & Terrapin
- Farmyard Sheep
- Baby Sea Turtle Applique & Hatchlings
- Bearded Dragon
- Turtle Beach Blanket (Teal Ombre version)
- Polyhedral Balls & Gaming Dice
- Beaver
- Emperor Penguin
- AmiCats Tuxedo
I also had two new tutorials this year (Crocheted Eyes for Amigurumi and How to Crochet Double-Size Amigurumi).
Business Report
Early in 2025, I had the wonderful opportunity to complete a certification in growth marketing from Growclass, funded by a government scholarship. The six-week intensive course was focused on providing helpful, delightful products to the right people – exactly what I’ve always aimed for with PlanetJune – and I learned so much from the experience.
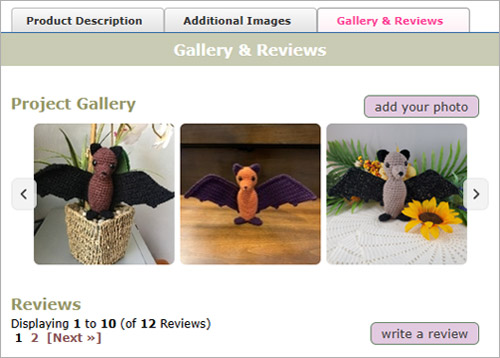
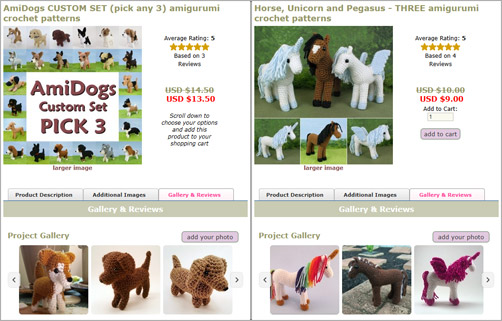
Since I completed the course, I’ve been working on updates throughout the PlanetJune website, to improve the ways people can find, trust and buy from me. The biggest example of that is the PlanetJune project galleries you’ll now find on every pattern page in my shop.
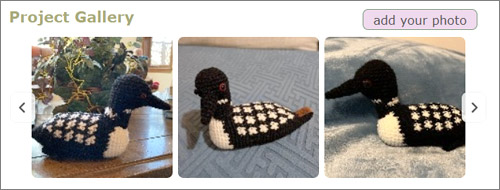
This has been a huge success, with over 1600 photos submitted already! It’s so helpful to see projects made by other people when you’re deciding whether to buy a pattern, and I’m hoping that seeing real photos and reviews from genuine customers like you will show PJ newcomers that they can trust my patterns.
I’ve also added my You Can Do It! Guarantee to every page in the shop, so people can see they’ll be supported with clear instructions, helpful tutorials, and direct help as needed when they choose to buy from PlanetJune. My service hasn’t changed – I’ve always offered email support with every pattern purchase – but potential customers may not have realised that.
There are a couple of dozen smaller projects that I’ve completed so far; mostly things you wouldn’t notice unless I pointed them out, like now you’ll see a thumbnail image and text snippet for every result when you search the blog where previously it only showed the text. I have lots more plans, and I really enjoy the challenges of coding, so I’ll keep making these small changes to improve your experience!
The Changing Landscape…
2025 has been an interesting time to run an online business. Apart from the general state of the global economy, the trend that’s most affected me has been the rise of generative AI, especially as the early (and obviously fake) AI-generated photos have been replaced by far more sophisticated results.
You may have noticed that our crafty little corner of the internet is being flooded with fake or misleading crochet pattern listings, with convincing fake crochet photos, AI text in descriptions and social media posts, and even fake reviews on Etsy. I have no idea why a relatively low-priced niche like crochet patterns would be a target for scammers, but this is what’s happening, so it’s not hard to understand why shoppers are becoming more suspicious as the scams become less obvious and more compelling.
Etsy, Facebook etc are filled with fake crochet listings, posts, ads and photos, and it’s hard to find the gems and know who to trust among all that trash. My sales from these other platforms have dropped sharply in recent months, and I’m sure this is why. And, while I hope things will course-correct, I don’t think we can rely on that happening on these platforms…
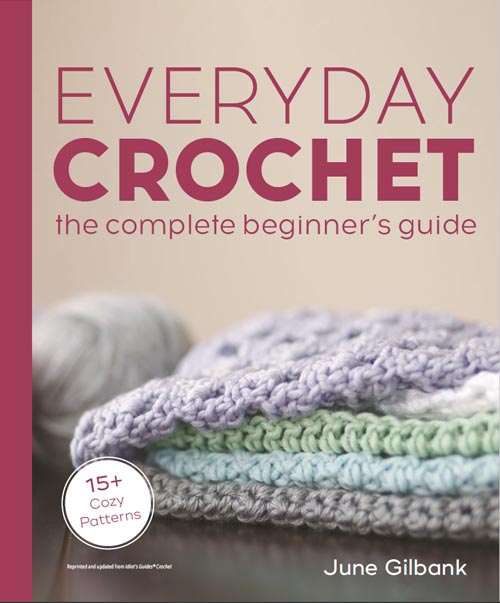
At least I can guarantee that PlanetJune.com is clean and free from ads and AI junk (and that will never change!) so my direct sales haven’t been affected, and I hope they may even increase if shoppers desert Etsy and turn more to Ravelry or Google to find genuine high quality crochet patterns. And, on the plus side, I’m thrilled to have built a significant side-income from my books: The Essential Guide to Amigurumi and Everyday Crochet are selling well enough to give me a little safety net against horrible setbacks like this.
Personal Report
2025 was a year of backyard wonders: we were lucky enough to have our dove family return to their nesting platform (with our new upgraded camera to monitor them) and a robin family nesting in my honeysuckle where I could peek at the babies every day and watch them grow.

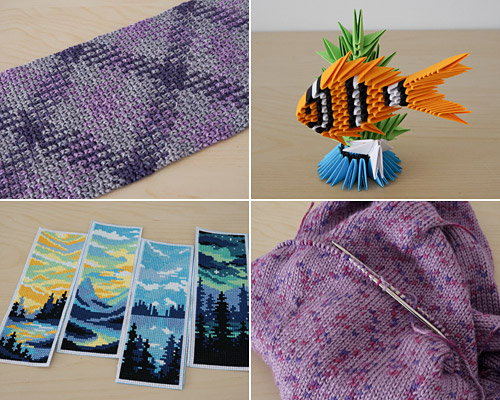
Of course I did some crafting – mostly knitting, crochet, cross stitch, diamond painting, and paper crafts:
…but my creative pastimes have been mostly edible this year. I ramped up my food growing, with over 75kg (165lb!) of organic vegetables (and fruit) grown in my garden, and ramped up my cooking skills to take advantage of all that delicious produce! From seeds to plants to harvest to food, the cycle has kept me happily occupied for most of the year.

It’s a joy to have a hobby that I have no intention of turning into a business (although it has saved us many hundred dollars in food costs!) and, while my skills are definitely improving from a few years ago when I couldn’t even keep a tomato plant alive, it’s exciting that I still have a lot to learn.

The garden is slowly turning into the combination wildlife haven and food farm I’ve been dreaming of, and if I don’t have the energy to go adventuring, I can still experience nature and peacefulness, and delicious edible treats, literally on my doorstep.
Looking Back
I can’t operate the way I used to – I don’t know if this is part of getting older, or a reaction against the fast pace of today’s always-on, always-online life, but I find myself wanting to be slow and calm and to appreciate the process of everything in my life.
I’m getting so much satisfaction from growing food and learning how to prepare delicious things from my garden produce. My attitude to food has completely changed through the process of learning how to grow vegetables, and I really appreciate the luxury of eating simple meals made from fresh, natural ingredients.
Last year, I said “In the end I’d much prefer to create a few richly detailed patterns, tutorials and blog posts in a year than hundreds of pieces of lightweight fluff… I’m looking for a simple, quiet, and valuable life” and by that measure I think I’ve succeeded with my goals this year! There’s always a part of me that wishes I had more energy, a faster working pace, and the capacity to bring more of my ideas into the world, but I remind myself that life should be about finding enjoyment every day.
It wouldn’t be possible for me to make the work I really want to make without the time and space for creative experimentation, and giving myself permission to keep going, no matter how long it takes to get it right. My process may be frustratingly slow, but it’s ultimately incredibly satisfying. Looking at my new designs this year, I see that I’ve added some truly original and innovative pieces to my body of work, and I think I should be proud of that.
Looking Forward
2026 will be my 20th year in business as a crochet designer – isn’t that astonishing? The world has changed so much since I started PlanetJune, and I’ve changed too, of course. But the one thing that hasn’t changed is how much I love being able to express my love of nature through my love of making, and translate the results into crochet patterns.
It’s such a privilege to have been able to earn my living by sharing my designs and techniques with you for almost two decades now, and, while I need to accept my limitations and keep to this slower pace from now on, I’m not done yet! I have countless pattern ideas that I haven’t made yet, and with so much beauty to be found in the natural world, I’ll never run out of inspiration.
2026 Wishes
Last year, I wished to be calm, wholesome, and honest; for a healthy, positive and good-hearted life, both in my pastimes and outlook.
Those still resonate strongly for me, but for the coming year I hope to find the quiet in the eye of the storm of the wider world. So my wishes for 2026 are for:
- peace amongst the noise
- appreciation of the small daily joys of life
- intention to concentrate on what matters most
I wish the same for you too, no matter what your goals for the coming year may be, and I hope 2026 brings you health, happiness, and a fresh chapter. Happy New Year!


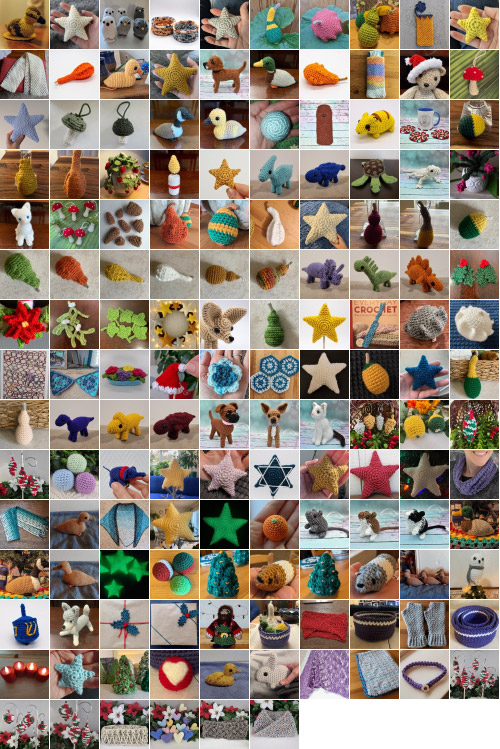
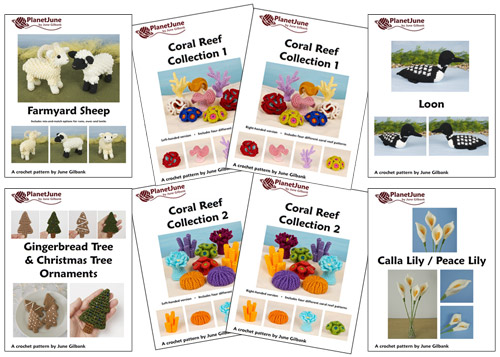
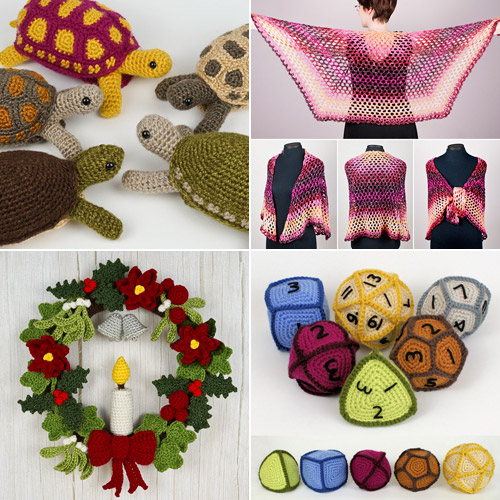 Realistic animals, elegant accessories, unique toys, seasonal decor – there’s something for everyone…
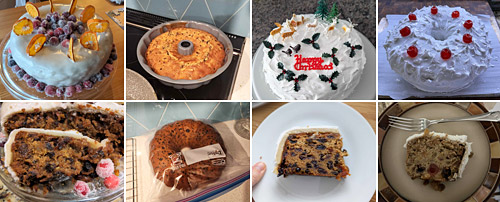 Some of our 2024 Christmas cakes – iced and sliced!
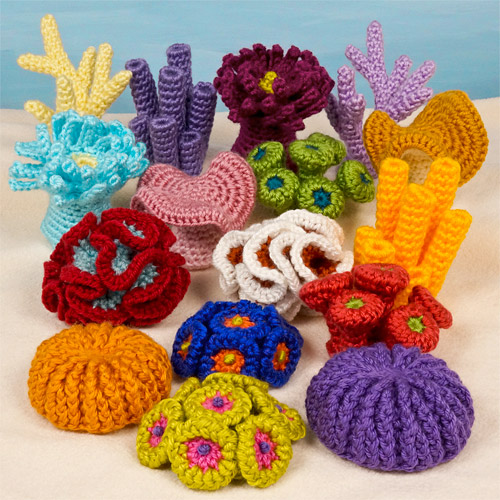
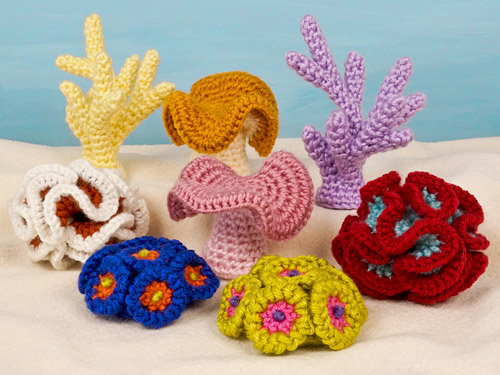
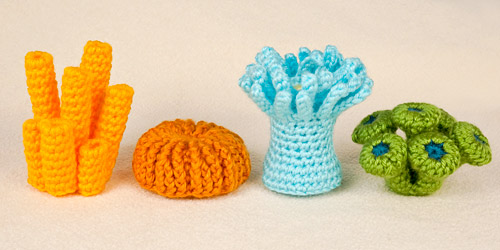 Coral Reef Collection 2 includes (L-R): Tube Sponge (Aplysina), Mushroom Coral (Fungia), Sea Anemone (Actinaria), and Trumpet Coral (Caulastraea) crochet patterns.
 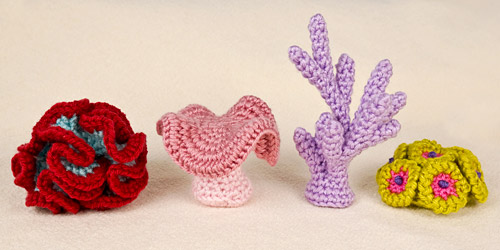 Coral Reef Collection 1 includes (L-R): Brain Coral (Symphyllia), Toadstool Leather Coral (Sarcophyton), Staghorn Coral (Acropora), and Button Polyps (Zoanthus) crochet patterns.
 Lots and lots of notes – and fun with coloured pencils to help me balance the yarn shades between the sets!