
Welcome to the Under the Sea CAL, a PlanetJune coral reef and ocean life crochet-along!
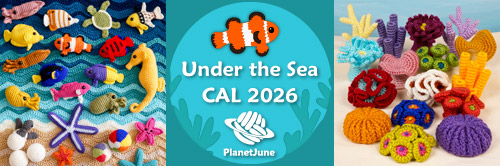
The official start date is the summer solstice: this Sunday, June 21 2026, but everything is ready for you right now if you’d like to get started early!
Overview
The Under the Sea CAL is a light-hearted, low-pressure summer crochet-along that runs until August 31st 2026, and you can join by making any PlanetJune patterns related to ocean life, beaches or summer.
You can make anything from a single tropical fish or coral to a much more ambitious multi-part display. If you’re not sure what that could look like, keep reading for lots of project display ideas…
If you’re already inspired and can’t wait to get started, you can browse all the core reef-related patterns here >>
But you aren’t limited to these patterns – you can also join in by making any PlanetJune patterns that you can justify as fitting the broad ocean/beach/summer theme. If you want to make e.g. a sunhat or summery bracelet or beach blanket or whale or dolphin, that’s perfect too! There are no strict rules for this CAL, so you’re welcome to get creative – if you can justify why your pattern or project fits the theme, it counts.
WIPs are also allowed, and so is assembling a display using some pieces you’ve already made (that’s what I’ll be doing) – the more the merrier! I’m hoping we’ll assemble an incredibly cheerful and colourful project gallery by the end of this CAL, and I’d love for you to be a part of it.
How to Participate
Crochet, Snap a Pic, Submit: As you finish crocheting each piece, submit a photo to the Under the Sea CAL gallery to log your progress and increase your project tally. And if you’re making a bigger display piece, the CAL page also has a larger Displays Gallery to showcase your final project(s) too.
Chat and Share: For the fullest experience, join in the fun in one of the PlanetJune Community groups. Look for the Under the Sea CAL 2026! thread on Ravelry or the #under-the-sea-cal channel on Discord – we’ll be crocheting and chatting and sharing project ideas all summer long!
Project Ideas and Inspiration
There are so many ways to combine amigurumi fish, corals, octopi, seahorses etc into larger projects and displays! Below, I’ve assembled an inspiration dump with lots of ideas, suggestions and tips for you. I’ve grouped them into three categories – Vignettes, Hanging Displays, and Dioramas – and if you don’t already have an idea in mind, I hope that something you see here will spark your imagination for a project you’d like to make…
Vignettes
Vignette is a fancy word for a little scene you can assemble from your crocheted pieces.
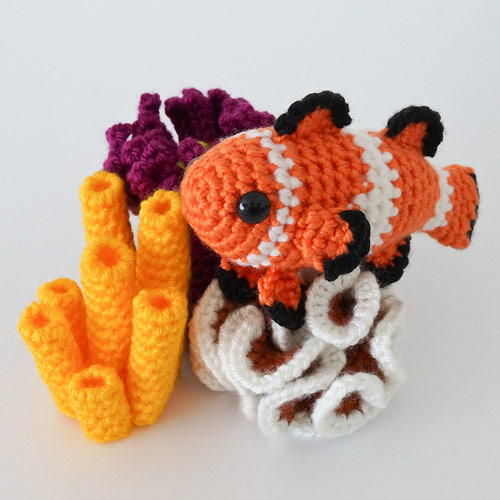
Just group a few corals together, add a fish, and you have a gorgeous display:
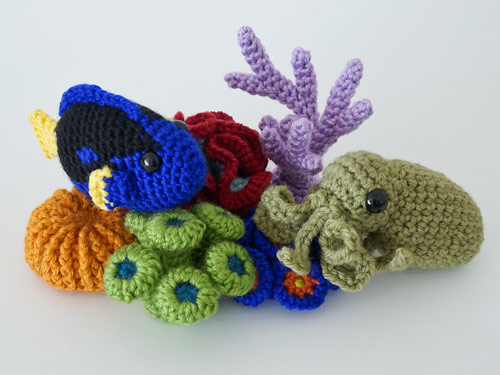
Add more elements to create a larger display:
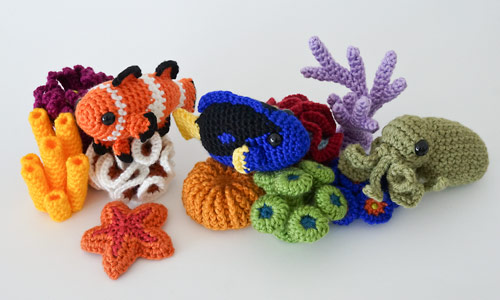
And you can even group your smaller vignettes together to make a larger scene, to fill your whole mantelpiece (or windowsill, top of bookshelf, etc):
Vignette Tips:
- I found that most pieces will stand up without any assistance if you group your corals strategically so e.g. a fish has a steady surface beneath it and something a bit taller behind it. (My examples are freely arranged with no additional support!)
- You can add a couple of strategic pins, if necessary, to give your components more stability.
- If you want to make a permanent display, you could stitch each piece together at the points where they touch (keeping the stitches hidden as much as possible).
Hanging Displays: Wall Hangings and Mobiles
String your elements onto yarn or invisible fishing line so you can display them as a wall hanging or mobile! I have tips for how to attach and balance all your pieces in my Amigurumi Wall Hanging Tutorial.
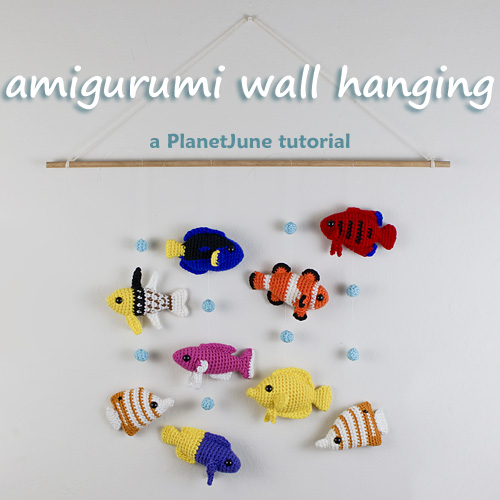
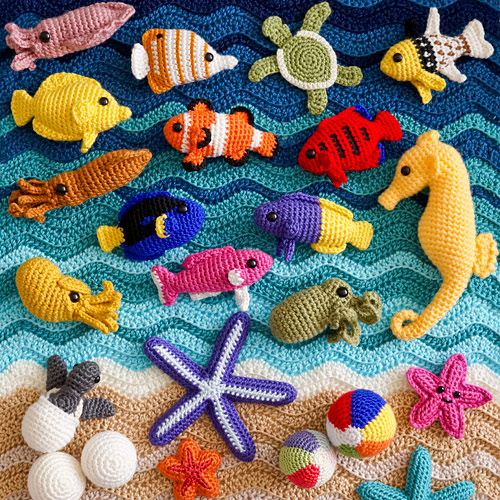
You can add a crocheted backdrop to your wall hanging, to get an effect similar to my flatlay scene below (but I’d suggest making a smaller scene!) by either suspending the fish etc in front of the backdrop, or attaching them directly to the backing.
And the principle is exactly the same for mobiles – instead of a flat scene, attach your strings of elements to a hoop, a cross frame, or balanced rods (if you’re feeling ambitious!) Here’s a simple mobile I put together to demonstrate, using an 8″ hoop (if you try this, you could crochet around the hoop too, to decorate it further and hide all the knots…)
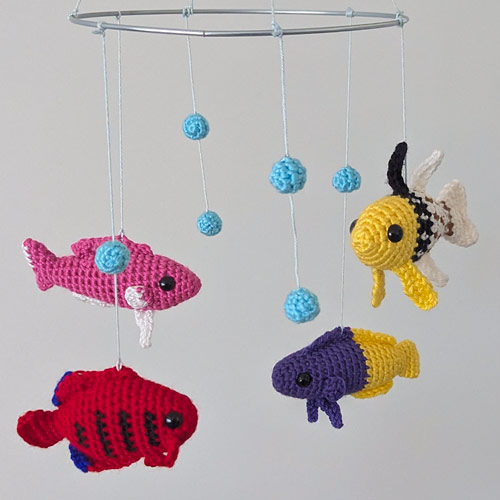
Tip: You can find the pattern for the bubbles in the PDF version of the Amigurumi Wall Hanging tutorial!
Dioramas
Sometimes it’s a good idea to think inside the box! A diorama is a self-contained scene with a base and/or background.
To set up a diorama, you can either use a real rectangular fish tank or round fish bowl, or get creative: make an aquarium scene from a large clear jar or vase, a shadow box or deep picture frame, a platform base, or any suitably sized box.
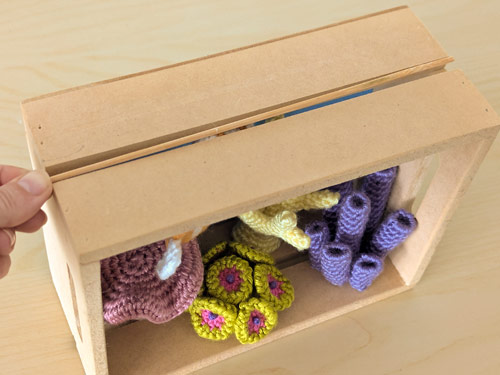
Tip: Check thrift stores, dollar stores and any local freecycle/buy nothing type groups for suitable containers to build your diorama in – in my case, I used an upturned miniature crate from the dollar store.
Here’s my example diorama:
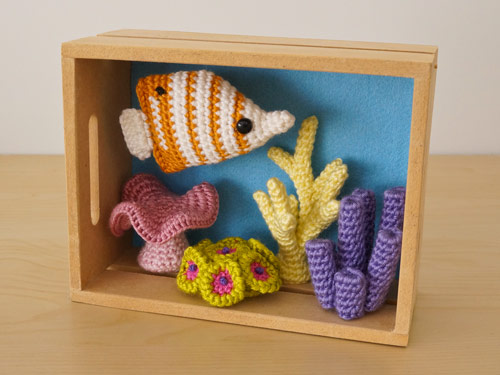
You can get as fancy as you like with decorating your scene, but simple can be very effective too! All I did for mine was to cut a piece of blue felt to size, to fit the back ‘wall’ of my box, but here are a few more ideas:
- Cut felt to fit the base of the container to represent the ‘sea bed’
- Place a few small decorative stones around the corals, to look like aquarium gravel
- Paint or decorate the outside of the container
Then you can add your crocheted pieces!
Tip: Use my vignette and hanging display tips above to arrange and balance your pieces.
To complete my diorama, I arranged a few corals in front of my backdrop, and then added a single ‘floating’ fish, suspended from the top of the box. My crate conveniently had a gap between the wooden panels, so I tied the fish’s string to a bamboo skewer which sits nicely in the gap. If your container doesn’t have any handy holes, you could cut or drill small holes to pass the strings through, or tie the string around a piece of card or a popsicle stick and stick that to the ‘ceiling’ of the container.
And here’s a great example of an aquarium made by Marion McEwan (shared with her permission) from a real fish tank, using a Turtle Beach blanket for the sand, PJ corals and starfish, and a few other patterns:
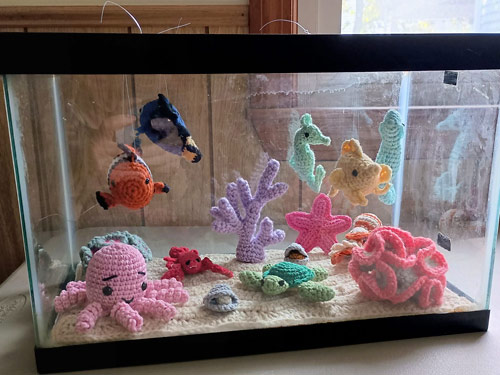
If you also plan to make a big project like this for the CAL, you can keep your momentum up by submitting a photo of each element as you finish it, as well as the big reveal for your finished project.
Join the CAL!
I do hope you’ll join us for this low-pressure crochet-along over the summer months – dip in and out as much as you want, crochet as few or as many pieces as you want, use lots of different PlanetJune patterns or just one or two – anything goes!
Ready to join? Here are the important links:
- Under the Sea CAL gallery – find all the CAL info and submit your photos here!
- PlanetJune reef patterns – tropical fish, corals, cephalopods and more
So, has something in my inspiration pics given you an idea for what you’d like to make? Or maybe you have a completely different idea? I can’t wait to see what you make for the CAL – please let us know what you’re planning!









Wendy Rice said
Really love your patterns. So detailed. Do you have any plans to make a jellyfish?
June said
Thanks, Wendy! I’ve had a jellyfish collection on my list for a long time – I did lots of research and have a few prototypes, but they haven’t made it to the finish line yet. So yes, hopefully at some point!