…than a good cup of tea. We even import our tea from England because it’s just not the *same* in Canada. Our teapot is round and comforting, but our precious tea gets cold before hubby can have his third mug.
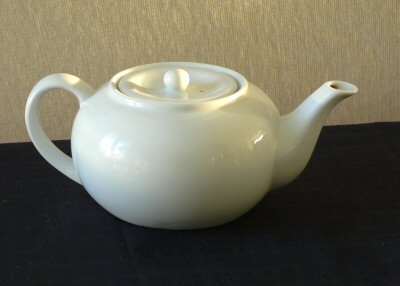
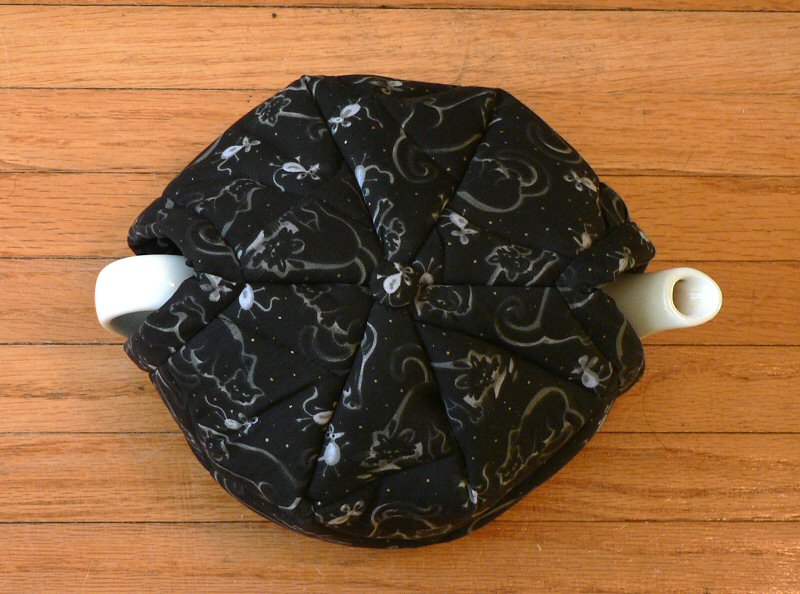
As a (slightly belated) Christmas gift, I’ve made him a quilted tea cosy. I’ve seen knitted tea cosies that have holes at the front and back for the spout and handle, but the only quilted tea cosies I’ve seen are like giant hats, and you have to remove them to pour the tea. Maybe it’s just easier that way, because the knitted fabric will stretch to fit over the teapot appendages, but quilted cotton obviously can’t do that. But why should that stop me – there has to be a way to make a quilted tea cosy that you don’t have to remove to pour the tea…
I played around with folding a piece of paper until I found something that looked about right:
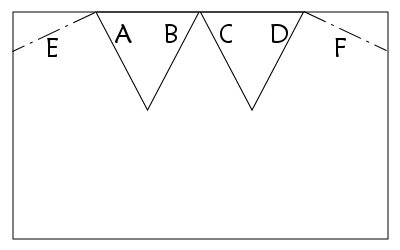
Starting with a rectangle for each side (dimensions depend on the size of your teapot), sew line A to line B and line C to line D. Then sew the two sides together along lines E and F. These lines are dotted because the easiest way to get the angles right is to NOT measure these lines initially, but draw them in after sewing A-B and C-D so E and F form one straight line along the top of the cosy.
I started by quilting this cat and mouse fabric together with extra thick batting and some scrap cotton on the back (using curved lines to avoid cutting any cats in half with the quilting!) and then cutting it in half to make my two rectangles:
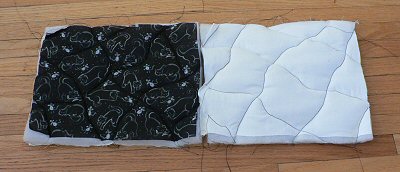
Left: front after quilting; right: back after quilting
I sewed my A-B, C-D, E-E and F-F lines. The double layer of extra thick batting proved too much for my sewing machine, so I had to finish them by hand. I then trimmed the resulting triangles of batting that I had created inside the cosy. I repeated the process using black cotton (unquilted) to form the lining, and tacked it wrong sides together with the cosy.
I handmade bias tape from the same fabric using the Dread Pirate Rodgers’ Continuous Bias Tape instructions. I have never made bias tape before, and this method worked really well for me – the best part was cutting the tube I had created into a long spiral and it magically turned into a perfect bias tape strip.
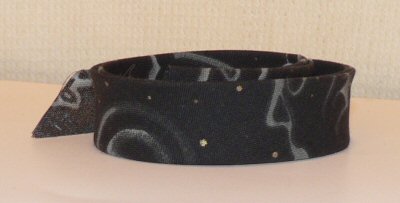
I applied one long strip of bias tape around all the edges using Heather Bailey’s wonderful Continuous Quilt-Binding instructions. I sewed the two sides together under the spout and then sewed a black hook and eye under the handle at the back, so the cosy can be removed.
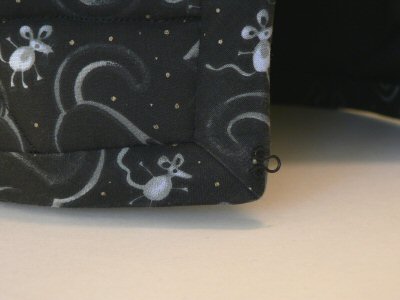
Ooh, a nicely mitred corner (thanks Heather!)
Finally, I finished the top of the cosy with a fabric covered button with a mouse nicely centred on it!
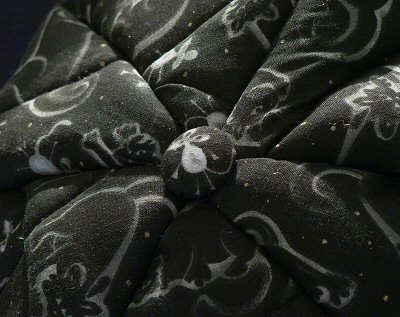
Et voila!
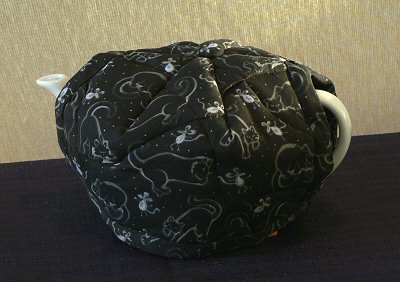
Hubby is pleased – in our preliminary testing, it kept the tea nice and warm for 2 hours! I am entering this in the GIFT category in this month’s Whiplash contest.



Irwin H. Noparstak said
I would like to purchase a Planet June tea cosy with spout and handle slits. How can I do this?
Thanks, Irwin Noparstak
June said
I’m afraid you can’t, Irwin – I don’t make and sell tea cosies; I just made this one for myself in 2007 (which I still use to this day!)
If you’d like to make a tea cosy that fits your tea pot and are comfortable with sewing, you can follow my basic instructions above to make your own 🙂
Linda Wise said
Hello, I’m Linda from Texas, USA. I’ve been looking for a crocheted tea cosy. I found the one above when i searched your blog. But after looking at your flower patterns i think I’ll design my own using your flowers (tulip top that will surround the lid handle, half tulips to work up/down from crown) these over a green leafy background. I’m just brainstorming way over here. I think I’m going to like my “flower garden tea cosy” (unofficial name since that may already exist).. I’ve searched & there are some similar but i just really liked your tulips. I’m curious on your thoughts (pro or con). Thank you!
Linda
Kaitlyn said
How much fabric did you need? Also, is your teapot about Brown Betty sized?
June said
I have no idea what a Brown Betty is or what size it is, sorry! Your best bet is to measure your actual teapot to give you the size you’ll need:
And remember to add a little extra for seam allowances 🙂
Isabel said
Thank you for this lovely pattern! Stuck at home, in coronavirus lockdown, I realised I needed a tea cosy. Most patterns do not have holes for the spout and handle – finally I found your tutorial, and after a few anxious moments (it’s going to be too small!! no it isn’t!! yes it is!!) I now have a 100% PERFECTLY sized tea cosy. I batted it with a piece cut from a motheaten woollen blanket – perfect, as not too thick to quilt, but very warm. Fastened with cute buttons front and back. I have made matching quilted coaster and round mat for the teapot to sit on, and my life has improved immensely.
Thanks again for sharing the perfect tea cosy method.
June said
I’m so happy to hear this, Isabel! It’s hard for me to believe I wrote up this method 13 years ago – and my cat and mouse tea cosy is still going strong to this day! Enjoy your nice hot tea 🙂
tatiana said
THANK YOU GRATEFULLY NOT ONLY FOR YOUR NICIEST TEA POT COVER,
BUT ALSO FOR MY MASTERING ENGLISH IF YOU DON*T MIND.I*m a former English teacher from Ukraine/
.Of course, I *ll try to do my best following your pattern.Good luck!!
Regina Scull said
Great idea!
Great Pattern!
I’ve been looking for a pattern like this for quite a while now. Thanks!
moolygoat said
Thank you SO MUCH for your anwer to my initial question! What a sweetheart you must be to offer this much great information so freely. I will indeed make your lovely cosy and hold it dear to my heart….Nancy
barb farsace said
Thanks a bunch. I am going to make this for my friends,and myself. What a great idea. Going to start right now lol
Molly said
This is the cleverest cozy I’ve seen in a long time!! Simple to make and use. I intend to make several of these for friends. Imitation is the sincerest form of flattery! Thanks for sharing a great design.
Amy said
I absolutely LOVE the fabric that was used in this project! 🙂
Eloise Brown said
This seems to be a great idea for the kind of tea pots used most often in Japan for green tea.
If I ever want to make a different kind of present for a friend here,
I will try your tea cosy idea.
Thanks for sharing it.
Tammy said
Fantastic! I found you through whiplash & I love this project. Thanks for the how-to – I’ve been meaning to make one myself.
Rachel said
Woah. That’s quite clever, it is.
Kim Sherrod said
That is a lovely tutorial! I am going to try it! I’ll let ya know!