Starting Amigurumi with Eyelash Yarn
The following is a visual guide to following an amigurumi pattern using fuzzy/eyelash yarn for left-handed crocheters.
Right-handers: view the right-handed version.
You may also wish to review my General Tips before beginning this tutorial.
For the purpose of this tutorial, the pattern reads:
Ch 2.
Rnd 1: 6 sc in 2nd chain from hook. (6 st)
Rnd 2: 2 sc in each st around. (12 st)
Rnd 3: (sc in next st, 2 sc in next st) six times. (18 st)
… pattern continues …
(Almost all of my Fuzzy Friends patterns start in this way!)
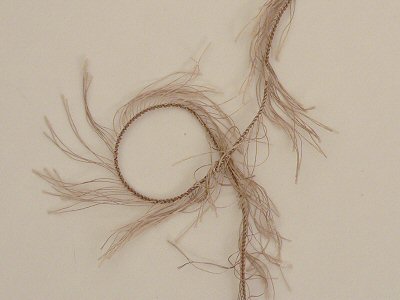
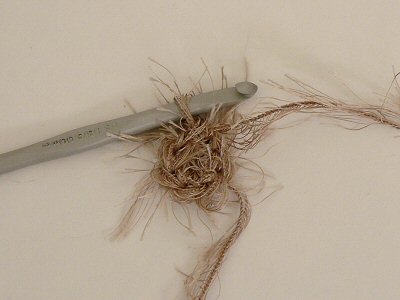
- Make a loop in your eyelash yarn:
- Put your hook through the loop, and draw up another loop:
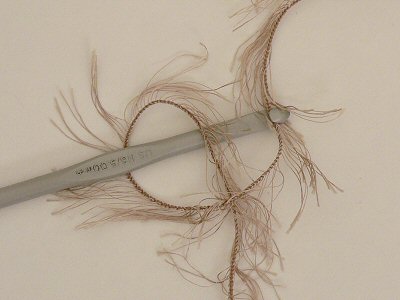
- Pull tight (1 loop on hook):
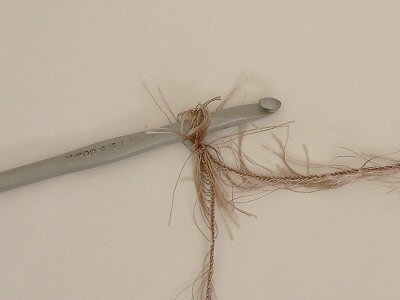
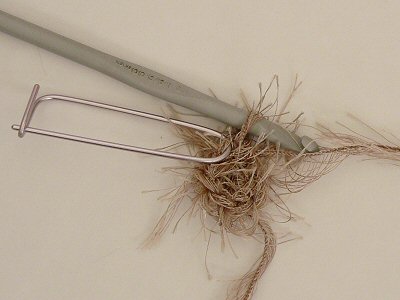
- Chain 2:
This is where you will insert your hook next:
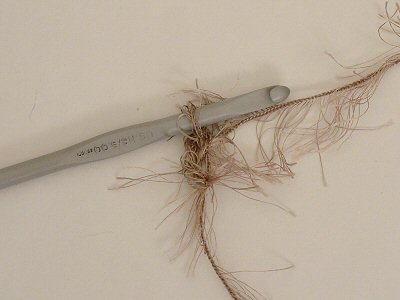
- Sc in one loop only of 2nd chain from hook:
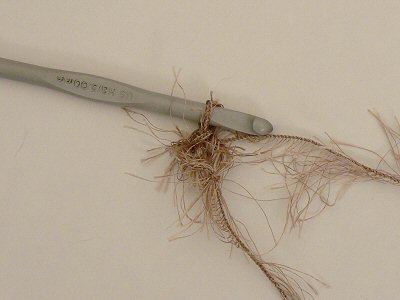
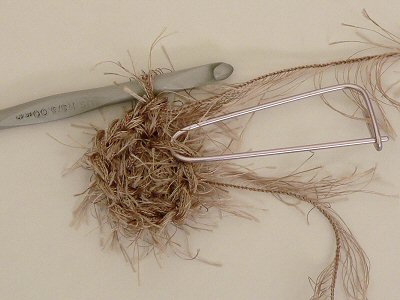
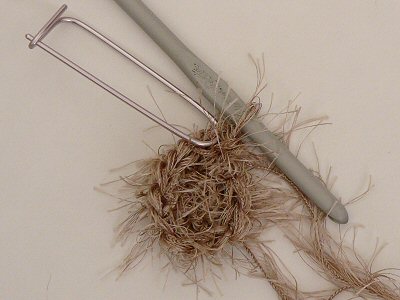
- 5 more sc in the same loop (to make 6 sc total):
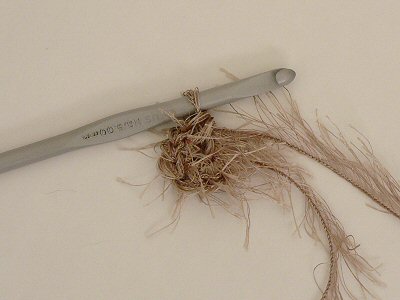
- To start the next round, sc in back loop of the first sc you made. To do this, insert hook into st:
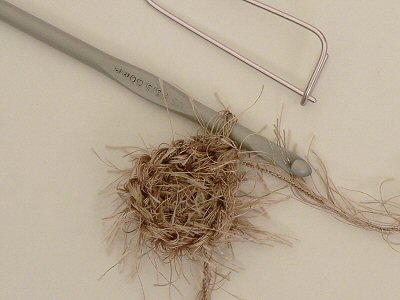
- …and complete the sc:
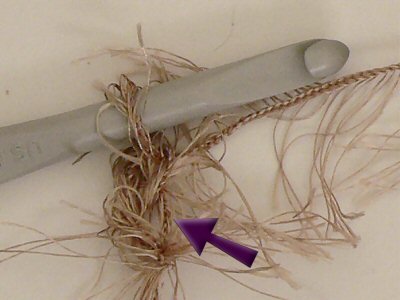
- You have just made the first st of round 2. Insert a stitch marker into the stitch you’ve just completed:
- …then continue. 1 more sc in the first stitch (remember, you’ve already made the first sc), then 2 sc in each stitch around. You’ll know when you reach the end of the round, because the stitch marker will be in the next stitch:
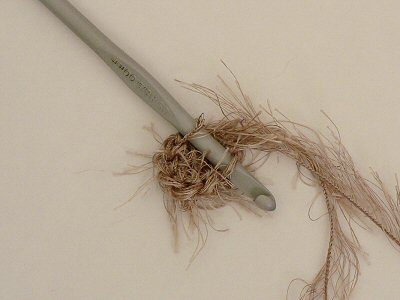
- Remove your stitch marker and sc in the stitch the stitch marker just occupied:
- Now insert your stitch marker into the stitch you’ve just made:
- Continue to follow your pattern (remembering you’ve already made the first stitch of round 3)
Remember: you’re looking at the wrong side of your work in these photos: the fluff forms on the side facing away from you as you crochet – see the General Tips for a complete explanation.

Loved this tutorial? I have so many more amigurumi tips and tricks to share with you!
Boost your amigurumi skills with my latest book, The Essential Guide to Amigurumi, your comprehensive guide to amigurumi techniques and tips.
Do you find my tutorials helpful? If so, please consider making a contribution towards my time so I can continue to create clear and concise tutorials for you:
Thank you so much for your support! Now click below for loads more crochet video and photo tutorials (and do let me know what else you’d like me to cover in future tutorials…)


Melanie said
Am so appreciating all of your useful tips. The visuals are a huge help, too. Thank you!