November 7, 2007 @ 11:20 am
· Filed under Polymer Clay
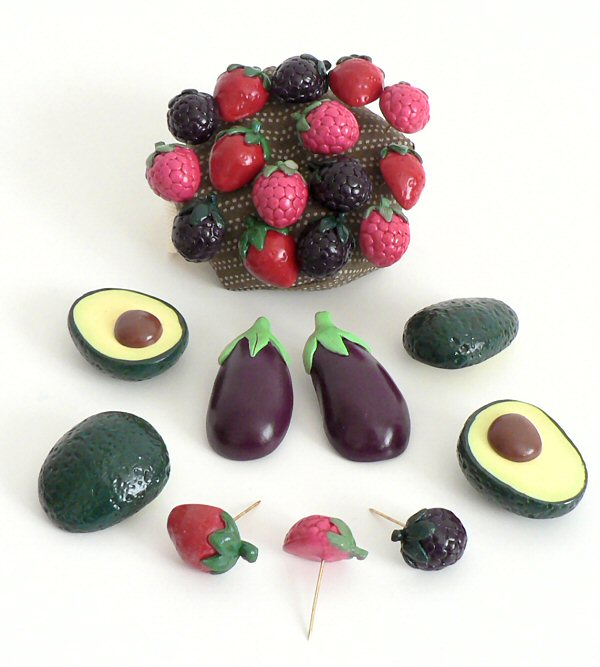
Lest you think I only crochet these days, I’ve been working on a commission for some polymer clay fruits and vegetables, and now they are ready to be harvested:
Vegetable magnets and berry pins. The magnets are embedded invisibly in the backs of the avocadoes and aubergines so they stick to the fridge as if by magic. The pins are baked into the backs of the berries for strength – no glue involved 🙂
Oh, and that’s one of my pincushions in the background with most of the berry pins stuck into it – it’s not part of the order!
Sorry for the blog silence – I’ve been busy designing! I have 3 projects currently in the works… more on that soon. For now, to help pass the time, here’s a little game for you:
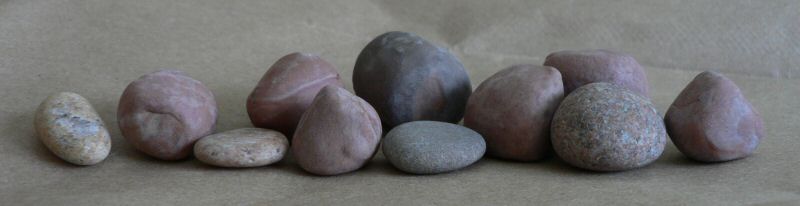
Four of these stones are beach rocks from Lake Ontario. The other seven are my polymer clay faux granite rocks. Can you tell the genuine articles from the Fimo replicas?
April’s OneHourCraft Challenge is “to make an impossibly gorgeous necklace”, so I got the polymer clay out and started playing.
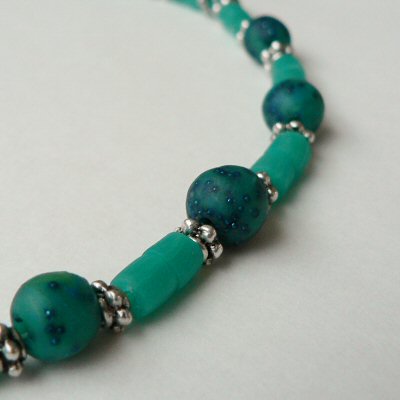
I used a base of translucent Fimo Soft, with snakes of green and blue running through it. I also added dark greeny-blue micro beads (tiny glass beads with no holes) to the rounded beads, which is why they look darker than the others. I had a bit of a surprise when I baked the beads – they darkened and went from greenish blue to a definite green, but that’s okay:
I strung the beads with silver (coloured) spacers and findings. The finished necklace length is 14″ so it’s just longer than a choker and sits around the base of my neck.
Click for full-size version
Thanks Mia for the inspiration to make a necklace! This was a fun quick craft to try.
April 18, 2007 @ 12:56 pm
· Filed under Polymer Clay
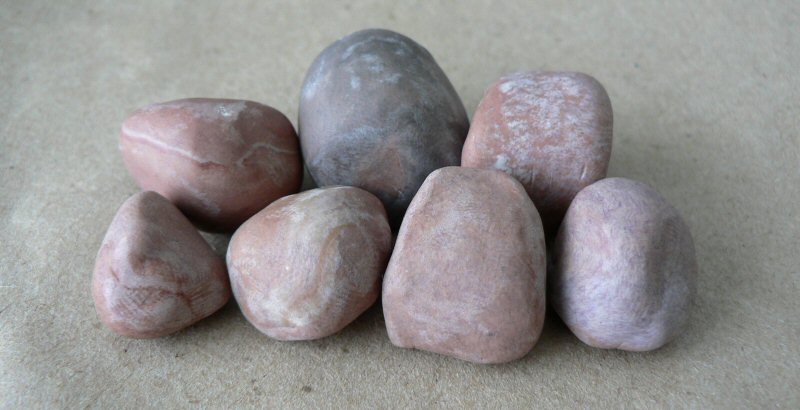
I made these polymer clay faux granite rocks last week. They were originally intended to be stones for the base of my artificial bonsai, but I decided they weren’t quite right for that project. I just sanded them quickly with my homemade detail sander to get my fingerprints off. (The size of each stone is about 1 or 2cm.)
Are they real, or are they FIMO? Click the pic to take a closer look…
January 12, 2007 @ 11:50 am
· Filed under Polymer Clay
Can you tell what it is yet? 😉
It’s work-in-progress Friday, so here’s a sneak peek at my latest FIMO sculpture. I should have included something for scale in the photo but, just so you know, it’s just over 3cm in diameter.
I’ve only finished the top part but I’m really pleased with it so far. As a lifetime fan of this movie I’ve always wanted one of these, and hey, why buy when you can make?!
I’m going to set this one aside for a while as I have some January-specific projects to work on (crochet calendar submission and my OneHourCraft bag). Any idea where I can find an extra couple of hours each day so I can actually make all the things I want to?
Oh, and don’t worry – I’ve baked what I’ve done already, so I don’t need to worry about all my hard work getting dusty or squashed (I learned this lesson the hard way).
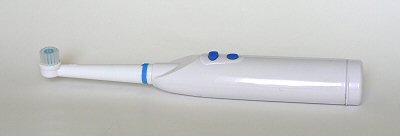
I made a polymer clay egg out of leftover clay of various colours marbled together, and needed a way to sand it smooth after baking. Previously, I hand-sanded the ballon in my pig ornament but it took sooo long and I didn’t really want to repeat the process for my scrap clay egg. I heard that you can make an electric sander from an electric toothbrush, so I thought I’d give it a go. Here are the instructions:
I started with a cheap battery-powered toothbrush (reduced to $1 at WalMart).
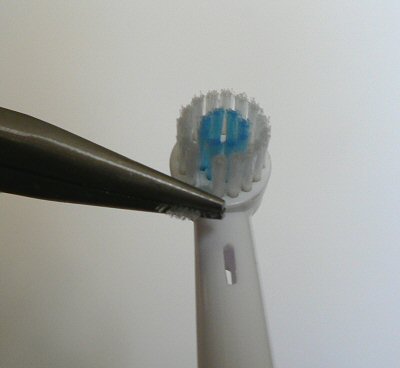
Use pliers to remove all the bristles from the brush head. Grab a section of bristles firmly with the pliers and wiggle them from side to side until they pull out.
Repeat until the brush head is bristle-free.
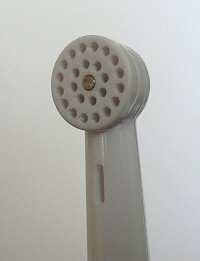
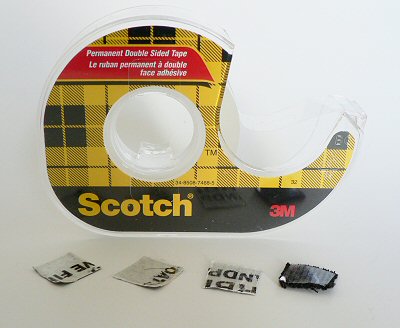
Cut a small square of sandpaper just large enough to cover the face of the brush head.Tips for cutting the sandpaper to size:
I wasn’t sure what sandpaper would do to my scissors, so I folded the sandpaper back and forward along the line I wanted to cut, and then it tore easily along that line.
Make sure you label the back of every little piece of sandpaper you cut, or you will get into a muddle!
Stick a square of double sided tape to the back of the sandpaper square and attach it to the brush head.
Turn on the toothbrush and get sanding!
If your brush comes with extra heads (mine came with 2 heads), you can attach a different grade of sandpaper to each head. If you do this, remember to mark up each head differently, so you know which is which! Otherwise, you can just pull off each square when you’ve finished with it, and tape a finer grit in its place. I’ve been doing this and it works very well. I have sandpaper in 220, 320, 400 and 600 grits.
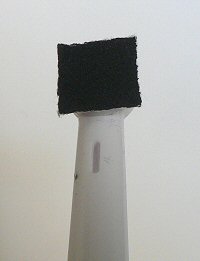
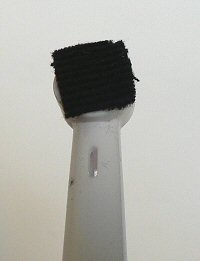
When your piece is sanded nicely, you can also make buffing heads by attaching a square of sturdy fabric to the brush head in the same way. I used a piece of thick corduroy.
Here’s my finished egg. It’s really smooth and softly shiny, although I couldn’t capture that well in my photo.
October’s whiplash theme is Accessories; a really broad theme with a lot of scope. I have been crocheting a lot recently, so I reluctantly (but only temporarily!) put my crochet hook down and decided to go with a different craft this month.
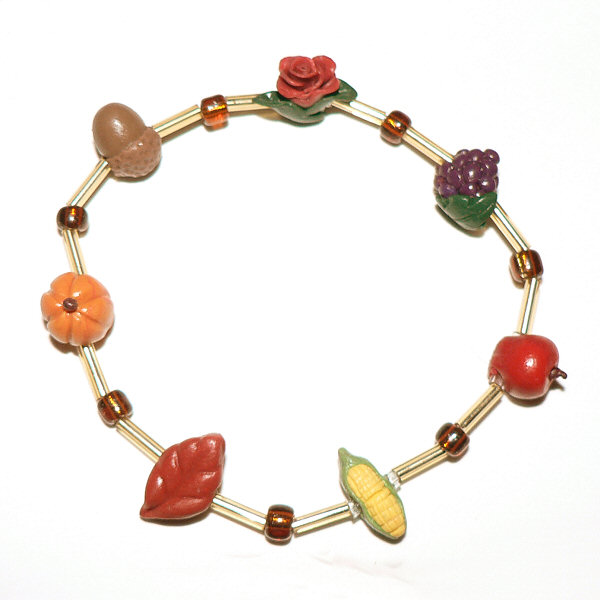
Autumn has always been my favourite season. My birthday is in October, and I love the colours of autumn. Especially since I moved to Canada, the ‘fall’ colours are something I look forward to every year. I decided to make a bracelet with all my favourite autumn elements, so I’d have a little piece of autumn to keep with me all year round.
I made seven signature beads from FIMO polymer clay: a crisp red apple, a bunch of purple grapes, a deep pink rose, a glossy acorn, a pumpkin, an ear of corn, and a red leaf (for scale, the acorn is exactly 1cm tall).
After baking and varnishing them, I glued a bugle bead through the hole in each polymer clay bead for added strength and to give each bead the same width. I strung them on Stretch Magic bead cord with golden bugle beads to space them out and amber coloured glass beads as accents. Here is the finished bracelet (click to see a bigger version):
August 8, 2006 @ 8:24 am
· Filed under Polymer Clay
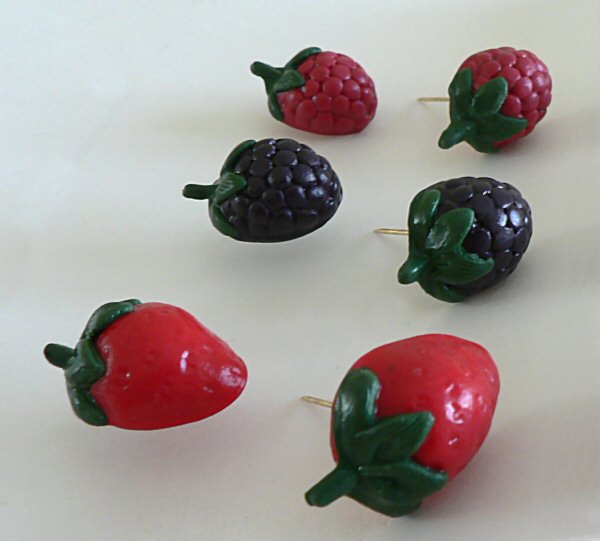
My cubicle at work needs some personality, so I made these berry pins to brighten things up. They are made from FIMO polymer clay, although I did cheat a bit by using a mould. I embedded long pins in the back before baking, and then varnished them with Varathane.
Or simply click through from my links before you shop at Amazon, Etsy, KnitPicks, LoveCrafts or Crochet.com, and I'll make a small commission on your purchase, at no cost to you! Start here:


