Designer Toolkit: Yarn Colour Swatch Box
Over the holidays, I decided to give myself a fun organisation project: creating a box of yarn swatches for all my amigurumi yarns, so it’ll be easy to see all my options and make choices.
Being able to see at a glance all the yarns I have available for my designs is so handy – this could be a really useful project for you too, if you make a lot of amigurumi and have a large yarn stash!
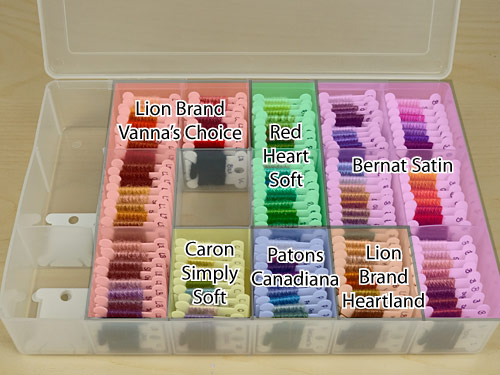
Here is the glorious result:
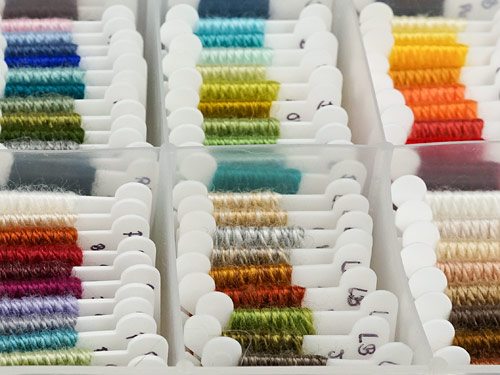
Isn’t it wonderful?! It’s like looking at a selection box of chocolates, but calorie-free and without the one that nobody likes.
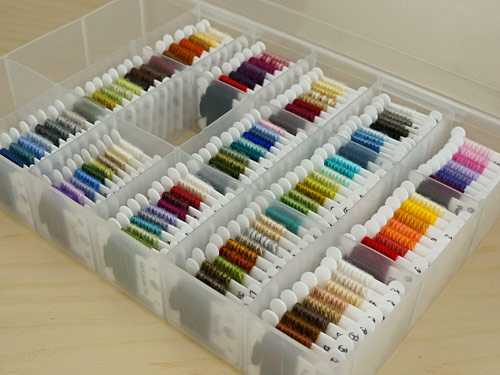
There’s so much pretty colour here, and so much potential for what those colours could become… I feel like I’m an artist and this is my paint box.
Why Make a Swatch Box?
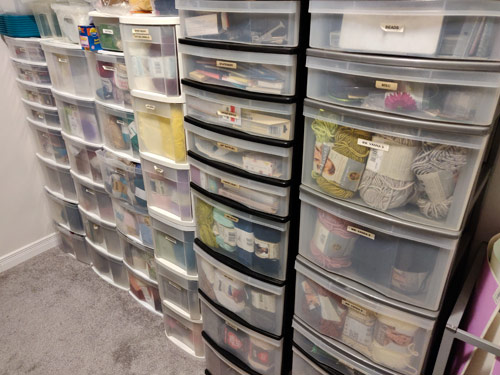
As a professional amigurumi designer, I have a lot of yarn in my stash. More specifically, a lot of worsted weight acrylic from several brands. Some are close enough in weight and appearance to be mixed within a project, and others aren’t (just look at my worsted weight yarn comparison to see how broad a category ‘worsted weight acrylic yarn’ really is!)
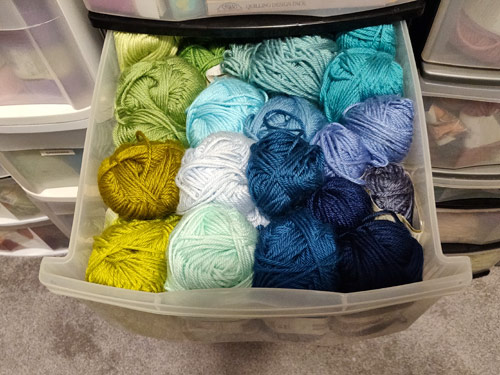
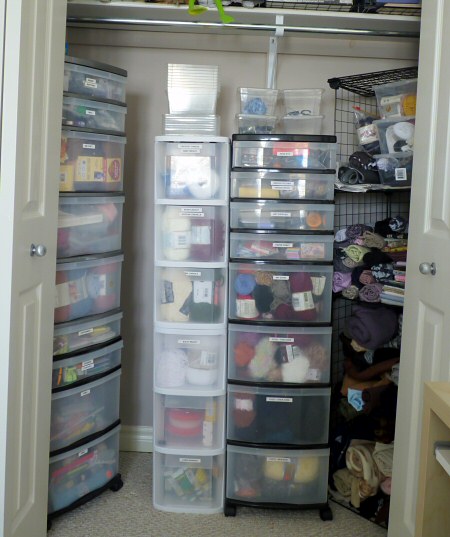
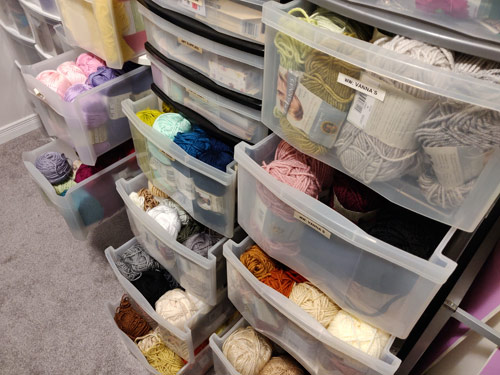
All my ami yarns are filed in plastic drawers, and every time I need to pull yarn options for a new project, I have to open several drawers, grab multiple balls of yarn, and then select the best combination of shades that could work for what I have in mind and also match in weight, sheen and texture.
This often leaves me with 10 or more balls of yarn scattered around and the hassle of cramming all the rejected yarns back into their appropriate (and usually overstuffed) drawers. Not ideal.
Making the Swatch Box
I bought lots of the plastic bobbins that are usually used for storing embroidery floss, and wrapped each one with a single layer of yarn, leaving a small space at the top to write the colour name. I used the slits at the bottom of the bobbin to hold the yarn ends in place. To finish each bobbin, I used a yarn needle to pass the yarn ends beneath the wrapped yarn on the back of each bobbin, then trimmed the excess.
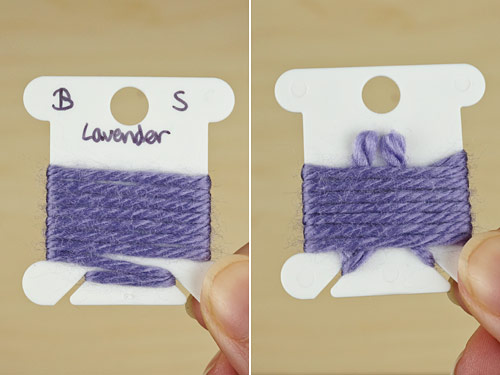
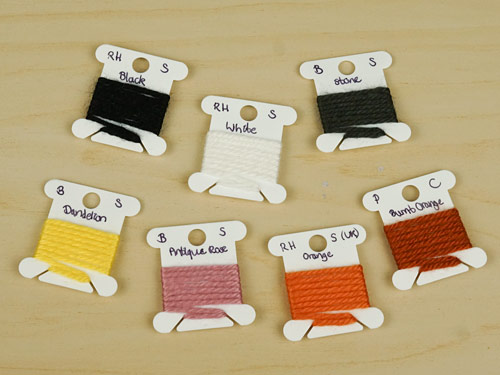
I labelled each bobbin with a simple code (due to lack of space):
- top left corner : brand (e.g. B = Bernat)
- top right corner: yarn line (e.g. S = Satin)
And then wrote out the full colour name below that.
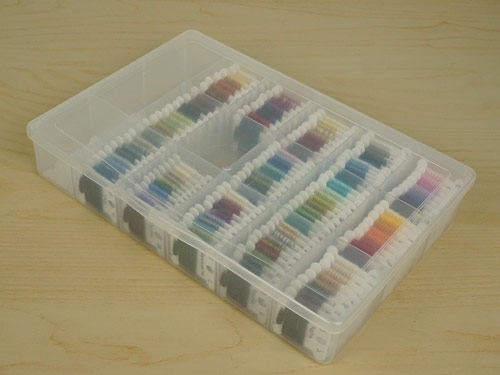
I found a plastic divided box that had sections large enough to hold several bobbins, and organised the swatches first by brand and yarn line, then by colour family.
Do you think I have enough yarn options? (Trick question: of course I don’t! That’s what the extra space and spare bobbins are for…)
After the Swatch Box
This box has changed everything for me. Today I pulled shades for a potential upcoming design, and I just opened the box and could see all my options at once. Within a couple of minutes, I had a selection ready to go, and now I can just go to the appropriate yarn drawer (as indicated from the bobbin) and grab only the shades I need to use.
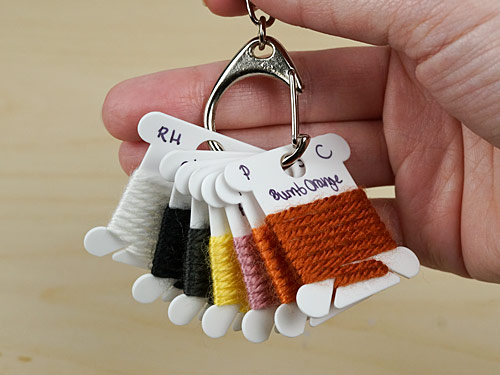
I can use the holes at the top of each bobbin to clip the collection together while I use them so none go astray.
And, when I’m finished, I can easily refile the swatch bobbins in the box.
Yes, I ‘wasted’ about 2ft of each yarn in making these bobbins, but it was definitely worth it to me – just opening the box and looking at my yarn palette is so inspiring!
Now I can’t wait to grab my hook and get ‘painting’ (well, ‘sculpting’ would be more accurate) with some of these pretties…