Amigurumi Help
Here’s a handy list of all my amigurumi tutorials in one place. If you think of something that’s not on this page that you’d like to see, please let me know!
For more crochet help, see my new Crochet Video Tutorials page.
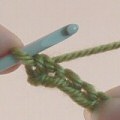
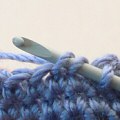
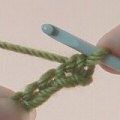 Crochet Basics (right-handed)
 Crochet Basics (left-handed)
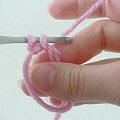
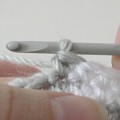
 Magic Ring (right-handed)
 Magic Ring (left-handed)
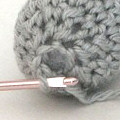
 Invisible Decrease
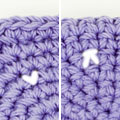 Which is the ‘Right’ Side?
 Fastening Off
 Eyes and Noses
 Eye Sources
 Joining Amigurumi
 Colour Changes
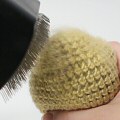
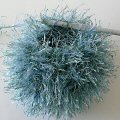 Fuzzy Yarn Tips
 Fuzzy to Brushed Crochet
 Sizing Up (and Down)


Leave a Reply