September 26, 2006 @ 11:19 pm
· Filed under Crochet
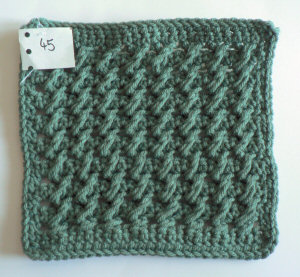
I’ve fixed the edgings on all my old squares now, so I’m back to crocheting new squares for my afghan. Tonight I’ve made square #37 (if the colour looks funny, blame the lamp in my living room; it’s a nice purple really):
September 26, 2006 @ 10:00 am
· Filed under Crochet
I am, in theory, crocheting the 63 squares afghan, although the 26 squares I have completed have been sitting in a box for almost 2 years without being touched. Last week I found the Crochetville 63 Squares Crochet-Along, and now I’ve been inspired to get started again.
I crocheted one new square, and started a second, and then compared them with my previous squares. Disaster! Somehow my new squares were over an inch larger than the old ones… I think I must crochet more loosely now than I did when I started the afghan. I had to unravel all my new work (sob!) and start again with a smaller hook.
I finished the above two squares at the weekend, and thought I was back on track, as the sizes matched my old squares. But apparently I was unable to count when I started this project… the edging is supposed to be 112 stitches around for each square, so all the squares can join nicely together. I really don’t know what I was thinking, but some squares were a few stitches short and some a few over; not one was exactly 112 stitches! Being the perfectionist that I am, I really can’t leave them like this (plus I want the boring task of joining all the squares together to be as painless as possible) so I am unpicking the edges of the 26 squares I had already completed and re-edging them. Almost there – 7 more to go.
In my defense, I had only just started crocheting at the time, and didn’t really understand what I was doing. I also crocheted ‘wrongly’ by only crocheting into one top loop of the previous stitch instead of both, but I am going to leave those ‘wrong’ squares alone – they still look nice, and it’ll be a reminder to me of how much time passed as I crocheted this.
September 16, 2006 @ 11:35 pm
· Filed under Crochet
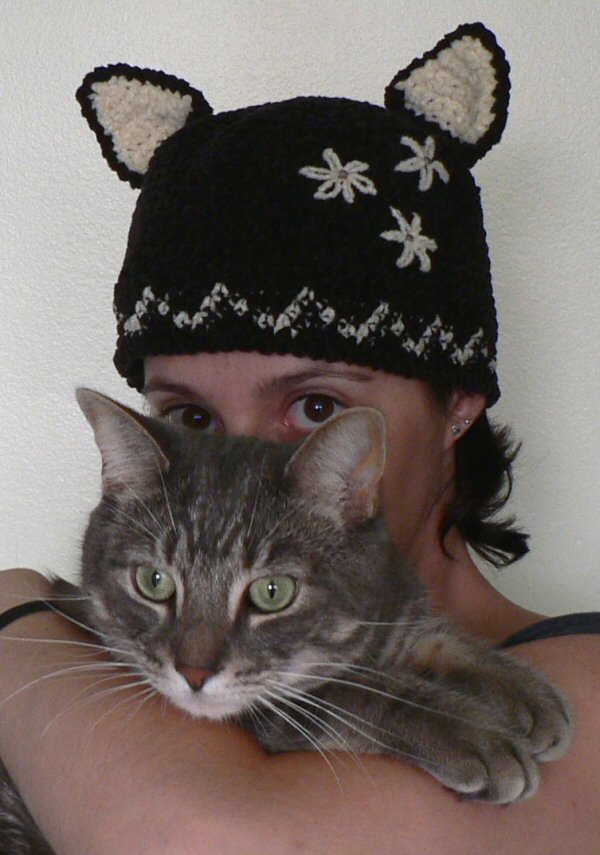
This is my entry to the September Whiplash contest. The challenge was to make any kind of hat. I got the inspiration for my hat from my cat, Maui:
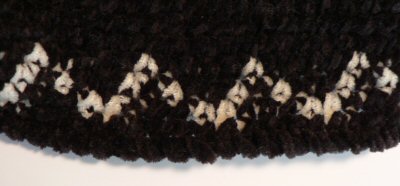
I crocheted the cat hat in single crochet from black chenille with cream chenille accents. After reading the tapestry crochet post on whipup a few weeks ago, I’ve been wanting to try it, so I added a zig-zag border around the bottom, to match the ‘M’ markings on Maui’s forehead. I finished the bottom with reverse single crochet.:
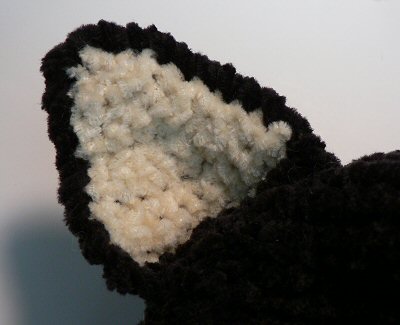
I single crocheted cream fronts and black backs for the ears, then joined the fronts to the backs with a reverse single crochet border:
The hat still looked a bit plain, so I added three flowers embroidered with lazy daisy stitch, with bead centres:
Maui seems to approve of the finished hat:
I’m entering the cat hat into the design category of Whiplash this month.
This is a tutorial for a really simple cushion cover. It’s really quick and easy to make (and cheap!) as it doesn’t require a zip – the cushion is inserted like a pillow into a pillowcase.
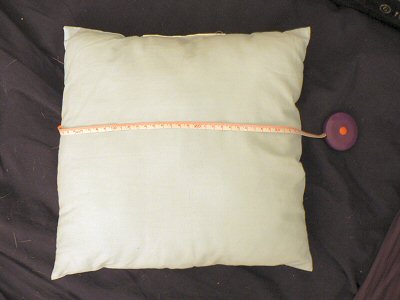
Measure your cushion’s length and width. My cushion is a 35.5cm square but any rectangular cushion will work just as well – it doesn’t have to be square.
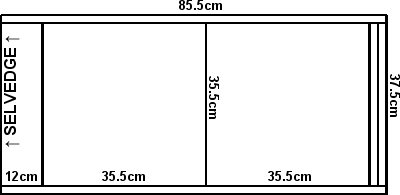
This is the hardest part – working out the size of fabric you need. Add 2x the seam allowance to the width (I’m allowing 1cm for my seams, so I need a 37.5cm width). For the length, you’ll need twice the length of the cushion, plus a flap on one end, and a finished edge on the other.
I chose a big 12cm flap, so the cushion will always be well hidden inside the case. I also saved some work by cutting my fabric so the selvedge formed the edge of the flap. It saves having to finish another raw edge, and the edge of the flap will be hidden, so it doesn’t have to be very pretty. If you don’t use the selvedge, add a little extra to your flap so you can finish this edge in the same way as you’ll finish the other edge.
You’ll need a double fold on the other end, so add slightly more than twice your seam allowance (20mm for me, so I used 25mm).
Okay, so my rectangle to cut is 85.5cm x 37.5cm. That’s the hard part over – promise! It’s all easy from here.
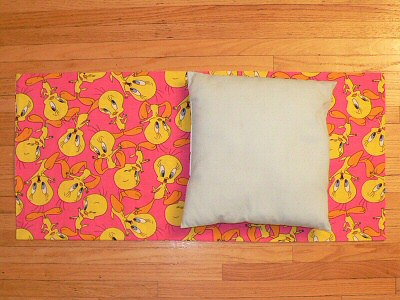
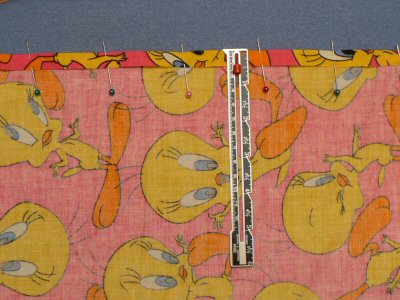
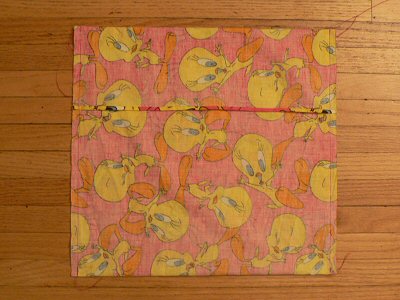
Cut your fabric to the size you worked out. Here’s mine with the cushion for comparison.
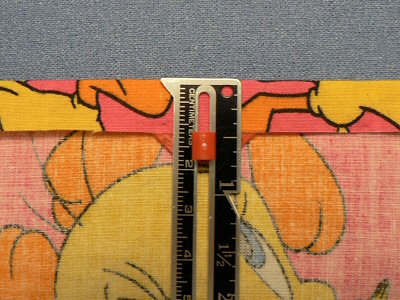
Now to finish the raw short edge on the right (the edge opposite the selvedge). Starting with the fabric face down, fold the edge over by half of the extra you added (12mm for me), and press in place. You may find it easier to pin the fold before pressing.
Fold over by the same amount again, to trap the raw edge inside the fold. Press in place.
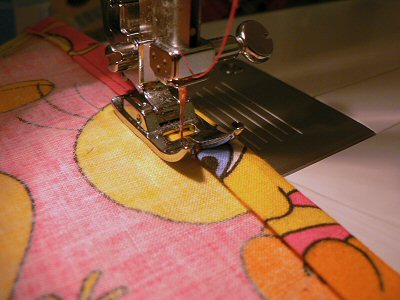
Sew along the whole edge to keep the folds in place.
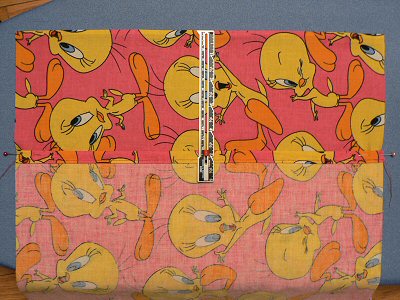
Starting with the fabric right side up, with the selvedge at the top, bring the edge you have just finished up so the fabric has a fold at the bottom. Arrange it so that the length of the flap is uncovered by the second layer of fabric (see picture: 12cm of the right side of the fabric shows at the top; the fold is off the bottom of the picture):
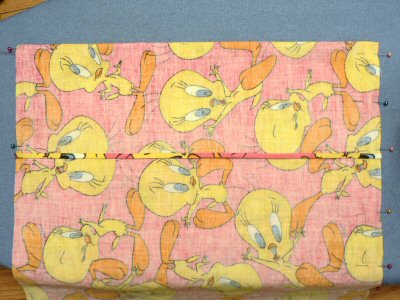
Fold the flap down over the top of the second layer. Pin along both sides of the cushion cover.
Sew along each of the sides, from top to bottom.
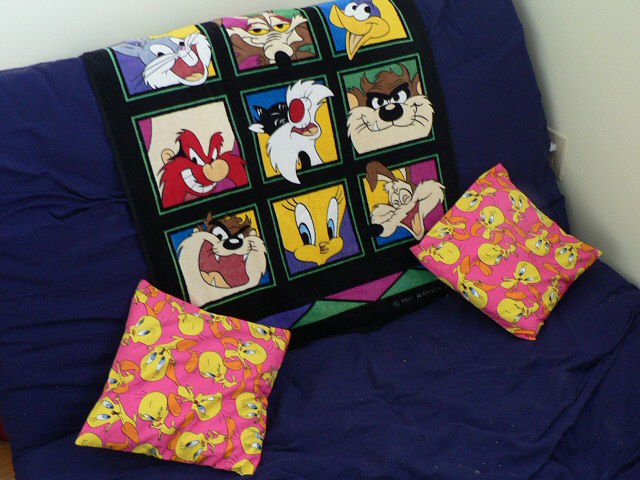
That’s it! Turn your new cushion cover inside out and press. Then insert your cushion and admire your handiwork!
I hope this tutorial is useful – please let me know if you have any questions or comments.
This week I’ve been ‘crafting’ my website. I’ve added a pop-out menu throughout the whole planetjune site, and made the new Craftybits Gallery. It’s database-driven so all my projects are viewable by category. Yay me!
Or simply click through from my links before you shop at Amazon, Etsy, KnitPicks, LoveCrafts or Crochet.com, and I'll make a small commission on your purchase, at no cost to you! Start here: